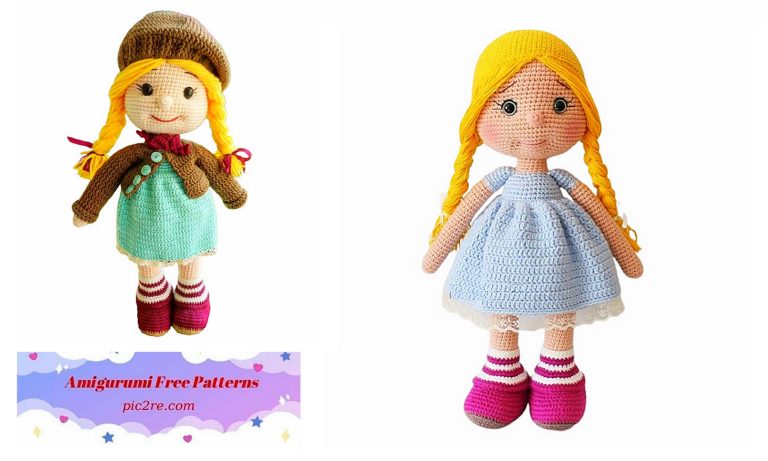
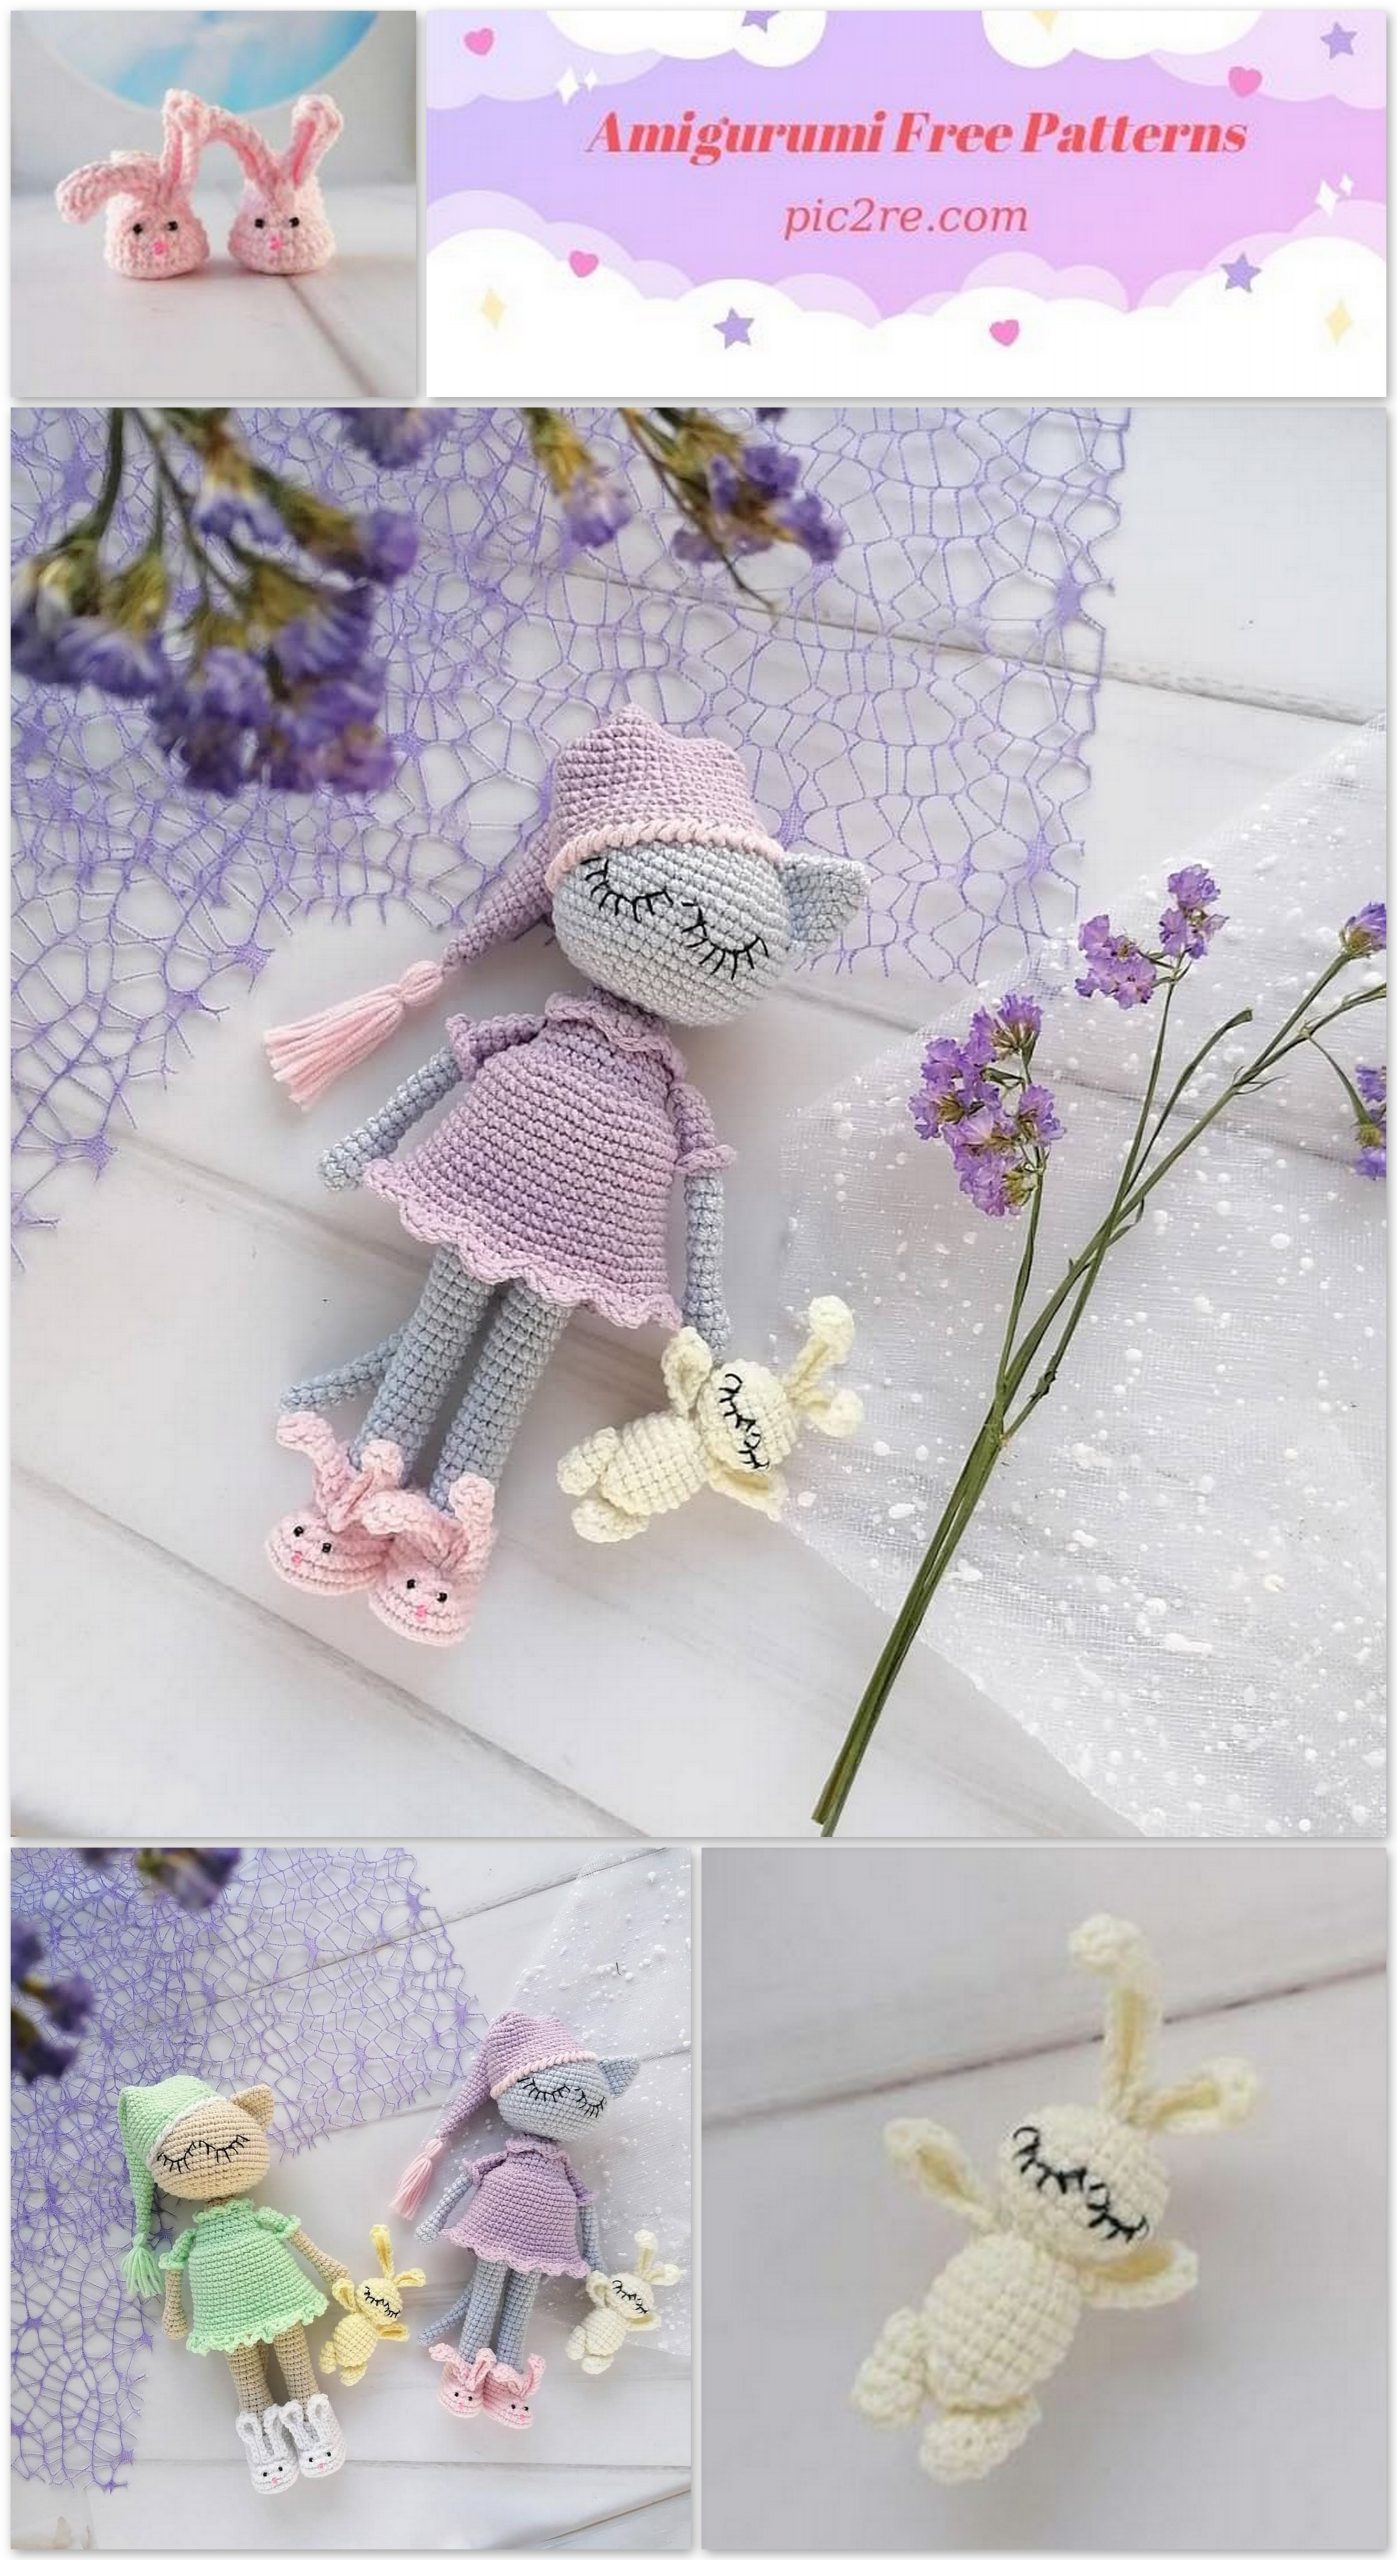
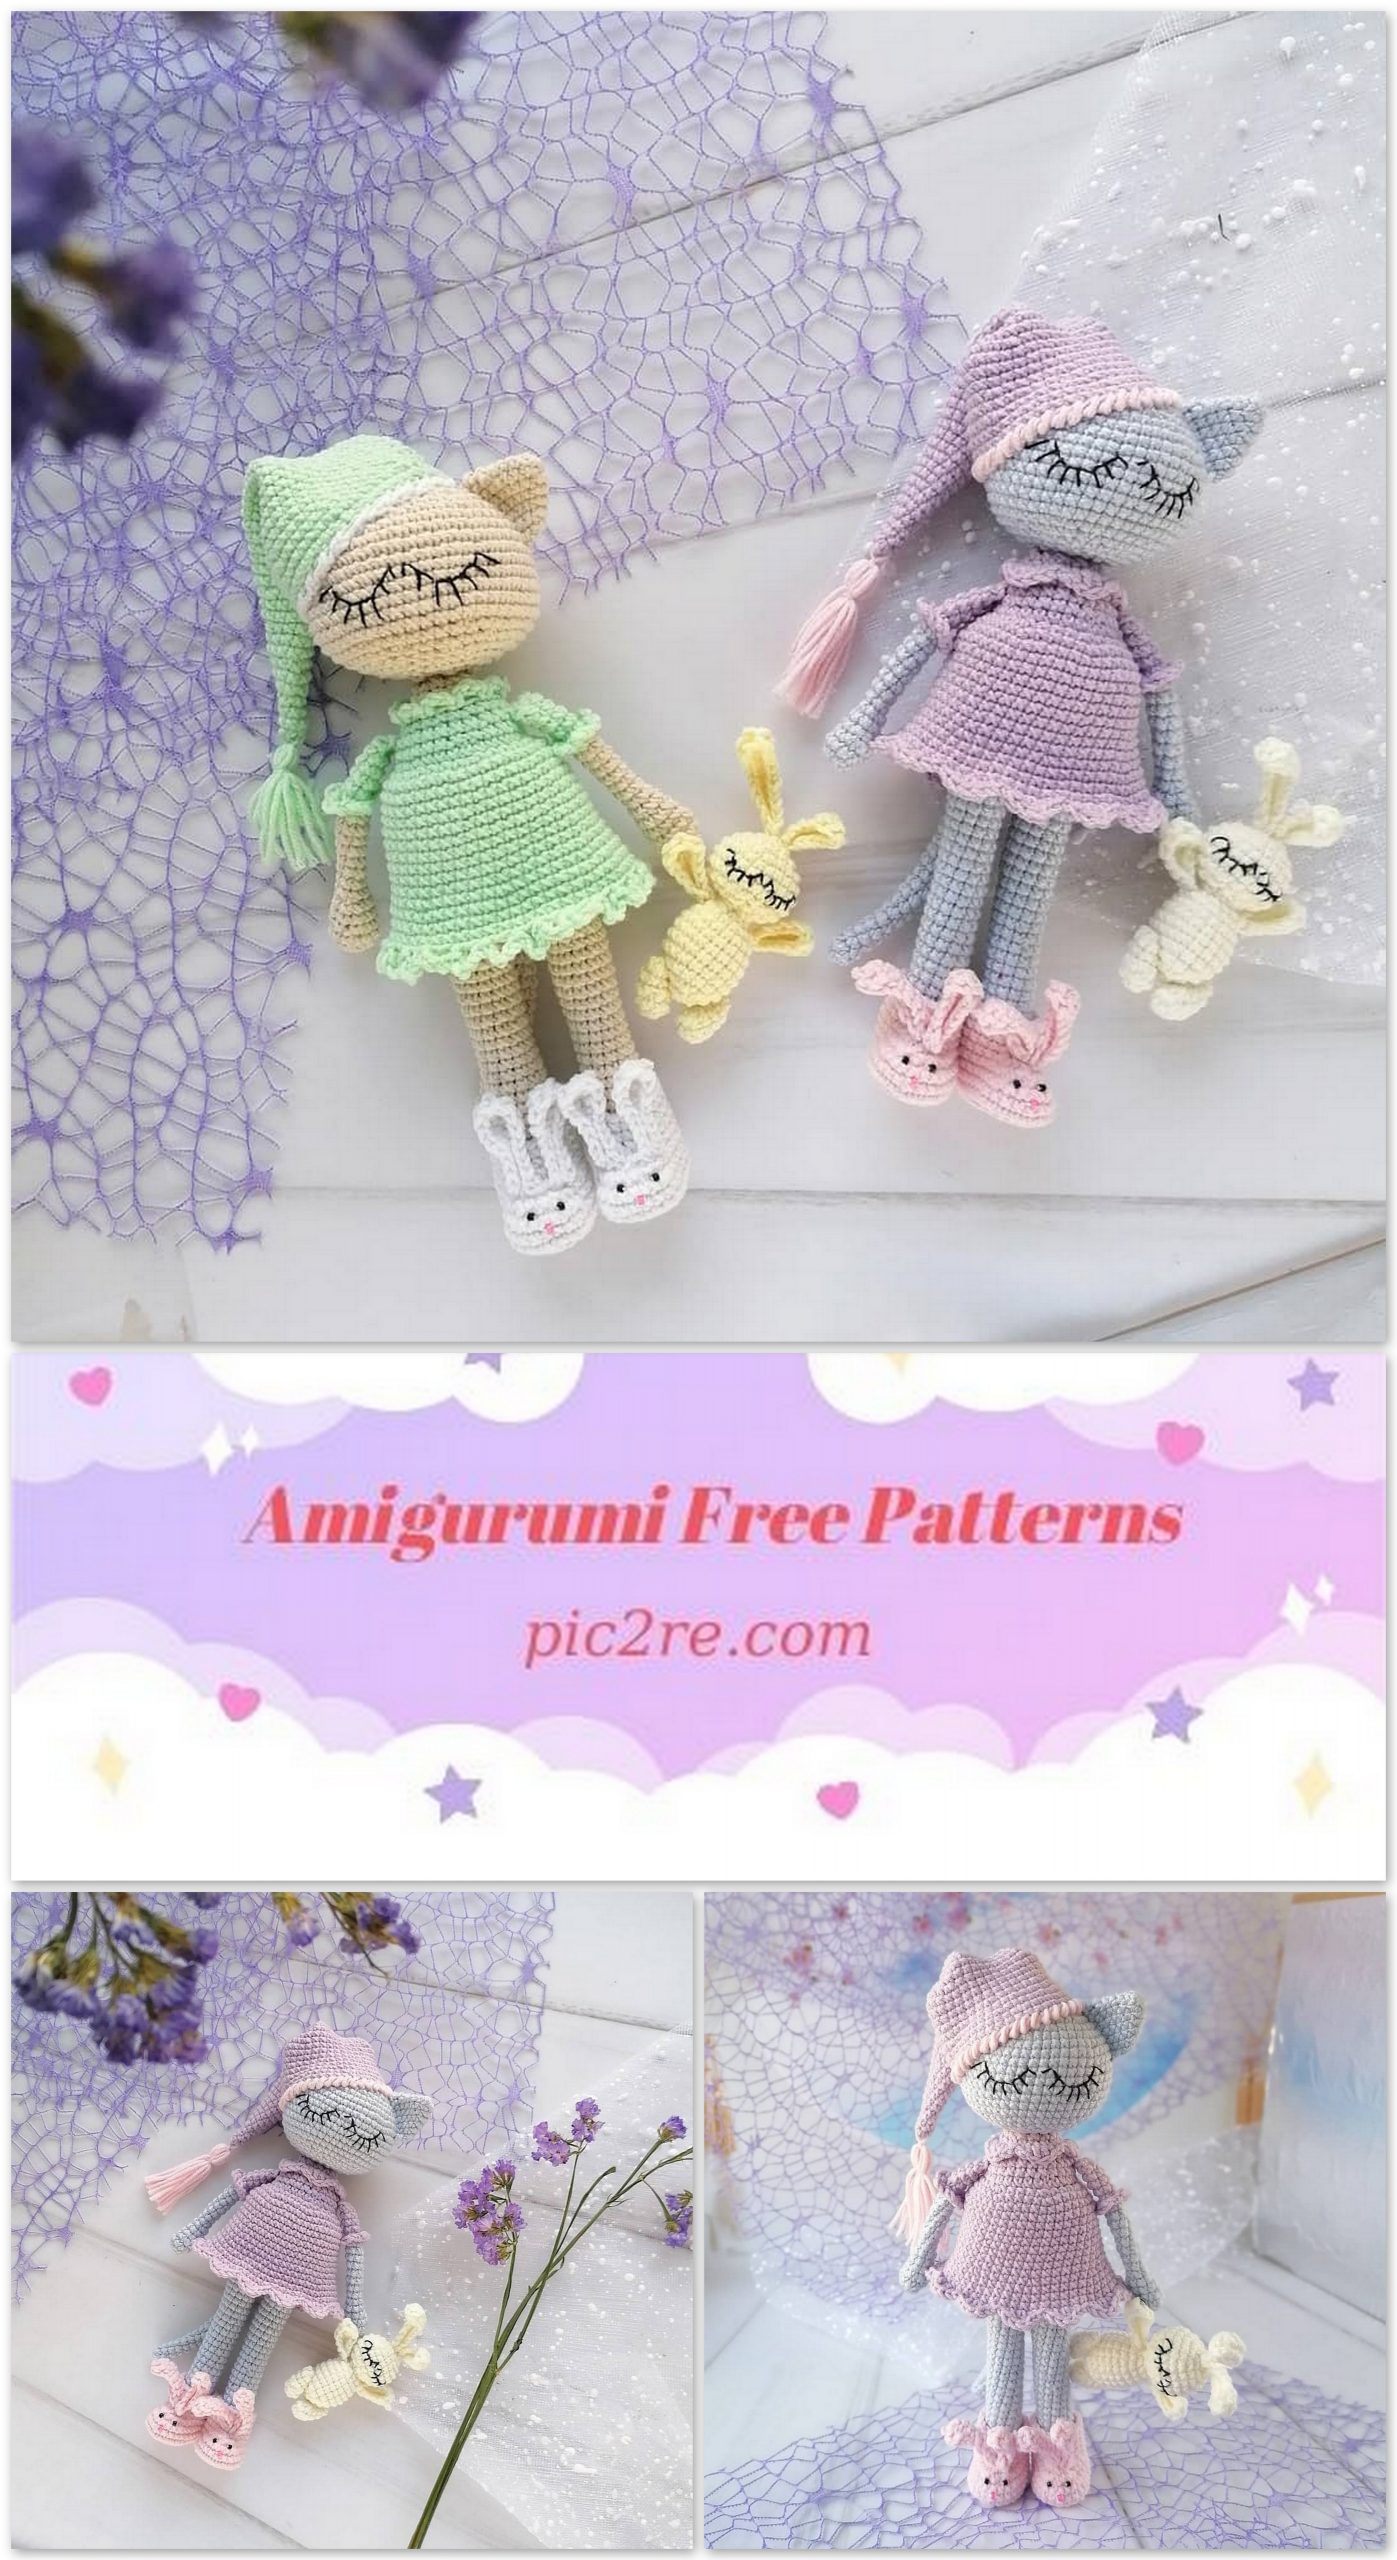
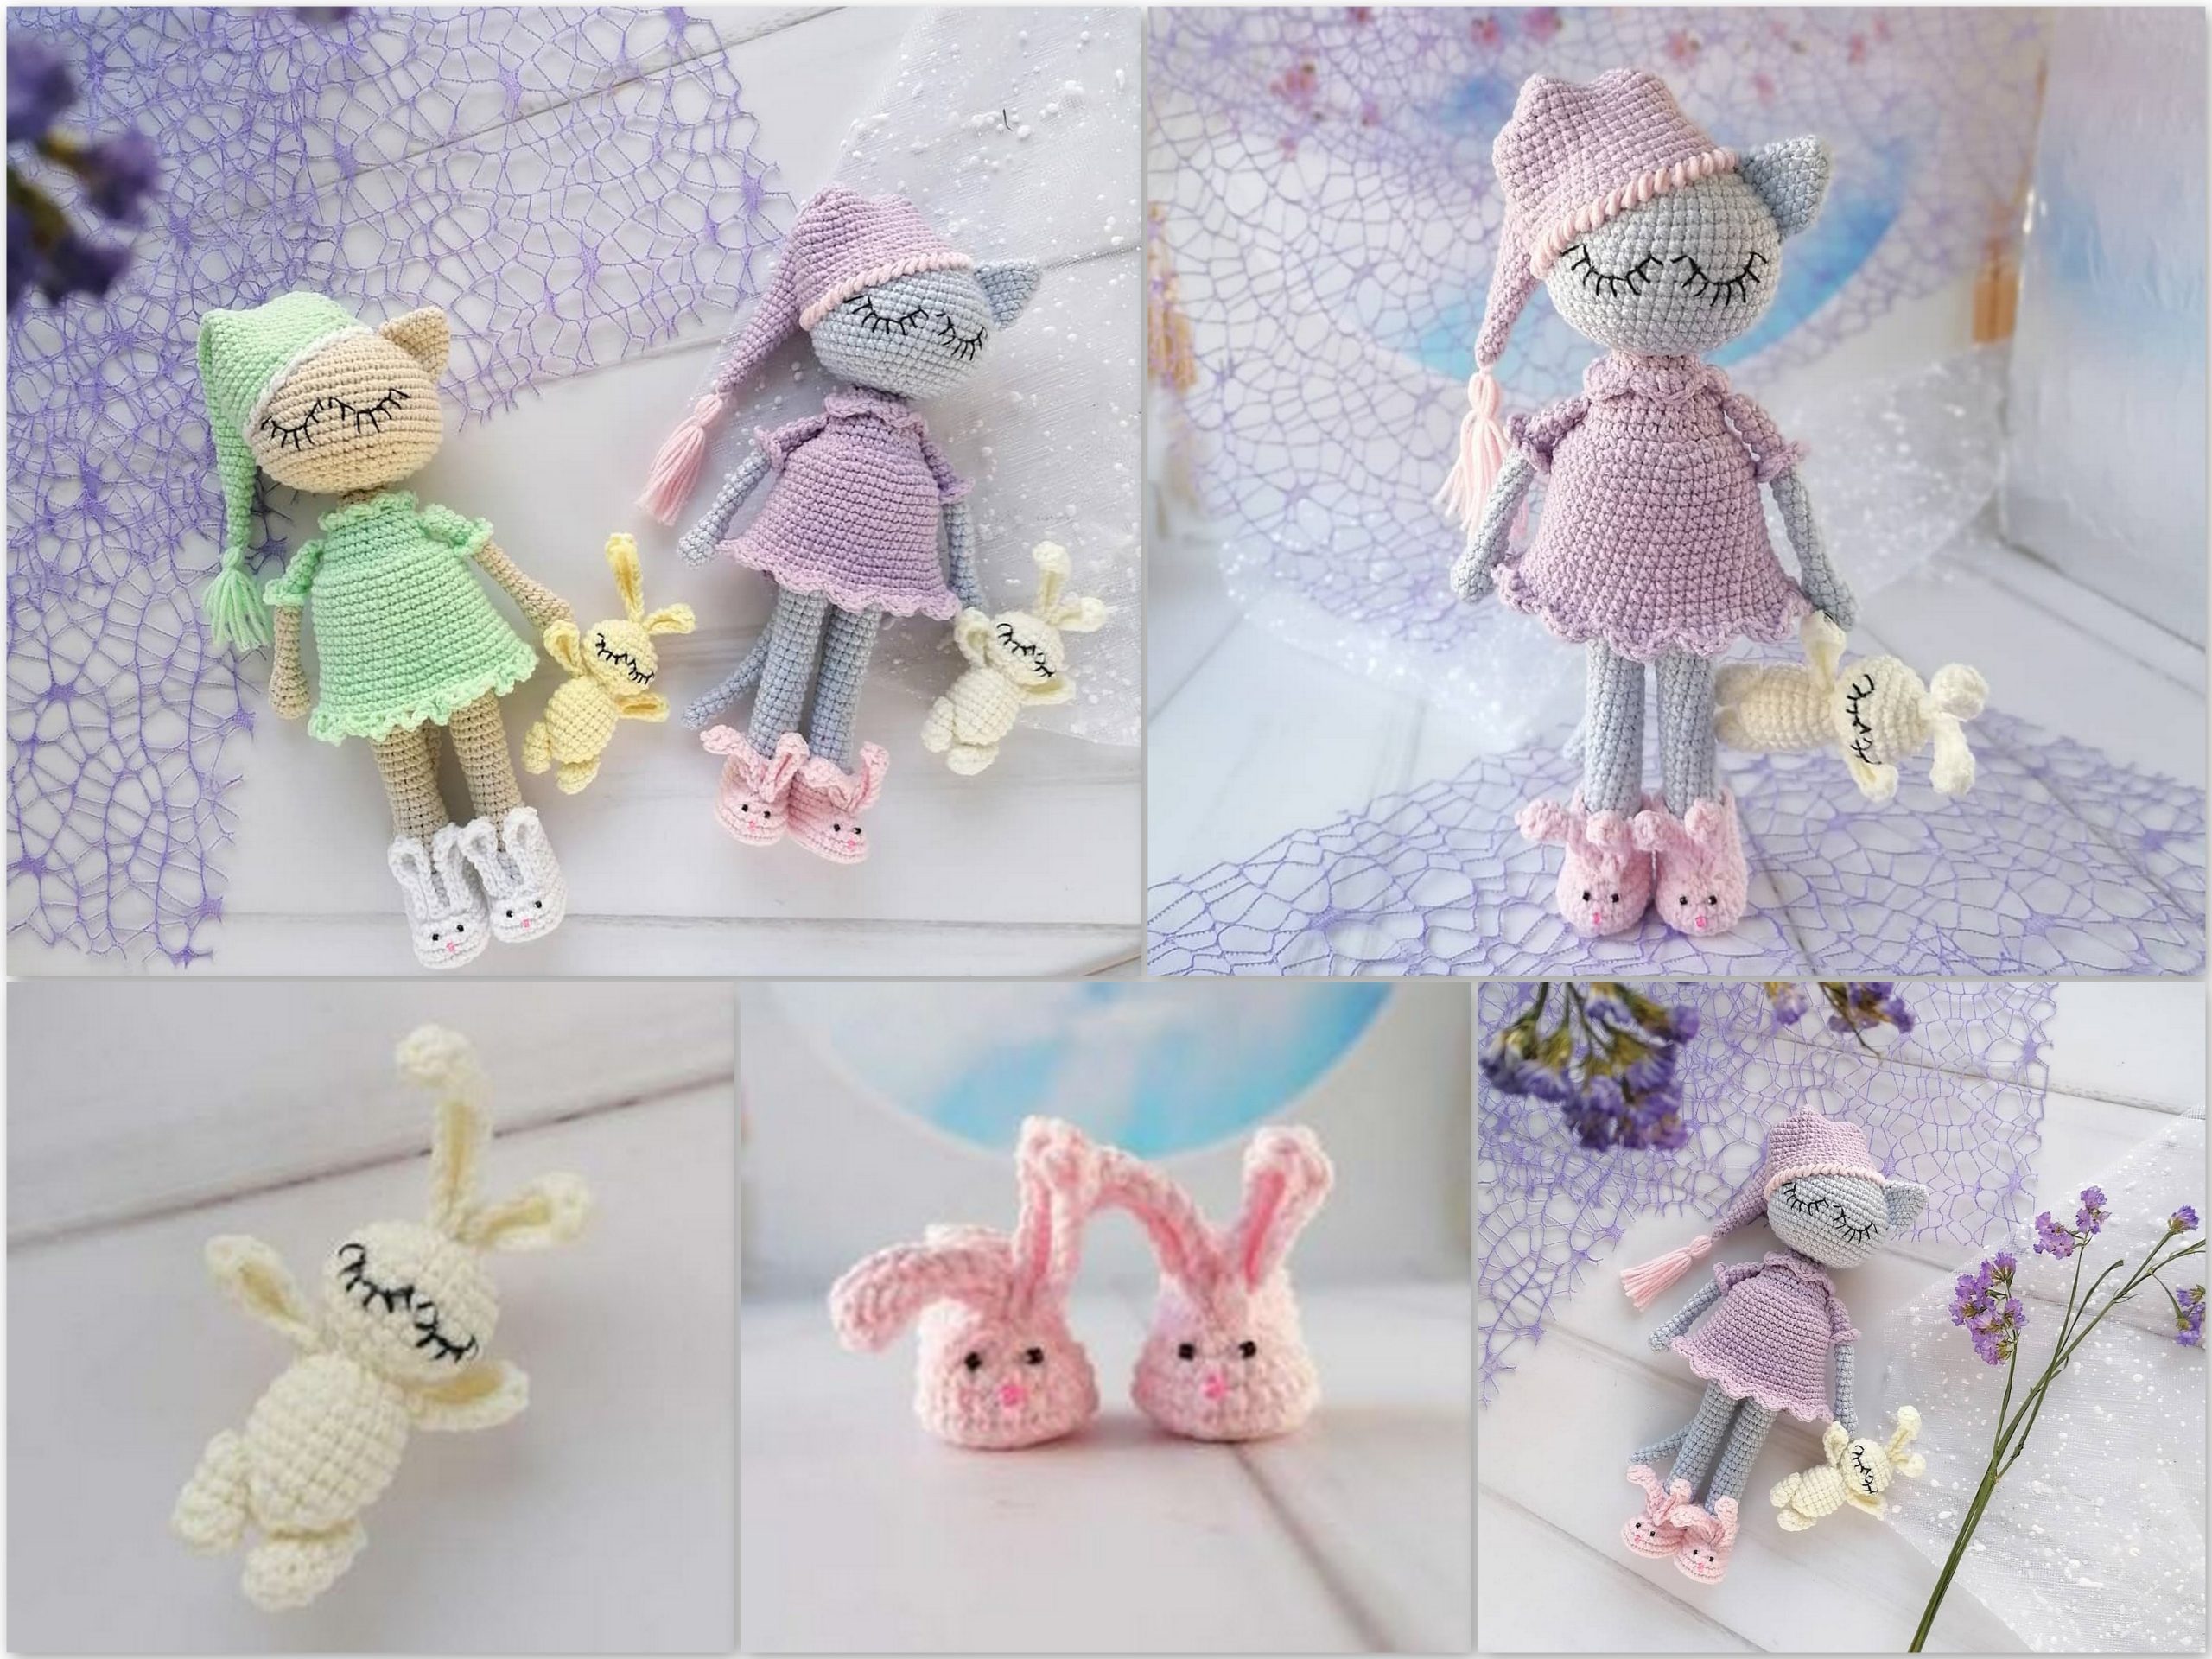
Amigurumi Kitty Sonya Free Pattern
Kitty Sonya
Necessary materials
● Yarnart jeans yarn in gray, pink, lilac and milk
(for the bunny) flowers (you can take any colors)
● Hook number 2
● Filler
● Needle and thread for sewing details and embroidery eyelet
● Safety pins
● Markers or contrasting thread to mark a new row
● 4 black beads and 2 pink beads (you can do without them by replacing with embroidery)
● Sew-on button with a diameter of 7 mm (it is possible without it)
● Good mood)))
Symbols
● Sc – single crochet
● İnc – increase
● Dec – decrease
● Dc – column with one crochet
● Hdc – half double crochet
● Sl-st – connecting post
● (N) – number of loops in a row / rows
Happy knitting)))
Legs (2 parts)
We stuff the legs as we knit
1.6 sc into magic ring
2.Inc * 6 (12)
3-30. 12 sc (28 rows)
fasten and cut the thread on the first leg, attach the first to the second leg and continue knitting
31.2 ch, 12 sc for one leg, 2 sc for ch, 12 sc for the other leg, 2 sc for ch (28)
Body
32. (6 sc, inc) * 4 (32)
33-34. 32 sc (2 rows)
35.6 sc, dec, 14 sc, dec, 8 sc (30)
We make sure that the decreases are exactly on the sides.
36-38. 30 sc (3 rows)
39.6 sc, dec, 13 sc, dec, 7 sc (28)
40-41. 28 sc (2 rows)
Change the thread color to lilac
42.28 sc
Next, we knit by the back walls of the loop
43.28 sc
44. (5 sc, dec) * 4 (24)
45.24 sc
46.4 sc, 2 dec, 8 sc, 2 dec, 4 sc (20)
We begin to fill the body
Change the color of the thread to gray (I forgot to change it)
Next, we knit by the back walls of the loop
47.3 sc, 2 dec, 6 sc, 2 dec, 3 sc (16)
48.2 sc, 2 dec, 4 sc, 2 dec, 2 sc (12)
49.12 sc
We fill the body to the end
We return to the lower front loops in row 43 and knit
chemise:
1. (3 sc, inc) * 7 (35)
2. (4 sc, inc) * 7 (42)
3-11. 42 sc (9 rows)
12. (5 sc, inc) * 7 (49)
13-15. 49 sc (3 rows)
We tie the bottom of the shirt:
(1 sl-st; one loop 1 sc, 1 hdc; one loop 2 dc; one loop 1 hdc, 1 sc) * 12, 1 sl-st.
We tie the collar in the same way.
(in one loop 1 sc, 1 hdc; in one loop 2 dc; in one loop 1 hdc, 1 sc; sl-st) * 5
We fix the collar with stitches so that it lies beautifully.

Head
1.6 sc into magic ring
2.Inc * 6 (12)
3. (1 sc, inc) * 6 (18)
4. (2 sc, inc) * 6 (24)
5. (3 sc, inc) * 6 (30)
6. (4 sc, inc) * 6 (36)
7. (5 sc, inc) * 6 (42)
8. (6 sc, inc) * 6 (48)
9-17. 48 sc (9 rows)
18. (6 sc, dec) * 6 (42)
19. (5 sc, dec) * 6 (36)
20. (4 sc, dec) * 6 (30)
21. (3 sc, dec) * 6 (24)
22. (2 sc, dec) * 6 (18)
23. (1 sc, dec) * 6 (12)
Stuff our head
Handles (2 parts)
1.6 sc into magic ring
2.Inc * 6 (12)
3.12 sc
4. (1 sc, dec) * 4 (8)
5-6. 8 sc (2 rows)
7. (2 sc, dec) * 2 (6)
8-14. 6 sc (7 rows)
We fill only the lower part of the handles
Change the color of the thread to the color of the shirt, attach the thread so that the free end of the thread is 50 cm long outside (we will tie it around the sleeve)
15.6 sc
16.6 sc for back hinge walls
17-20. 6 sc (4 rows)
Fold in half and knit 2 sc for both halves of the handle
We return to the non-knitted loops in the 16th row, and free
with the end of the thread (which we left) we tie the sleeves into each half-loop (3 ch, sl-st) * 6
We fix and hide the thread
Ears (2 parts)
1.6 sc into magic ring
2. (2 sc, inc) * 2 (8)
3. (3 sc, inc) * 2 (10)
4. (4 sc, inc) * 2 (12)
5. (5 sc, inc) * 2 (14)
6. (6 sc, inc) * 2 (16)
Fold the piece in half and knit 7 sc for both halves of the eyelet
Tail
1.6 sc into magic ring
2-25. 6 sc (24 rows)
Fold in half and knit 2 sc

Cap
1.6 sc into magic ring
2-4. 6 sc (3 rows)
5. (1 sc, inc) * 3 (9)
6-7. 9 sc
8. (2 sc, inc) * 3 (12)
9-10. 12 sc (2 rows)
11. (3 sc, inc) * 3 (15)
12-13. 14 sc (2 rows)
14. (4 sc, inc) * 3 (18)
15-17. 18 sc (3 rows)
18. (5 sc, inc) * 3 (21)
19-21. 21 sc (3 rows)
22. (6 sc, inc) * 3 (24)
23-25. 24 sc (3 rows)
26. (7 sc, inc) * 3 (27)
27-29. 27 sc (3 rows)
30. (8 sc, inc) * 3 (30)
31-33. 30 sc (3 rows)
34. (4 sc, inc) * 6 (36)
35. (5 sc, inc) * 6 (42)
36. (6 sc, inc) * 6 (48)
37. (6 sc, dec) * 6 (42)
38.42 sc, sl-st
Fasten the thread and hide with a needle between the loops.
Attach a pink thread and tie around the edge with a crustacean step.
We make a brush: cut the thread into 12 equal cuts, about 8 cm long, tie it with a thread in the middle, fold it in half and tie the brush on top. Strong to the cap.
Slippers (2 pieces)
We collect a chain of 5 ch, from the second loop from the hook we knit:
1.Inc, 2 sc, 4 sc in the last loop, knit on the other side:
2 sc, inc (12)
2.2 inc, 2 sc, 4 inc, 2 sc, 2 inc (20)
3. (1 sc, inc) * 2, 2 sc, (1 sc, inc) * 4, 2 sc, (1 sc, inc) * 2 (28)
4.28 sc for back hinge walls
5-6. 28 sc (2 rows)
7.10 sc, 4 dec, 10 sc (24)
8.8 sc, 4 dec, 8 sc (20)
9.8 sc, 2 dec, 8 sc (18)
10-11. 18 sc (2 rows)
Finishing knitting 2 sl-st
We knit ears (4 parts)
We collect a chain of 8 ch, from the second loop from the hook we knit:
5 sc, 1 hdc, 4 dc in the last loop, knit on the other side:
1 hdc, 5 sc.
We finish knitting, sew the ear in half at the base, sew to the 8th row.
Sew on beads (eyes and nose)
Bunny toy
Head, body:
1.6 sc into magic ring
2.6 inc (12)
3. (1 sc, inc) * 6 (18)
4. (2 sc, inc) * 6 (24)
5-7. 34 sc (3 rows)
8 … (2 sc, dec) * 6 (18)
9. (1 sc, dec) * 6 (12)
10.6 dec (6)
11.6 inc (12)
12. (1 sc, inc) * 6 (18)
13-18. 18 sc (6 rows)
19. (1 sc, dec) * 6 (12)
20.6 dec
We tighten the hole, fix and hide the thread.
Ears:
Small ear
cast on 7 ch, knit from 2 loops from the hook: 4 sc, 1 hdc, 4 dc in the last loop, knit on the other side: 1 hdc, 4 sc.
Fasten the thread, sew the eyelet in half.
Big ear
Cast on 11 ch, knit from 2 loops from the hook: 8 sc, 1 hdc, 4 dc in the last loop, knit on the other side: 1 hdc, 8 sc.
Fasten the thread, sew the eyelet in half.
Sew on the ears to the crown.
Legs (2 parts):
Cast on 6 ch, knit from the second loop from the hook: 3 sc, 1 hdc, 4 dc into the last loop, knit on the other side: 1 hdc, 3 sc.
Fasten the thread, sew the handle in half
Sew on the handles under the neck.
Legs (2 parts):
1.6 sc into magic ring
2. (1 sc, inc) * 3 (9)
3.2 sc, dec * 3, 1 sc (6)
4-5. 6 sc (2 rows)
We tighten the hole, fix and hide the thread.
We fasten the legs with a thread fastener.
Tail:
1.6 sc into magic ring
2.6 sc
We tighten the hole, fix and hide the thread.
Sew on the tail.
Sew a button to the right foot.
Assembly and design
Sew the handles to the body one row below the frills, to the left handle
Sew on the button.
Sew on the ponytail under the skirt in the 6th row of the body.
Sew on the head.
Sew on the ears to the head between rows 5 and 12.
We outline future eyes with needles. We embroider eyes between 11 and 14 rows at a distance of 5 loops. 1-2 loops between the eyes.
We embroider cilia, focusing on the photo.
Sew on the cap, give it the desired shape and fix the tip with several stitches to the head so that it does not protrude.
We put on slippers.
The kitty is ready)))