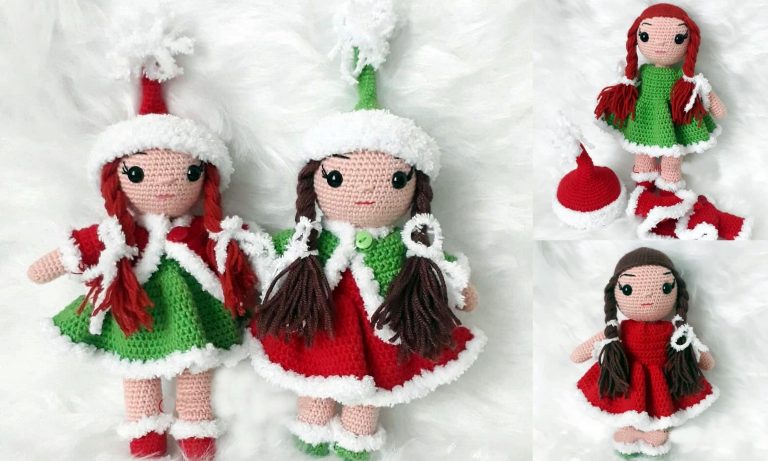
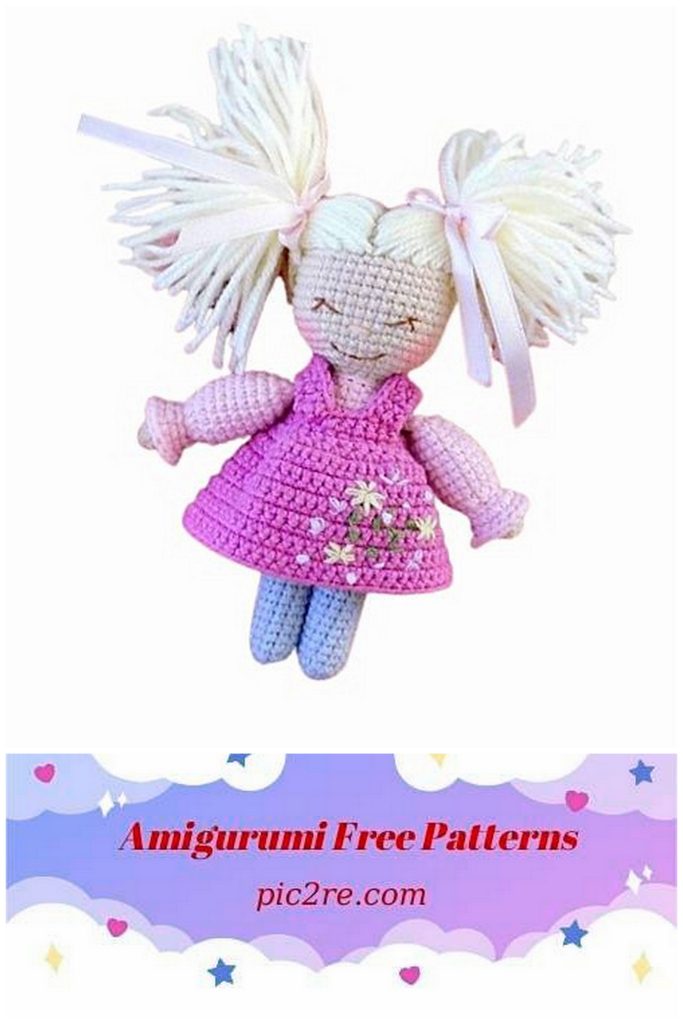
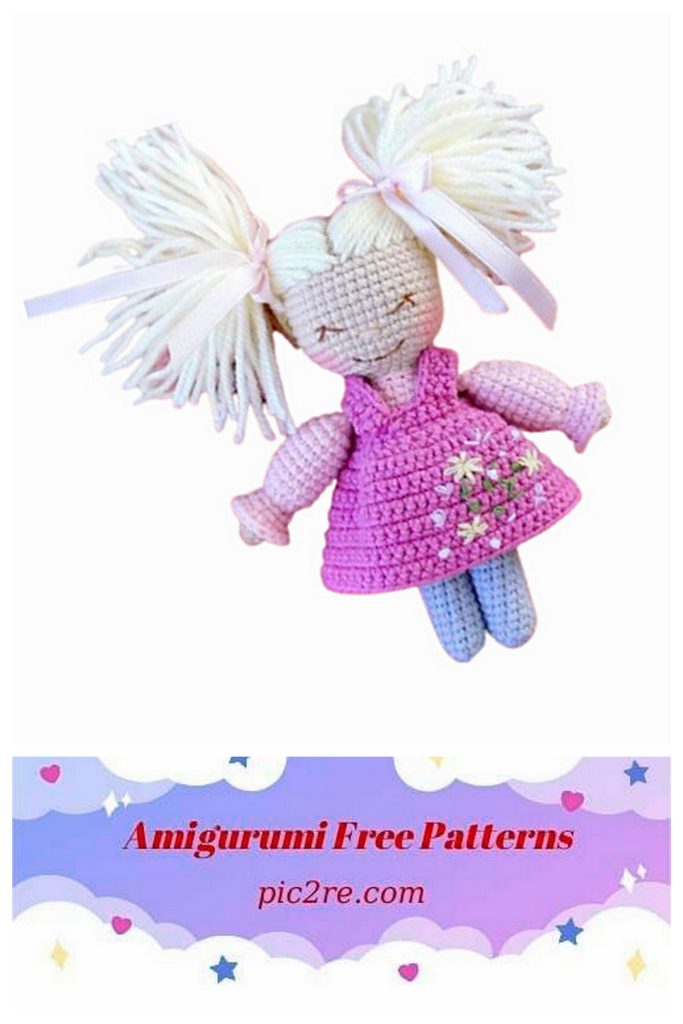
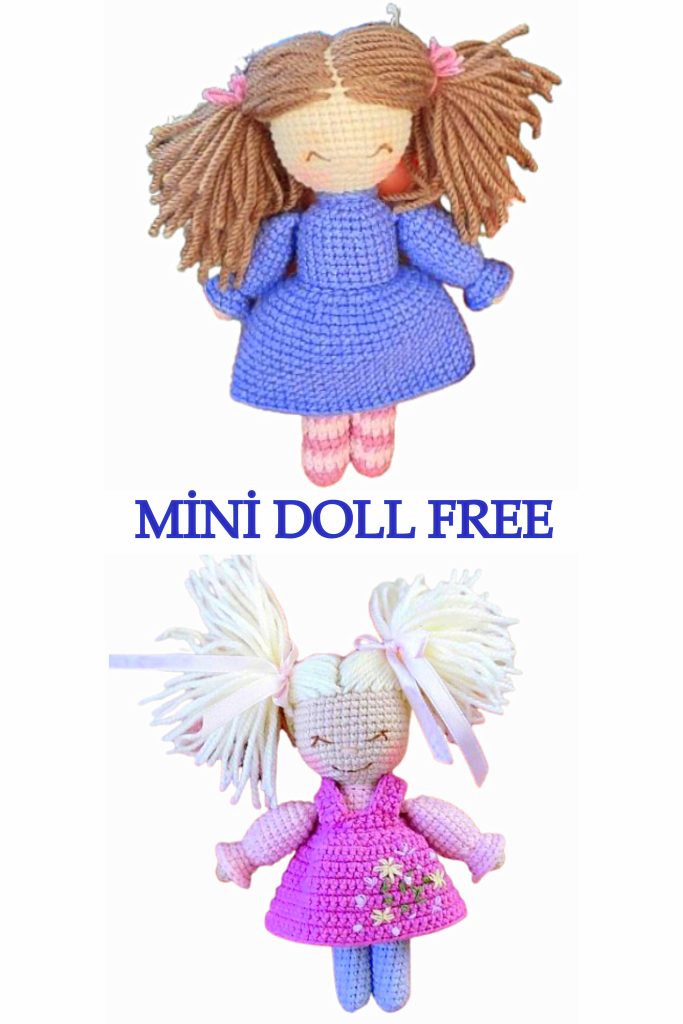
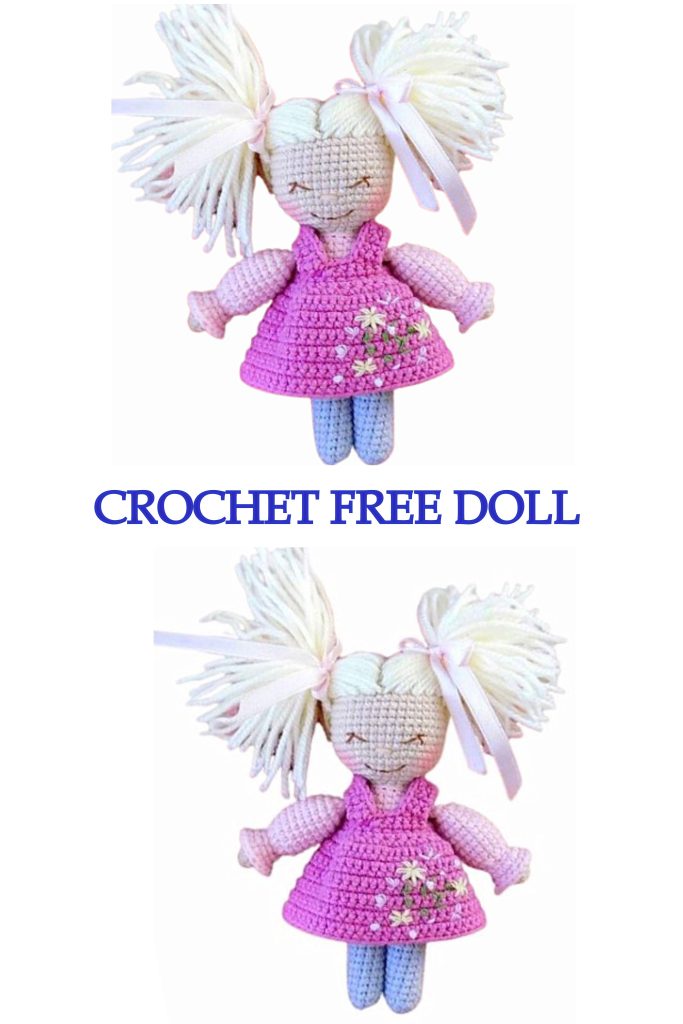
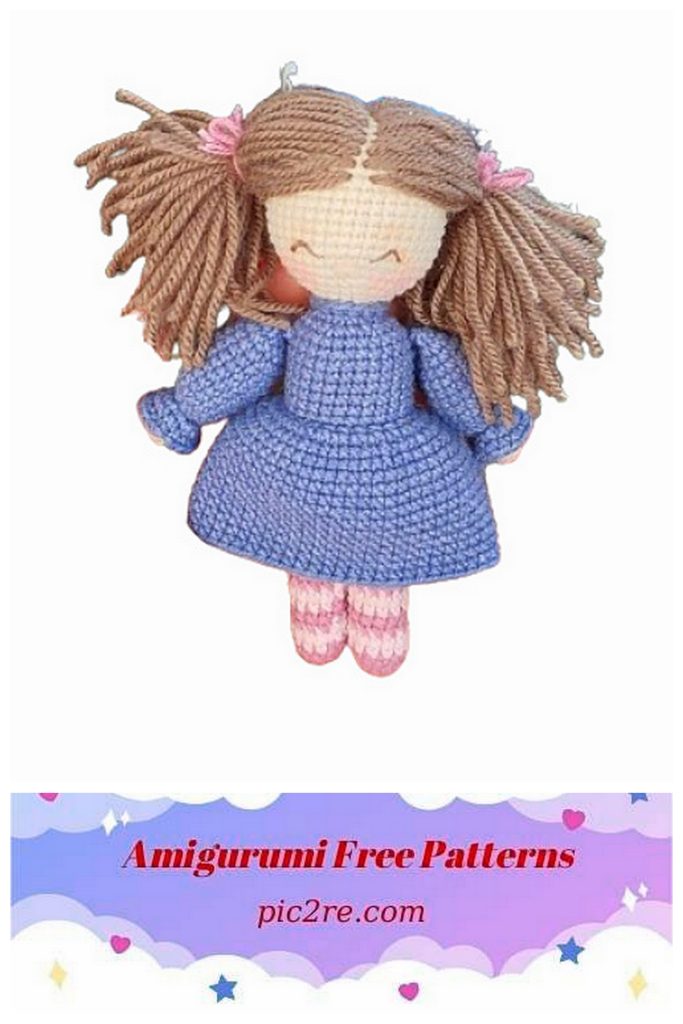
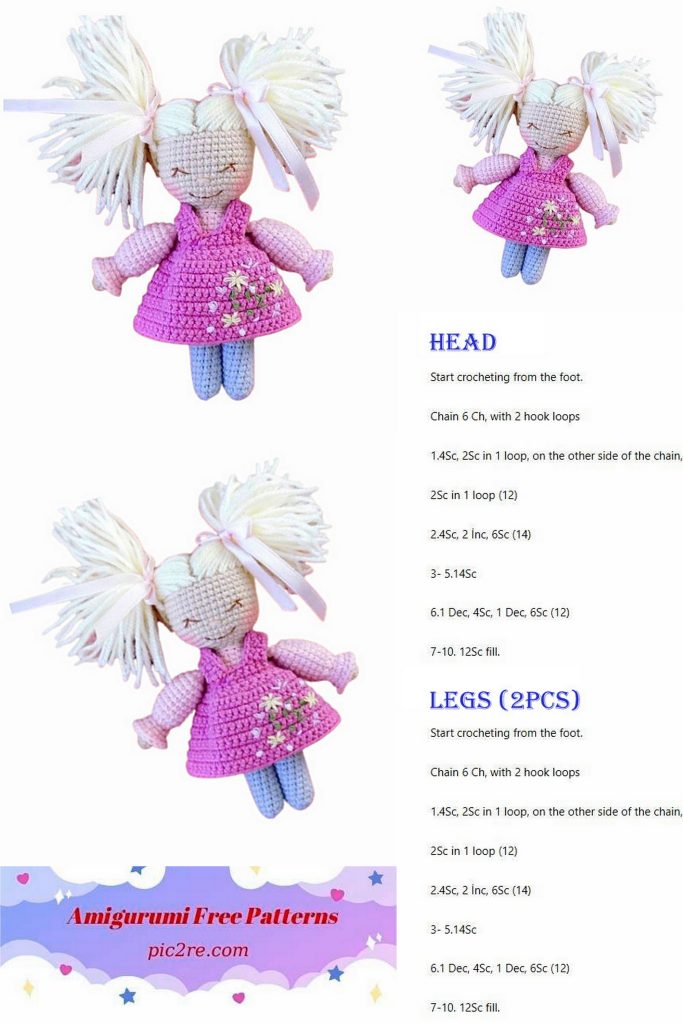
Amigurumi Mini Cute Doll Free Pattern
Amigurumi-style miniature dolls are among the cute and fun projects that knitting enthusiasts and handicraft enthusiasts can enjoy. These sweet little babies come to life with colorful threads and a little dexterity. If you are interested in hand knitting and creativity, Amigurumi mini doll making may be a great activity for you.
Materials
1. Yarn yarn art geans: for body 05; pink 18; gray 80 ; yellow 86.
2. Yarn for hair 100% acrylic (I used pekhorka “children’s novelty” yarn).
3. Hook 2.00mm.
4. Holofiber.
5. Yarn for decorating the face.
6. Needle.
7. Strong thread for attaching hair.
Abbreviations
SC-single crochet
CH – air loop
SL-ST – connecting post
MR- amigurumi ring
İNC – increase
DEC – decrease
Since your hands will get involved as you knit, you need to start knitting with your hands.
Hand (two hands connected equally).
Body color.
1p.6Sc in Mr
2p.(1Sc,1İnc)×3= 9Sc
3-4r.9Sc
Let’s start knitting a sleeve.
Attach a thread of an additional color. Leave the end of the thread approximately 2 meters. The body color thread can be cut off; we will no longer need it.
5r.9Sc
6p.9Sc for the far wall of the loop.
For ease of knitting, at this stage we knit the bottom of the sleeve using the thread from the beginning of the color change. Then we will continue knitting the main part of the sleeve.
We knit the bottom of the sleeve.
Pick up the tip of the thread from the beginning of knitting the sleeve, and knit against the main knitting stroke (in the opposite direction) behind the near wall of the loop.
1r.9Sc
2р.9İnc=18Sc
3 rub. 18Sc. Finish row 1Sl-st Cut the thread. Hide the end of the thread.
We continue to knit the main part of the sleeve.
7r.9İnc = 18Sc
8-16r.18Sc
Fill the brush tightly (body color), fill loosely to the middle of the sleeve.
17r.9Dec=9Sc
Fold in half and knit 4Sc sleeves on both sides. To secure the thread, knit 1 Ch., tighten. Cut the thread.
Knit the other hand in exactly the same way.
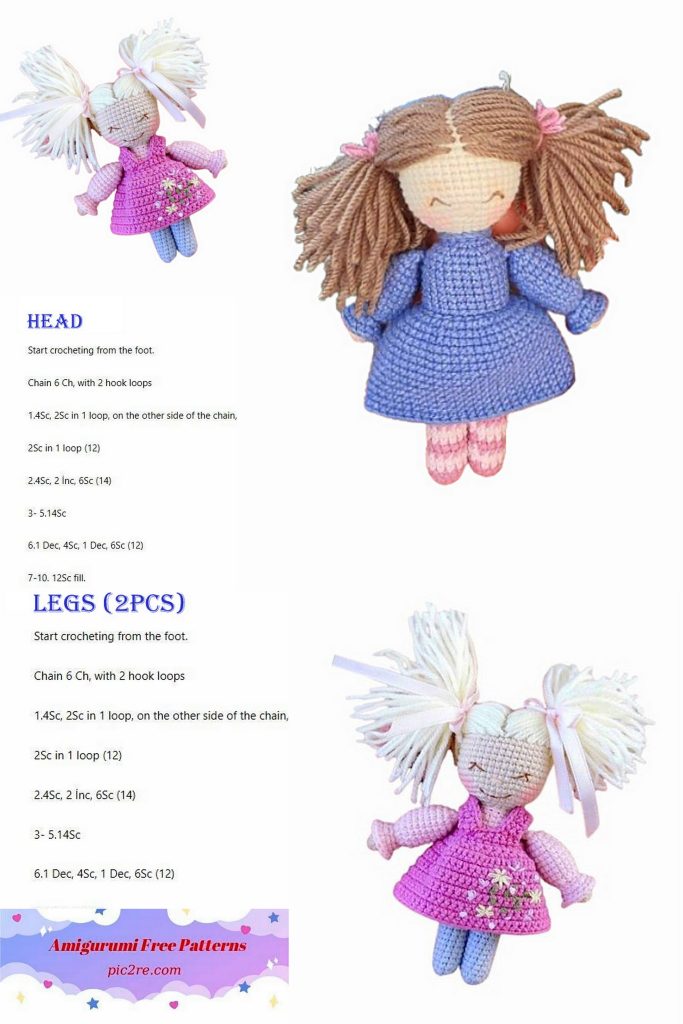
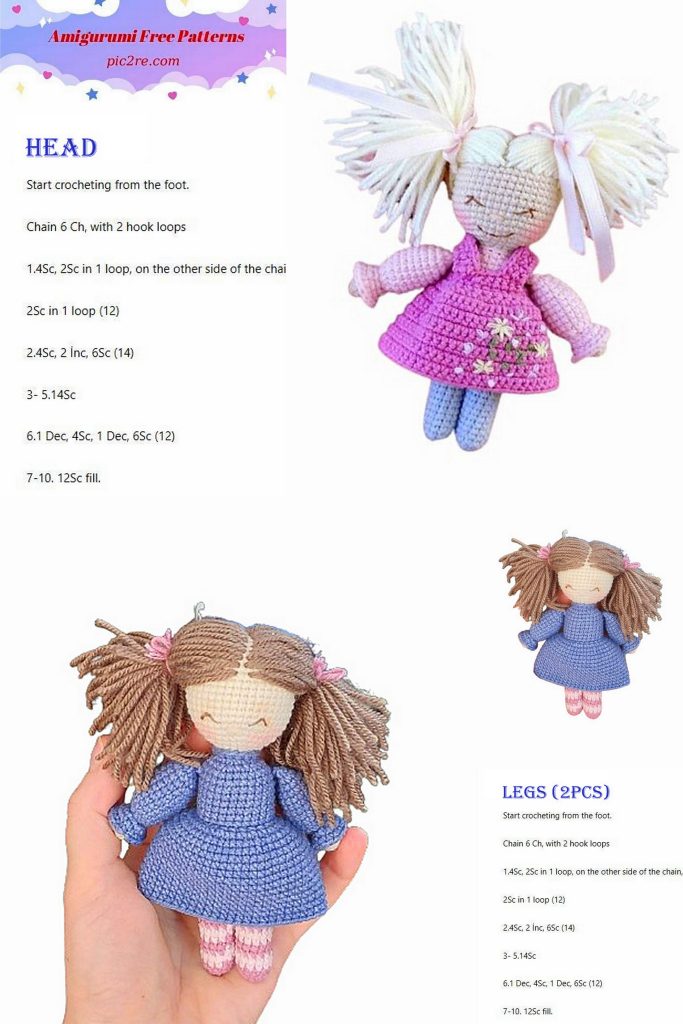
Leg (Two legs connected equally).
1p.6Sc in Mr
2р.6İnc =12Sc
3-18r.12Sc
Fill tightly.
Body.
Cut the thread on 1 leg, on the second leg do not cut the thread, knit 1 Ch., attach the first leg, knit 12Sc; 1Sc for one wall of the air loop, 12Sc for the second leg, 1Sc for the second wall of the air loop, put a marker (mark the beginning of the row).
1-6r.26Sc
Attach a thread of a different color (color of the dress).
7r.26Sc
8p.26Sc for the far wall of the loop.
9-13r. 26Sc
Fill tightly, paying special attention to the area where the legs and body connect.
In the 14th row we will tie our hands. Marker (beginning of row)
should be located in the center of the back. If the beginning of the row “goes” back, knit 1 Sc offset. We make sure that the hands are positioned strictly at the sides.
14p.3Sc, 4Sc with hand (knitting 1Sc of body and 1Sc of arms at the same time), 12Sc, 4Sc with hand (knitting at the same time
1Sc body and 1Sc arms), 3Sc.
15r.3Sc, 1Dec, 16Sc,1Dec, 3Sc = 24Sc
16r.(2Sc, 1Dec)×6= 18Sc
Fill tightly.
17r.(1Sc, 1Dec)×6=12Sc Change the color of the dress to the color of the body.
18R.12Sc for the far wall of the loop. Cut the thread in the color of the dress and hide the tip.
19 rub. (1Sc, 1İnc)×6=18Sc
Head.
20r.(2Sc, 1İnc)×6= 24Sc
21r.(3Sc, 1İnc)×6=30Sc
22r.(4Sc, 1İnc)×6=36Sc
23r.(5Sc, 1İnc)×6=42Sc
24-32r. 42Sc
Fill the shoulder and neck area tightly.
33 rub.(5Sc, 1Dec)×6=36Sc
34r.(4Sc, 1Dec)×6= 30Sc
35 rub.(3Sc, 1Dec)×6=24Sc
36 rub.(2Sc, 1Dec)×6=18Sc
Fill your head tightly. We form an even ball on all sides.
37r.(1Sc, 1Dec)×6= 12Sc
38r.6Dec= 6Sc
Tighten the hole with a needle.
Hair
Cut the yarn into pieces 20cm long.
Mark the hair line.
On the forehead, the hairline runs between rows 31 and 32. We mark the middle of this line (the middle of the forehead), and from this point to the sides we count 7Sc. We mark the extreme points of the hairline on the forehead with bobby pins.
The hairline at the back of the head runs between rows 26 and 27.
We mark the middle of this line, and from this point to the sides we count 5Sc. We mark the extreme points of the hairline of the back of the head with bobby pins.
First, we stitch the hair moving along a straight line that runs from the nape line, through the center of the head, to the forehead line. Then we sew a parallel line from the line of the forehead to the line of the back of the head. Between these lines 1Sc. We form an even parting. For a beautiful parting, stitching should be done in each row.
Hair fastening method.
We’ll need a durable one! thread (be sure to check it for breakage). For ease of explanation, I’ll call this thread the “warp thread.” Thread the warp thread into the needle, tie a knot, hide the knot in the head, and bring the needle out in the right place.
Secure the hair thread to the warp thread with a knot as close to the head as possible and insert the needle into the same hole. Bring the needle through the row again. Tighten the warp thread tightly so that the hair knot “hides” inside the head. We will attach all the hair in this way.
Face design.
Between the rows we mark with invisible eyes the location of the eyes. Between the Invisibles 4Sc.
1. Insert a needle with a knot in the back of the head, hide the knot inside the head, withdraw the needle at the place where the eyes are embroidered (point A).
2. Insert the needle in the same row through 3Sc (point B), and without tightening the thread, bring the tip of the needle to the top in the next row through 1 stitch (point B). Make sure that the thread passes under the needle.
3. Remove the needle completely, lay the thread, and insert the needle in the same place (point B).
4. Bring the needle through 1 column in the same row for embroidering eyelashes (point D). Insert the needle again into point B and bring it out at the place where the second eye is embroidered. Repeat the same.
Mouth.
1.After stitching from point G to point B, bring the needle to point D (point D 3 rows below the eye line).
2.Remove the needle and weight completely tee in the same row through 6 columns (point I). Bring the needle 1 row lower, 1 column from point D (point K).
3.Remove the needle completely from point K, grab the “mouth line”, and insert it again into point K. Bring the needle to point L. Grab the “mouth line” again, and again insert the needle to point L. Bring the needle to the back of the head. Cut the thread and hide the end.
Nose.
1. Insert a needle with a knot in the back of the head, hide the knot inside the head, withdraw the needle at the place where the nose is embroidered (point A). Point A is located 1 row below the eye line.
2. Insert the needle in the same row through 2Sc (point B).
3. Bring the needle to point A and reinsert it to point B. Bring the needle to the back of the head. Cut off the thread and hide the end. Add tint as desired. For tinting, I used dry pastel “portrait” Gamma.
Dress (Hook 2.00).
Dial 27Ch.
Start knitting from the second loop from the hook. We will knit in turning rows. At the end of each row 1Ch. rise.
1-2 rub. 26Sc
3р.26İnc= 52Sc
4-14r. 52Sc
Knit single crochets on 1 side.
When tying, we knit 3Sc into all corner posts.
On top:
5Sc, 1Ch. rise.
Next, knit the strap in turning rows, 2 Sc per
each row, 16 rows. In every row except the last one,
do 1 Ch. rise.
Count from the strap along the top of the dress
4Sc, into 5Sc from the wrong side, insert the hook (after removing the loop from it). Grab the strap loop and pull it to the wrong side. Make 1Ch. Knit 2 connecting stitches, at the same time picking up the loop of the top of the dress and the loop of the strap (we knit the first connecting stitch under the same loop from which we pulled the loop from the strap).
Next 4Sc. +1Ch. We knit in turning rows 16 rows of 2Sc. (same as the first strap). Skip 4Sc, join in the same way.
Work 3Sc to edge, 1Ch., turn.
Single crochet stitching along the straps, top, sides and bottom of the dress.
(In corner columns at 3Sc).
Work 3Sc to edge, 1Ch., turn.
Single crochet stitching along the straps, top, sides and bottom of the dress.
(In corner columns at 3Sc).
Knit a buttonhole.
I hope everything worked out for you!