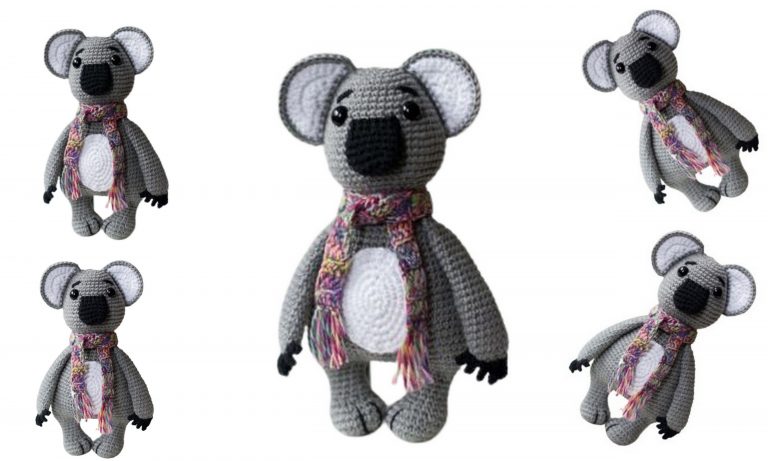
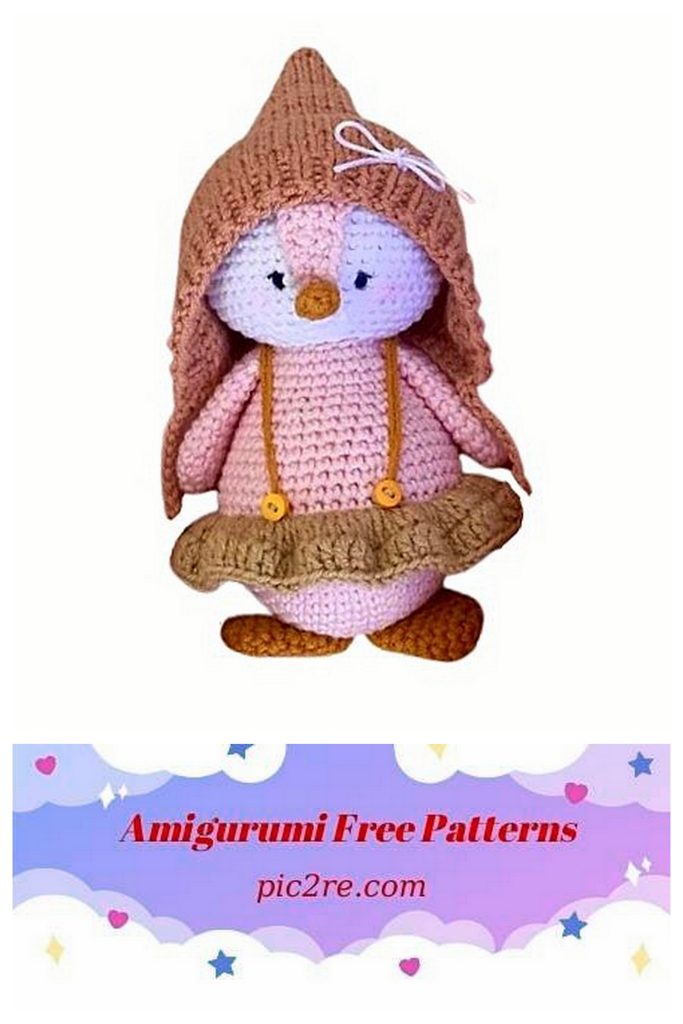
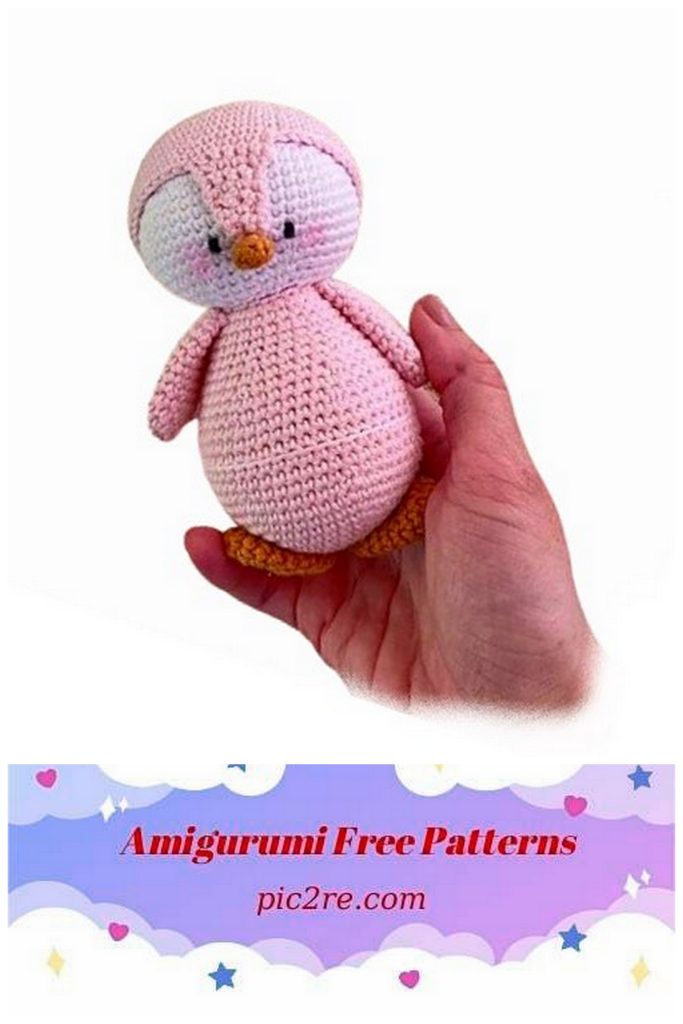
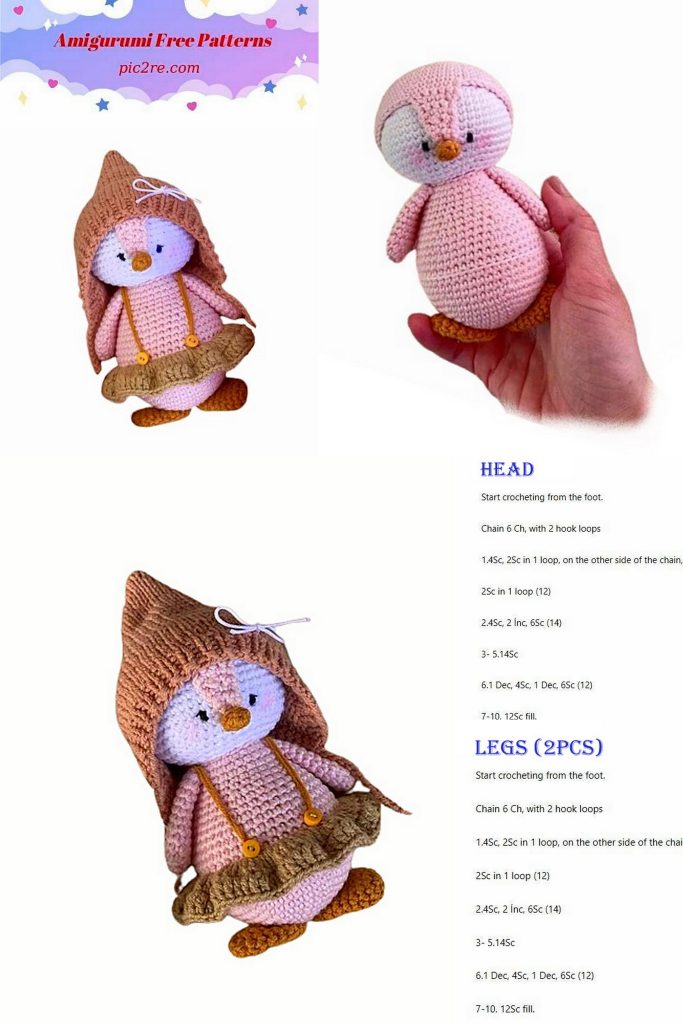
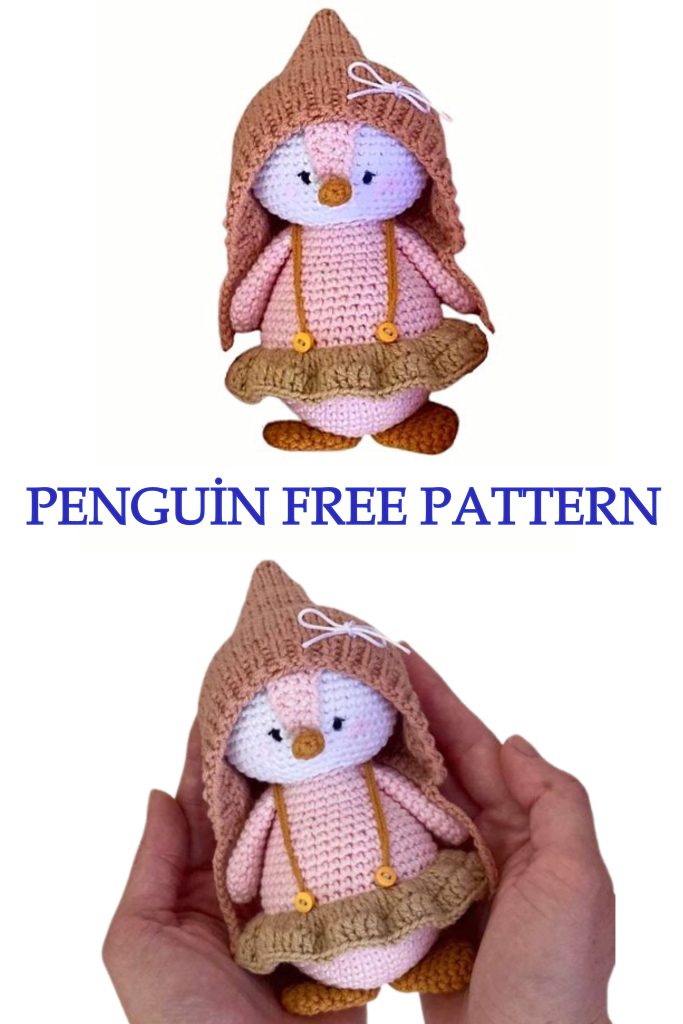
Amigurumi Penguin in hat Free Pattern
This pattern offers both an excellent challenge for experienced amigurumi masters and a great starting point for beginners. All you need to do is start with suitable colors of yarn and a few basic knitting techniques.
This cute penguin figure would be a great option to gift to your loved ones or add to your own collection. It can also be used as a fun playmate or decorative item for kids.
Abbreviations
Mr Magic ring
Sc-single crochet
İnc-increase
DC double crochet
Ch-air loop
Dec-decrease
S-st-connecting post
Knit – knit stitch
Purl – purl loop
Materials:
*Gazzal baby cotton pink for the body and hood – 1 skein, a little beige for the skirt. *Alize cotton gold or Gazzal baby cotton white for the head and brown for the hat – less than a skein, a little mustard color for the paws.
*Hook No. 2.
*Sewing black threads or floss threads for embroidering eyes.
*Holofiber filler
*Two knitting needles No. 2 for a hat When using these materials, the height of the finished toy is 12 cm.
Head:
1)6Sc in amigurumi ring
2)6İnc(12p)
3)(1Sc,İnc)*6 times (18p)
4)(2Sc,İnc)*6 times (24p)
5)(3Sc,İnc)*6 times (30p)
6)(4Sc,İnc)*6 times (36p)
7)(5Sc,İnc)*6 times (42p)
8)(6Sc,İnc)*6 times (48p)
9)(7Sc,İnc)*6 times (54p)
10-16)54Sc
17)(7Sc,Dec)*6times (48p)
18)(6Sc,Dec)*6times (42p)
19)(5Sc,Dec)*6times (36p)
20)(4Sc,Dec)*6times (30p)
21)(3Sc,Dec)*6times (24p)
22)(2Sc,Dec)*6times (18p)
23)(1Sc,Dec)*6 times (12p)
24)6Dec
Pull the hole and cut the thread.
Hood:
1)6Sc in amigurumi ring
2)6İnc(12p)
3)(1Sc,İnc)*6 times (18p)
4)(2Sc,İnc)*6 times (24p)
5)(3Sc,İnc)*6 times (30p)
6)(4Sc,İnc)*6 times (36p)
7)(5Sc,İnc)*6 times (42p)
8)(6Sc,İnc)*6 times (48p)
9)(7Sc,İnc)*6 times (54p)
10-15)54Sc

Unfolding knitting:
1Ch,6Sc (at the end of each row we unfold the knitting)
1Ch,1Dec,2Sc,Dec
1Ch,4Sc
1Ch,4Sc
1Ch,1Dec,2Sc
1Ch,3Sc
Leave the thread for sewing
Body:
1)6Sc in amigurumi ring
2)6İnc(12p)
3)(1Sc,İnc)*6 times (18p)
4)(2Sc,İnc)*6 times (24p)
5)(3Sc,İnc)*6 times (30p)
6)(4Sc,İnc)*6 times (36p)
7)(5Sc,İnc)*6 times (42p)
8)(6Sc,İnc)*6 times (48p)
9)(7Sc,İnc)*6 times (54p)
10)54Sc
11)(7Sc,Dec)*6times (48p)
12-13)48Sc
14) Knit in the back loop 48Sc
15-16)48Sc
17)(6Sc,Dec)*6times (42p)
18)42Sc
19)(5Sc,Dec)*6times (36p)
20)36Sc
21)(4Sc,Dec)*6times (30p)
22-26)30Sc
Stuff and leave thread for sewing.
Wings (2 parts):
1)6Sc to Mr
2)6Sc
3)6İnc (12Sc)
4-11)12Sc
There is no need to stuff the wings.
Fold the wing in half and knit 6Sc. Leave the thread for sewing.
Paws (2 parts):
1)6Sc to Mr
2)6İnc (12p)
3-9)12Sc
10)(1Sc,Dec)*4 times (8p)
Pull the hole.
No need to stuff.
Leave the thread for sewing.
Beak:
1)5Sc to Mr
2-4)5Sc
No need to stuff.
Leave the thread for sewing.
Collecting the penguin:
Sew the head to the body
Sew the hood to the head like this:
Sew on the wings:
Sew on the paws
Sew on the beak:
We embroider the eyes at the level as shown in the photo, the height of the eye is 1 Sc. We blush the cheeks with dry pink eye shadow.
We knit a skirt:
We knit 14 rows using the front loops.
Attach the thread:
1)(3 Ch,1DC in one stitch),2DC in each stitch to end of row.
2) 1 dc in each loop of the end of the row. Cut the thread.
Making the straps:
We thread the yarn into the needle and make a knot:
We stick it in the back under the skirt, take the needle and thread out and throw it over
over the penguin’s shoulder:
And we stick a needle in the front under the bottom of the skirt, make a knot, and hide it.
We make the second strap in the same way
Cap:
Cast on 45p needles
We knit 4 rows with an elastic band 1*1(1Knit,1Purl.)
We knit 24 rows in stockinette stitch:
This is the first decrease.
Let’s start making adjustments:
We will need to make 3 decreases at the beginning of the row.
We knit the edge loop and the loop that follows it together.
Now we put the loop formed as a result of the decrease back on the left knitting needle and knit it together with the next knit stitch.
This is the second decrease.
Now again we put the loop formed as a result of the decrease back on the left knitting needle, followed by a knit stitch.
This is the third decrease.
Now we knit with facial loops to the end of the row without decreasing.
Next, at the beginning of each row, we make 3 decreases according to the above description, until 3-4 loops remain on the knitting needles.
In the purl rows we also knit decreases with knit stitches.
Now we sew the cap along the uneven edge.
Then leave the thread for sewing.
We put the remaining loops on the hook, pull the thread through them and tighten.
We knit strings for a hat:
We knit the number of columns arbitrarily.
We cast on 12 Ch, then we knit single crochets along the bottom edge of the cap, as shown in the photo:
When you have knitted the edge of the cap to the end, cast on 12Ch again and cut off the thread.
The ties are ready.
Our penguin is ready!