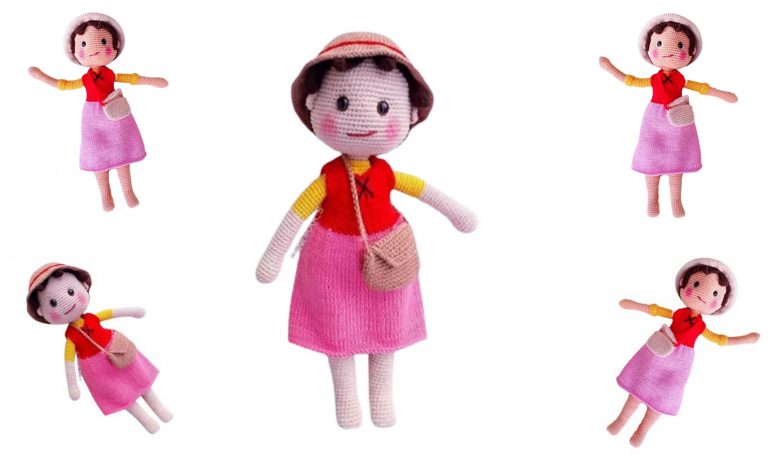
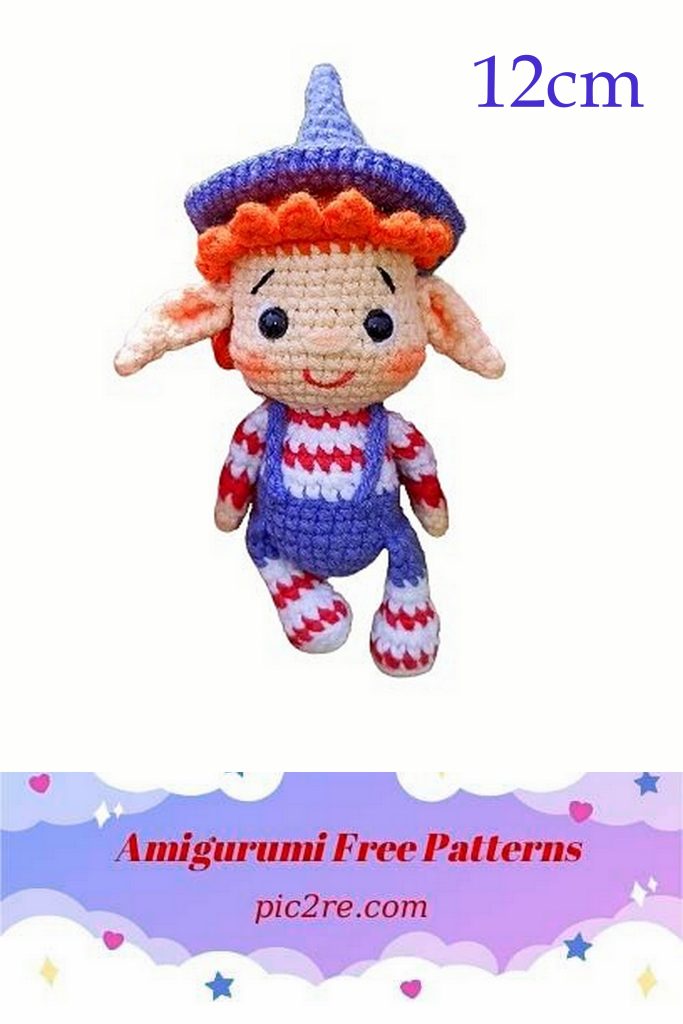
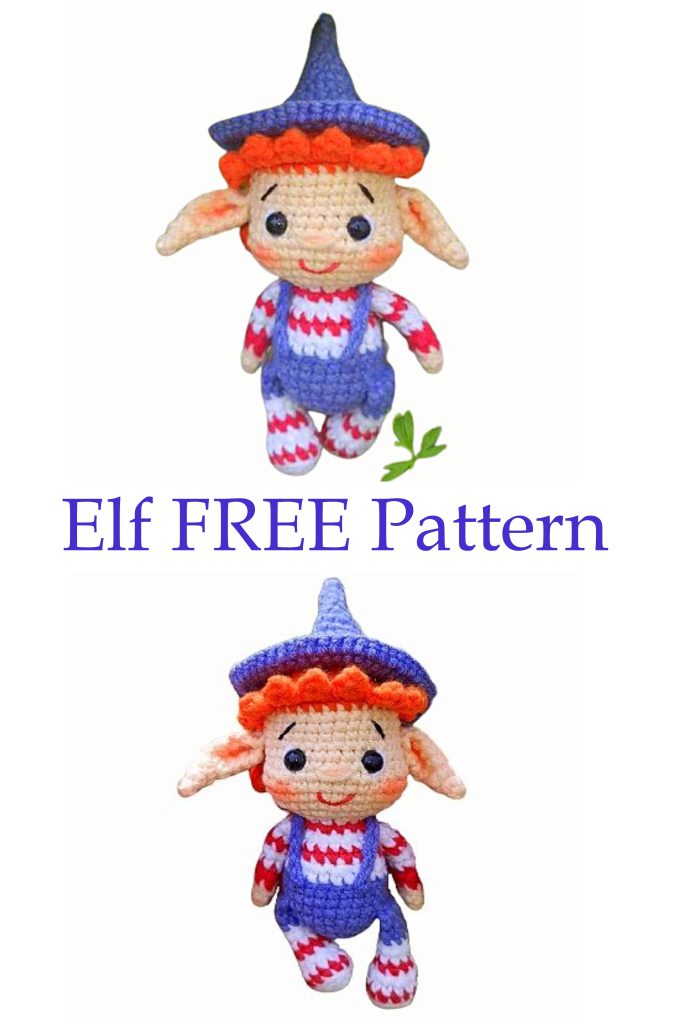
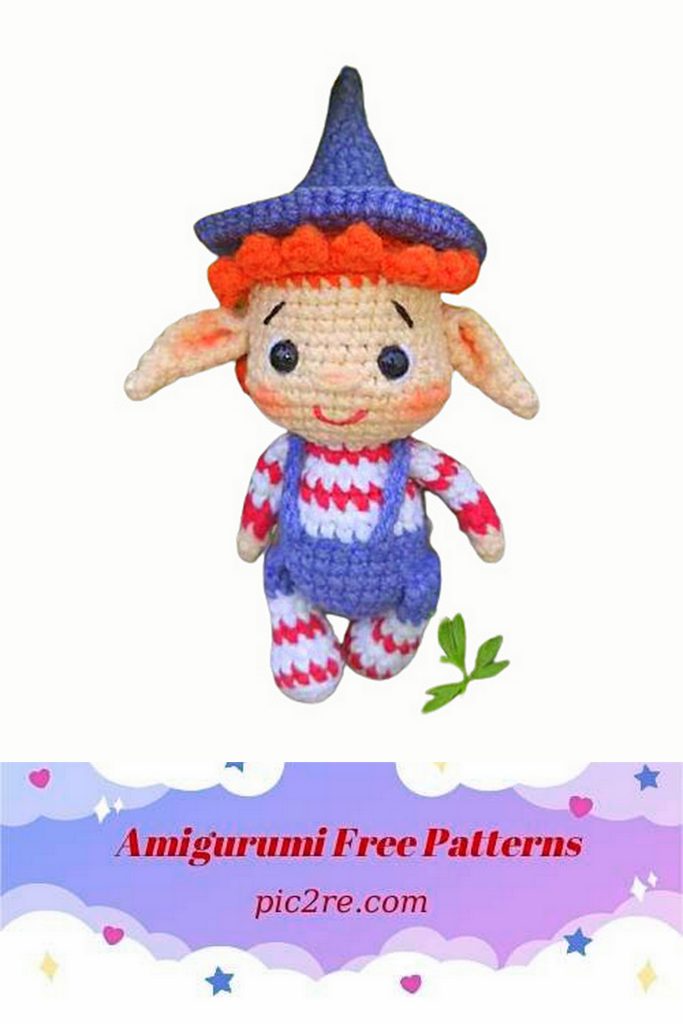
Amigurumi Little Elf Free Pattern
The size of the finished toy, when using the declared materials, is 10-12 cm.
Materials I used:
● Yarn, I used YarnArt Jeans (approx. 5-8g of each color)
No. 01 – white, No. 68 – jeans, No. 85 – red, No. 51 – red, No. 07 – nude.
●Eyes 6-7 mm on a safe mount (I glue the eyes with glue)
●Filler, needle, scissors
●Hook No. 1.75-2.0
● dry pastel for tinting
You can use any yarn and hook.
Abbreviations
Mr – amigurumi ring
Sc – single crochet
Dec – decrease
İnc – increase – number of repetitions
Sl-st – connecting post
BLO – back half loop
FLO – front half loop
Ch – air loop
( ) – number of Sc in a row
( ) *n – n is the number of repetitions in brackets
Hands (2 pcs)
Beginning (bodily)
1) 6Sc in MR (6)
2) 6Sc
Color change (red)
3) for BLO 6Sc
4) 6Sc
Color change (white)
5-6) 6Sc
Change color (red)
7) 6Sc
Color change (white)
8–9) 6Sc (2 rows)
Change to red, fold and knit 3Sc.
Cut the thread, do not stuff it with holofiber, fasten it. If you are sewing parts, leave the thread for sewing.
Ears (2 pcs)
bodily
1) 4Sc in MR (4)
2) 4Sc
3) (İnc, 1Sc) *2 (6)
4) (İnc, 2Sc) *2 (8)
5) (İnc, 3Sc) *2 (10)
6) 10Sc
7) (İnc, 4Sc) *2 (12)
Fold in half, knit 6Sc.
Fold in half again and knit 3Sc. Fasten the thread and cut it
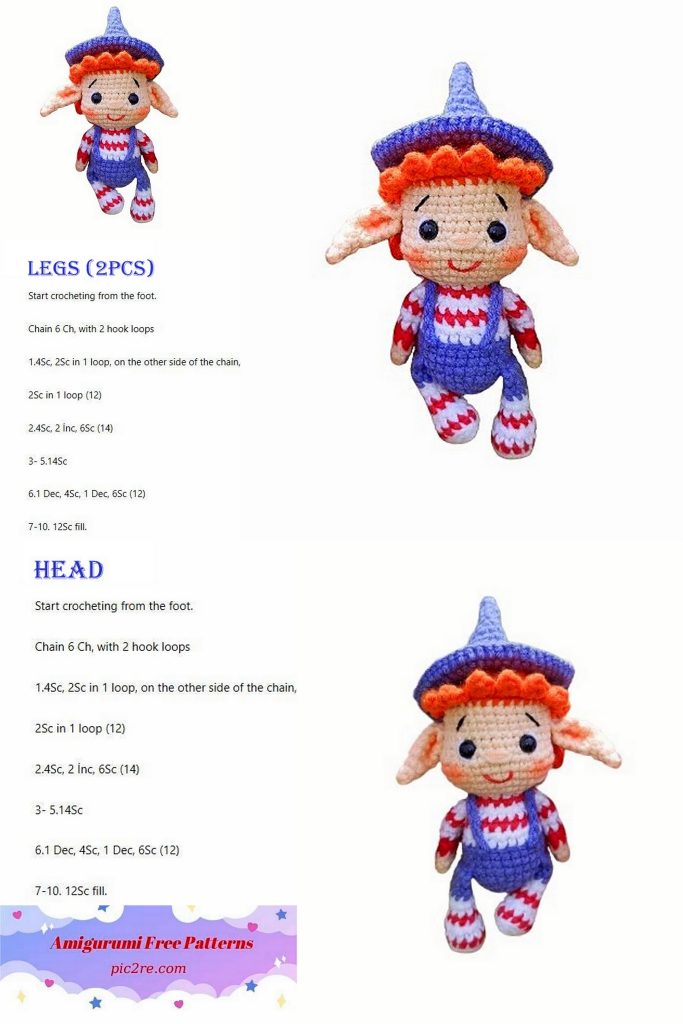
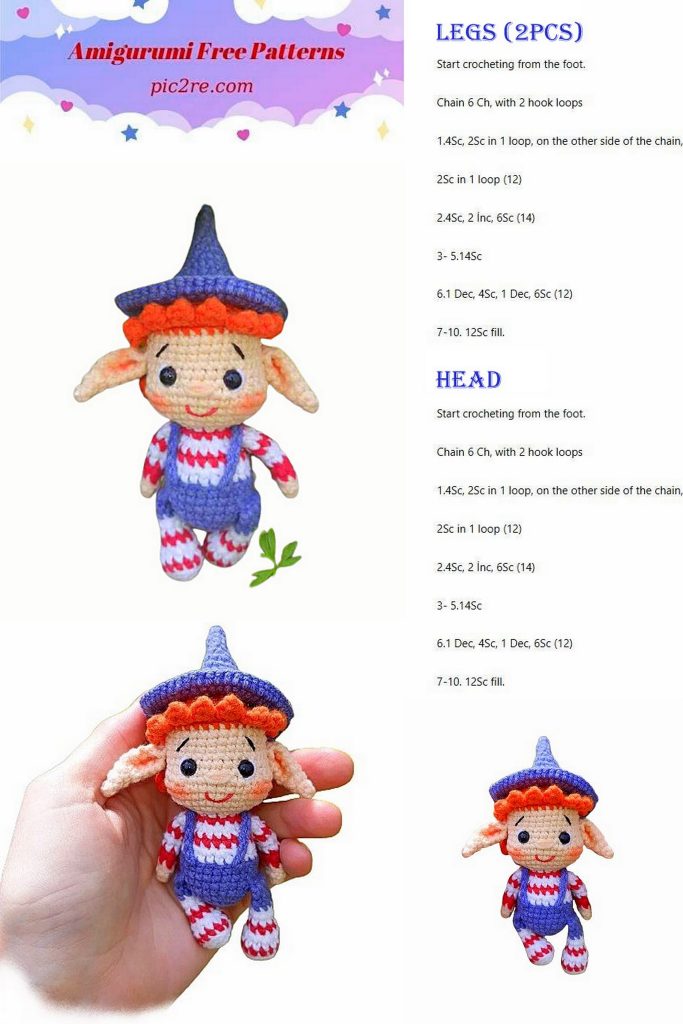
Legs (2 pcs)
Beginning (white)
1) 6Sc in MR (6)
2) 6İnc (12)
Color change (red)
3) for BLO 12Sc
Color change (white)
4) 12Sc
5) (1Sc, Dec) *4 (8)
Change color (red)
6) 8Sc
Color change (white)
7–8) 8Sc (2 rows)
Change color (blue)
9) for BLO 8Sc
10–11) 8Sc
On the first leg, knit offset stitches +3-4Sc, fold in half, knit 4Sc.
On the second leg, do not knit an offset loop, fold it in half, knit 4Sc.
Cap
Blue
1) 5 in MR
2) 5Sc
3) İnc, 4Sc (6)
4) (İnc, 2Sc) *2 (8)
5) (İnc, 3Sc) *2 (10)
6) (İnc, 4Sc) *2 (12)
7) (İnc, 5Sc) *2 (14)
8) (İnc, 6Sc) *2 (16)
9) (İnc, 7Sc) *2 (18)
10) (İnc, 8Sc) *2 (20)
11) (İnc, 4Sc) *4 (24)
12) (İnc, 5Sc) *4 (28)
13) (İnc, 6Sc) *4 (32)
14) (İnc, 3Sc) *8 (40)
15) (İnc, 9Sc) *4 (44)
16) (İnc, 10Sc) *4 (48)
17) (İnc, 7Sc) *6 (54)
18) 54Sc
Body-head
Start (blue)
1) 6Sc in MR (6)
2) 6İnc (12)
3) (1Sc, İnc) *6 (18)
4) (2Sc, İnc) *6 (24)
5) 24Sc
6) (4Sc with foot, 8Sc) *2 (24)
7–8) 24Sc (2 rows)
Color change (white)
9) for BLO 24Sc
10) (2Sc, Dec) * 6 (18)
Color change (red)
11) 18Sc
Color change (white)
12) 18Sc
13) (1Sc, Dec) * 6 (12)
Color change (red)
14) 3Sc with hand, 4Sc, 3Sc with hand, 2Sc (12)
Color change (white)
15) 12Sc
Color change (flesh)
16) for FLO 12İnc (24)
17) (3Sc, İnc) *6 (30)
Now there will be increases, these are future cheeks.
18) 6Sc, 3İnc, 7Sc, 3İnc, 11Sc (36)
19–20) 36Sc (2 rows)
18) 6Sc, 3Dec, 7Sc, 3Dec, 11Sc (30)
22–23) 30Sc (2 rows)
24) 3Sc, 3Sc with ear, 14Sc, 3Sc with ear, 7Sc (30)
25–27) 30Sc (3 rows)
Insert eyes between rows 21–22. 6Sc – before the eyes were inserted. 4Sc – when the eyes were inserted.
Color change (red)
28) 30Sc
29) for BLO (3Sc, Dec)* 6 (24)
30) (2Sc, Dec) *6 (18)
31) (1Sc, Dec) *6 (12)
32) 6Dec (6), pull and hide thread
Hair (red)
Let’s knit. join the thread to the 28th row behind the FLO.
Long strands: 9 Ch, from the 2nd loop from hook 8Sc,2Sc – repeat 6-7 times.
Short strands: 3 Ch, from the 2nd loop from hook 2Sc,2Sc – repeat 9 times.
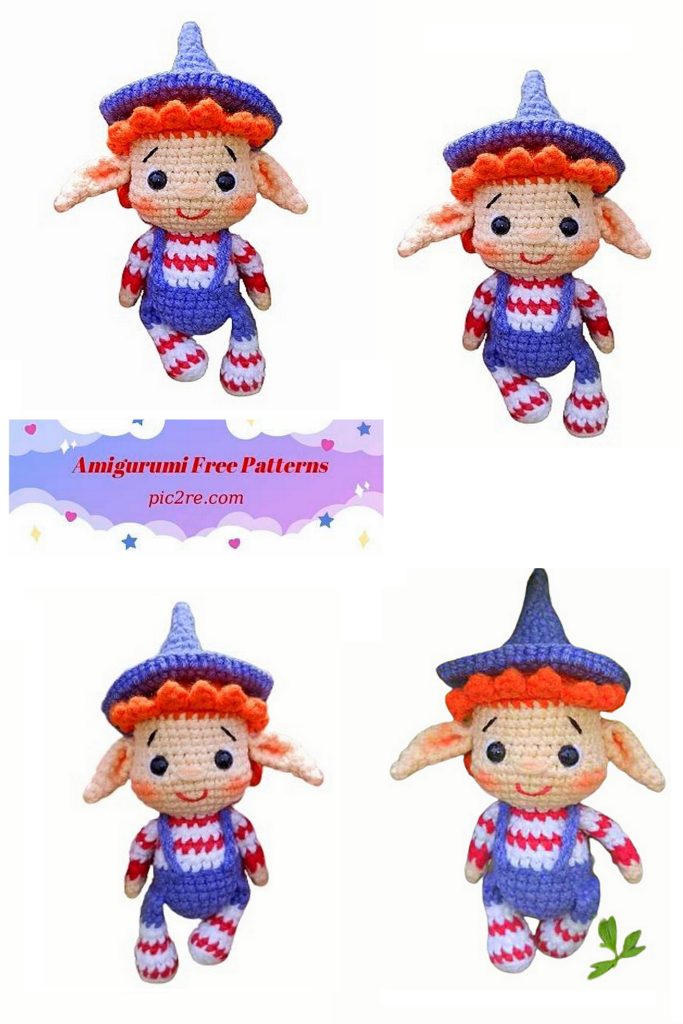
Let’s start the design.
We distribute all the strands, sew them on or glue them with glue (I use B-7000 glue).
We embroider the eyebrows with black thread.
Embroider the nose with body-colored thread.
We embroider the mouth with red thread.
We embroider the whites of the eyes with white thread.
We do tinting on the cheeks and ears.
We sew the cap on if necessary.
I will be glad if you liked this