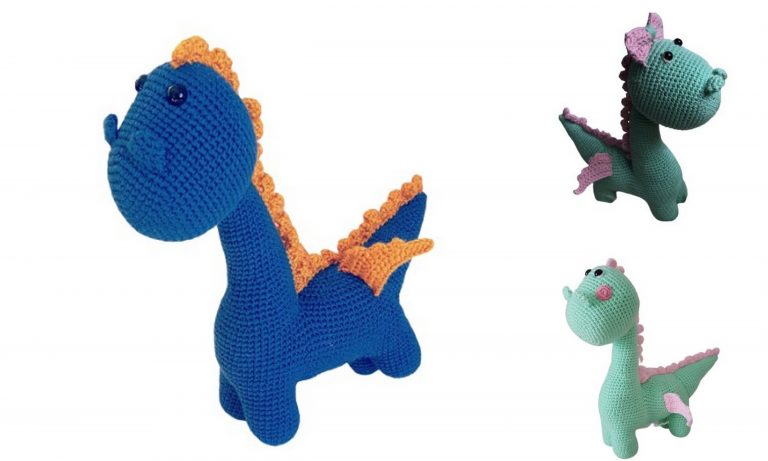
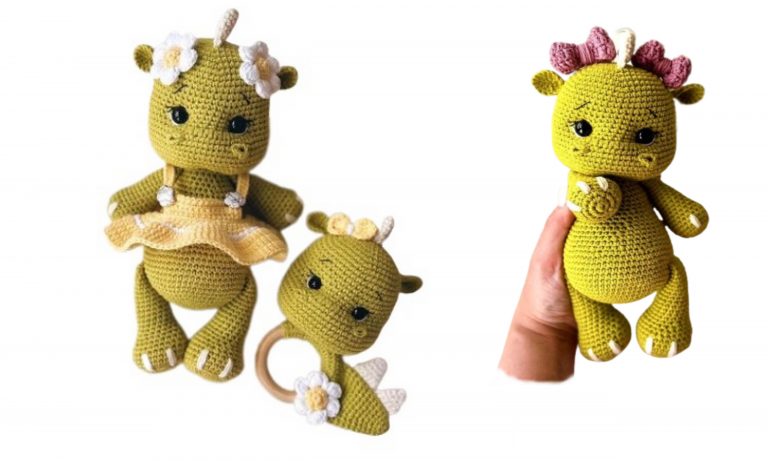
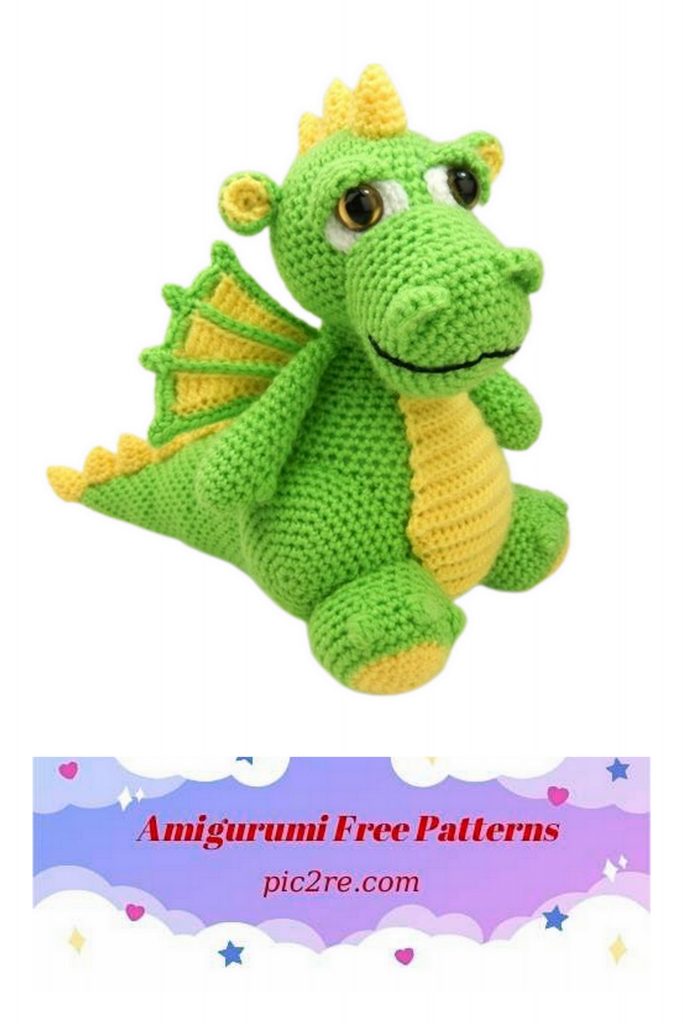
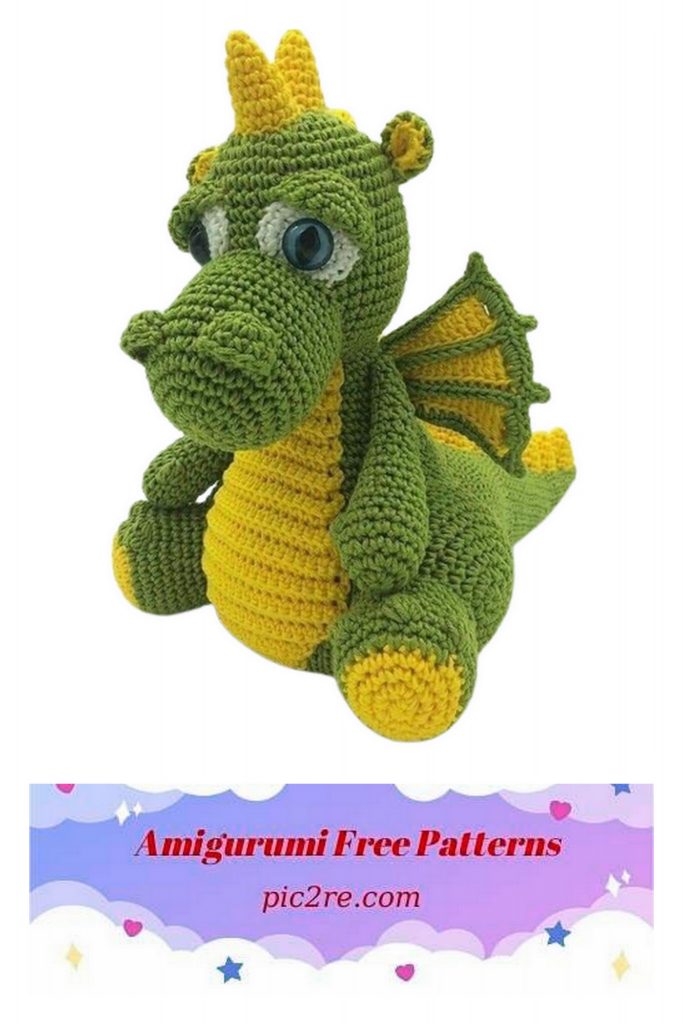
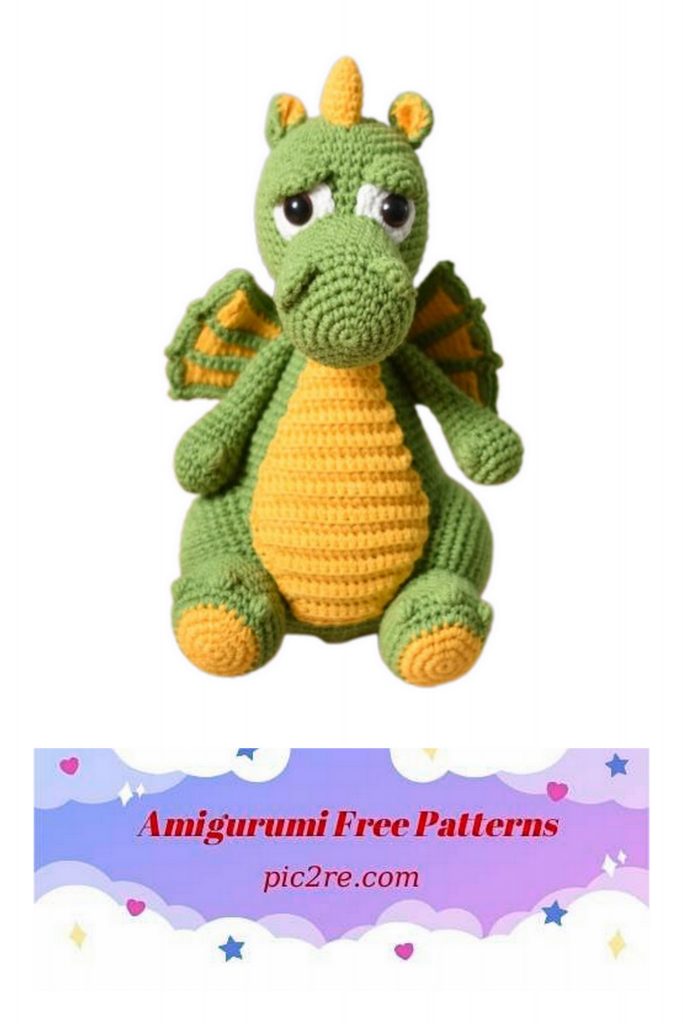
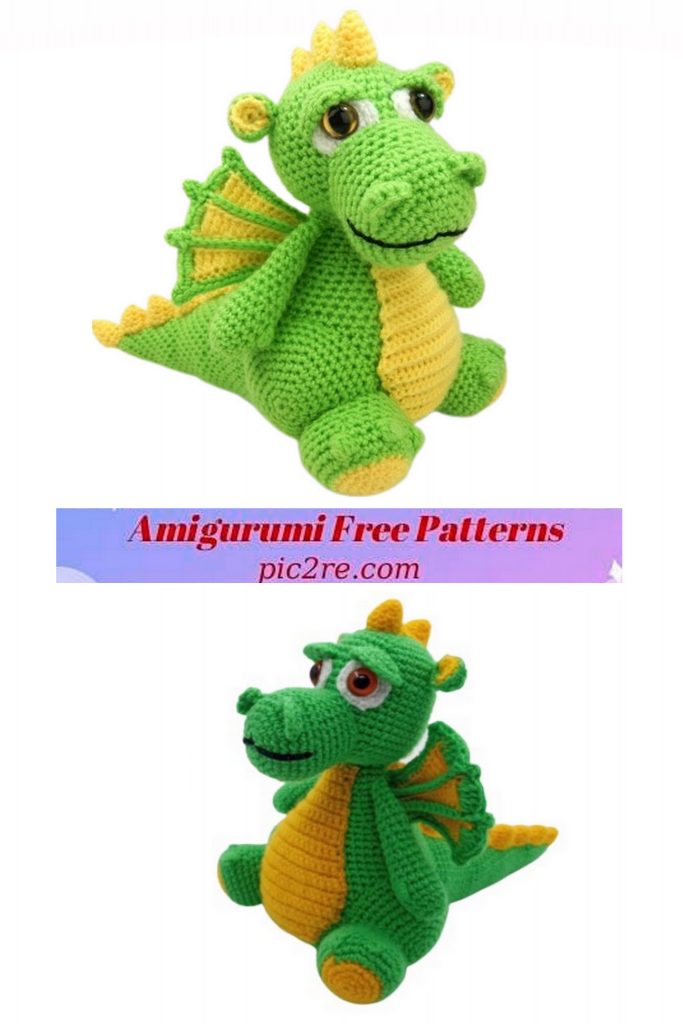
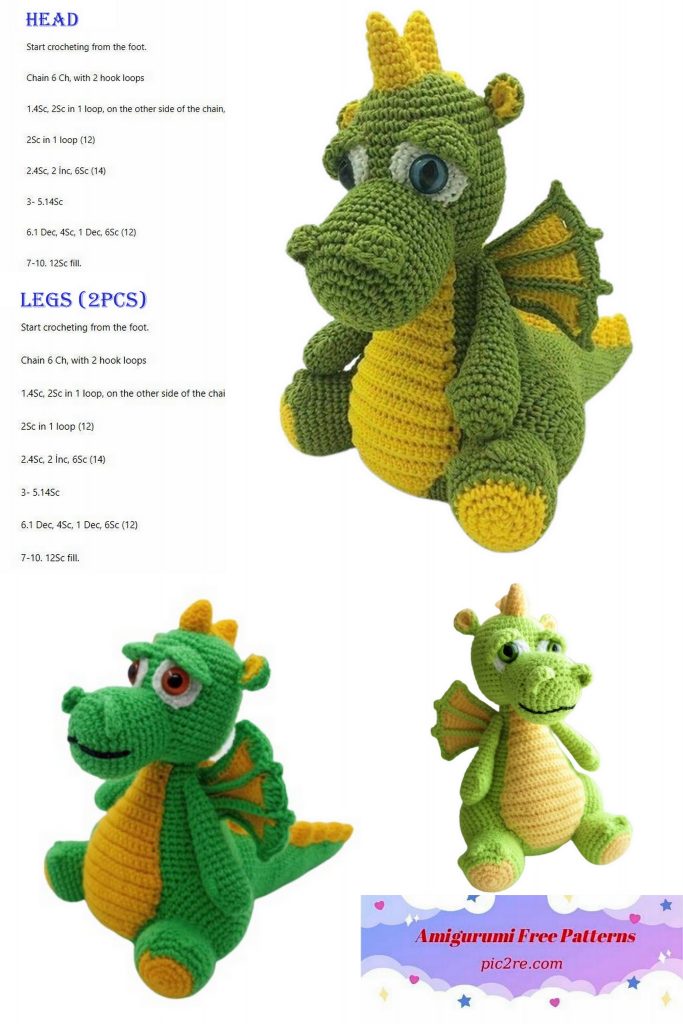
Dragon Drake Amigurumi Free Pattern
Hello, your child will love the Dragon Drake Amigurumi Free pattern, follow it for the most beautiful current patterns.
YOU WILL NEED:
yarn
green
yellow
white (residues)
black (leftovers)
hook 2.0 / 3.0 mm
2 safety eyes (15 mm)
Needle
Filler
ABBREVIATIONS
sc – single crochet
dc – double crochet
ch – air loop
inc – increase
dec – decrease
sl-st – connecting post
FLO – behind the front wall of the hinge
BLO – behind the back of the hinge
[……] x- repeat the specified number of times
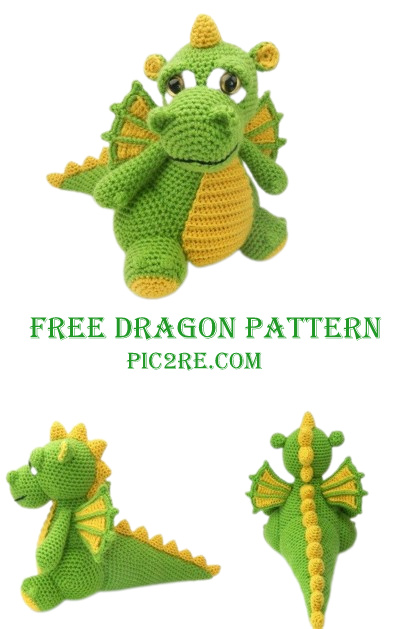
EYE PROTEIN (make 2, from white yarn)
1: 6sc into magic ring [6]
When tightening the magic ring, make sure you leave a hole large enough to fit the eye.
2: 6inc [12]
3: (1sc, inc) x6 [18]
close, cut, leave the thread for sewing.
Insert the safety eyes into the magic ring and tighten it all the way.
Don’t shut the washers from your eye just yet
Set your eyes aside.
HEAD (of green yarn)
1: 6sc into magic ring [6]
2: 6inc [12]
3: (1sc, inc) x6 [18]
2: 6inc [12]
3: (1sc, inc) x6 [18]
4: (2sc, inc) x6 [24]
5: (3sc, inc) x6 [30]
6: (4sc, inc) x6 [36]
7: (5sc, inc) x6 [42]
8 – 19: [42]
20: (5sc, dec) x6 [36]
Insert eyes between rows 12 and 13, 7 sc apart.
Close the washers.
21: (4sc, dec) x6 [30]
22: (3sc, dec) x6 [24]
23: (2sc, dec) x6 [18]
fill.
24: (1sc, dec) x6 [12]
25: 6dec [6]
close, cut, leave the thread for sewing. Sew the whites of the eyes to the head on all sides.
MORDA (in green yarn)
1: 6sc into magic ring [6]
2: 6inc [12]
3: (1sc, inc) x6 [18]
4: (2sc, inc) x6 [24]
5: (3sc, inc) x6 [30]
6: (scin 4 sc, inc) х6 [36]
7 – 8: [36]
9: (10sc, dec) х3 [33]
10: (9sc, dec) х3 [30]
11 – 14: 30 sc [30]
close, cut, leave the thread for sewing. Fill in the muzzle and sew to the face with the top edge of the muzzle just below the eyes and the bottom edge between rows 24 and 25.
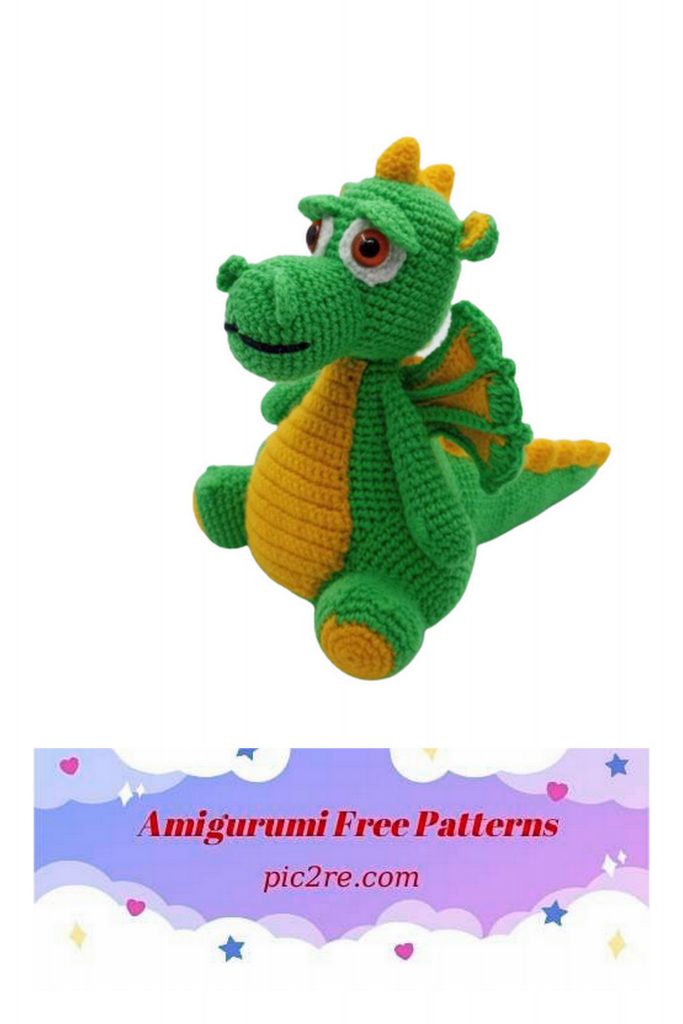
EAR (make 2, start with yellow yarn)
1: 6sc into magic ring [6]
2: 6inc [12]
Change to green
3: BLO (1sc, inc) х6 [18]
4: (1sc, dec) x6 [12]
5: 6dec [6]
Fold the ear in half and secure this shape with a few stitches on both sides (fig. 3). Sew the base of the ears to the sides of the head, between rows 9 and 10.
CENTURY (do 2, in green yarn)
1: 6sc into magic ring [6]
2: 6inc [12]
3: (1sc, inc) x6 [18]
Fold up the eyelid. Knit the next row across both sides to close them (fig. 4).
4: ch 1, 9sc [9]
close, cut, leave the thread for sewing. Sew over the eyes (fig. 5).
NOZDRI (make 2, from green yarn)
1: 6sc into magic ring [6]
2: 6inc [12]
Fold your nostril in half. Work the next row across both sides to close them.
3: ch 1, 6sc [6]
close, cut, leave the thread for sewing. Sew the folded hem on the muzzle between rows 6 and 8, 4 sc apart.
BODY (from green yarn)
1: 6sc into magic ring [6]
2: 6inc [12]
3: (1sc, inc) x6 [18]
4: (2sc, inc) x6 [24]
5: (3sc, inc) x6 [30]
6: (4sc, inc) x6 [36]
7: (5sc, inc) x6 [42]
8: (6sc, inc) x6 [48]
9: (7sc, inc) x6 [54]
10: (8sc, inc) x6 [60]
11 – 20: [60]
21: (8sc, dec) x6 [54]
22 – 23: [54]
24: (7sc, dec) x6 [48]
25 – 26: [48]
27: (6sc, dec) x6 [42]
28: [42]
29: (5sc, dec) x6 [36]
30: [36]
31: (4sc, dec) x6 [30]
32: [30]
33: (3sc, dec) x6 [24]
34 – 35: [24]
36: (6sc, dec) x3 [21]
37 – 39: [21]
close, cut, leave the thread for sewing. Stuff the body.
ANIMAL (from yellow yarn)
All rows are BLO (fig. 6).
Leave a long starting tail of the yarn. Knit in rotary rows.
7ch
1: from the second loop from the hook, 6sc, ch 1, turn [6]
2 – 3: 6sc, ch 1, turn [6]
4: inc, 4sc, inc, ch 1, rotate [8]
5: 8sc, ch 1, turn [8]
6: inc, 6sc, inc, ch 1, rotate [10]
7: 10sc, ch 1, turn [10]
8: inc, 8sc, inc, ch 1, rotate [12]
9: 12sc, ch 1, turn [12]
10: inc, 10sc, inc, ch 1, rotate [14]
11: 14sc, ch 1, turn [14]
12: inc, 12sc, inc, ch 1, rotate [16]
13: 16sc, ch 1, turn [16]
14: inc, 14sc, inc, ch 1, rotate [18]
15: 18sc, ch 1, turn [18]
16: inc, 16sc, inc, ch 1, rotate [20]
17 – 20: 20 sc, ch 1, turn [20]
21: skip 1, 17sc, skip 1, 1sc, turn [18]
22: skip 1, 15sc, skip 1, 1sc, turn [16]
23: skip 1, 13sc, skip 1, 1sc, turn [14]
24: skip 1, 11sc, skip 1, 1sc, turn [12]
25: skip 1, 9sc, skip 1, 1sc, turn [10]
26: skip 1, 7sc, skip 1, 1sc [8]
close, cut, leave the thread for sewing. Sew the tummy to the body in the first row on the 39th row of the body.
Sew the upper part of the tummy to the neck.
LEGS (make 2, in green yarn)
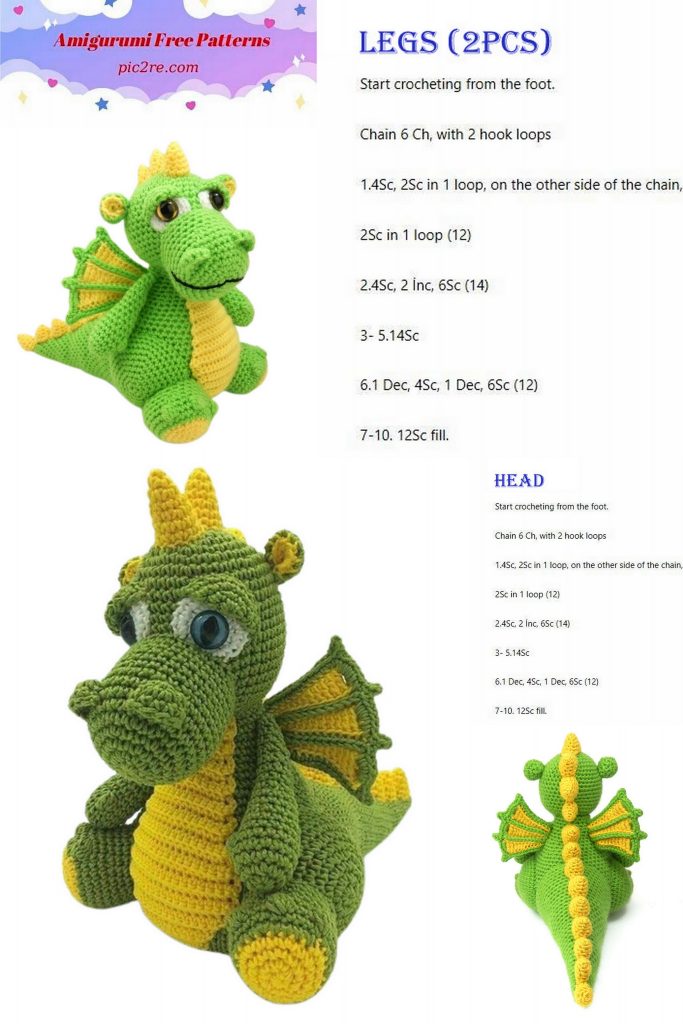
1: 6sc into magic ring [6]
2: 6inc [12]
3: (1sc, inc) x6 [18]
4: (2sc, inc) x6 [24]
5: (3sc, inc) x6 [30]
6: (4sc, inc) x6 [36]
7: (5sc, inc) x6 [42]
8 – 10: [42]
close, cut, leave the thread for sewing. Tack and sew lightly on both sides of the body between rows 7 and 25, so that the front edge of the thigh barely touches the tummy. (Figure 9-10). Add filler before closing the seam.
TAIL (green yarn)
1: 6sc into magic ring [6]
2: inc, 5sc [7]
3: 3sc, inc, 3sc [8]
4: inc, 7sc [9]
5: 4sc, inc, 4sc [10]
6: inc, 9sc [11]
7: 5sc, inc, 5sc [12]
8: inc, 11sc [13]
9: 6sc, inc, 6sc [14]
10: inc, 13 sc [15]
11: 7 sc, inc, 7 sc [16]
12: inc, 15 sc [17]
13: 8 sc, inc, 8 sc [18]
14: inc, 17 sc [19]
15: 9 sc, inc, 9 sc [20]
16: inc, 19 sc [21]
17: 10 sc, inc, 10 sc [22]
18: inc, 21 sc [23]
19: 11 sc, inc, 11 sc [24]
20: inc, 23 sc [25]
21: 12 sc, inc, 12 sc [26]
22: inc, 25 sc [27]
23: 13 sc, inc, 13 sc [28]
24: inc, 27 sc [29]
25: 14 sc, inc, 14 sc [30]
26: inc, 29 sc [31]
27: 15 sc, inc, 15 sc [32]
28: inc, 31 sc [33]
29: (10 sc, inc) х3 [36]
30: 36 sc [36]
31: (11 sc, inc) х3 [39]
32: all 39 sc [39]
33: (12 sc, inc) х3 [42]
34: [42]
35: (6sc, inc) x6 [48]
36: 48 sc [48]
37: (7 sc, inc) x6 [54]
38: 54 sc [54]
close, cut, leave the thread for sewing. Stuff in the tail and sew it to the back of the body, between rows 4 and 26 between the thighs .
HANDS (make 2, in green yarn)
1: 6sc into magic ring [6]
2: 6inc [12]
3: (3sc, inc) х3 [15]
4 – 5: 15 sc [15]
6: 4dc with one vertex, 14 sc [15]
7: 15 sc [15]
8: (3sc, dec) х3 [12]
9 – 10: 12 sc [12]
11: (2sc, dec) x3 [9]
12 – 15: 9 sc [9]
fill.
16: (1sc, dec) х3 [6]
17 – 19: 6 sc [6]
close, cut, leave the thread for sewing. Add more filler to the top of the arm, then sew the top edge so that the thumbs are facing forward when the arms are sewn to the body. Sew to the sides of the torso, 3 rows down from the top of the neck.
FEET (do 2, start in yellow yarn)
1: 6sc into magic ring [6]
2: 6inc [12]
3: (1sc, inc) x6 [18]
4: (2sc, inc) x6 [24]
Change to green.
5: (3sc, inc) x6 [30]
6:30 sc [30]
7: (4dc with one vertex, 3sc) x3,
18 sc [30]
8:30 sc [30]
9: (8 sc, dec) х3 [27]
10: (7 sc, dec) х3 [24]
11 – 12: 24 sc [24]
close, cut, leave the thread for sewing. sew them to your feet.
SPIKES ON THE HEAD [in yellow yarn)
Large spikes (make 2)
1: 3sc into magic ring [3]
2: 3inc [6]
3: (1sc, inc) х3 [9]
4: 9 sc [9]
5: (2sc, inc) х3 [12]
6: 12 sc [12]
Fasten, trim, hide the thread.
Medium spikes (make 3)
1 – 5: repeat rows of large spikes.
Fasten, cut, hide the thread on 2 thorns. Do not cut the thread on the third spike. IN
In the next row, we will connect all 5 spikes.
6: 12 sc in the great thorn, 6 sc in the middle thorn (photo 12), 6sc in the middle, 6sc in the great, 12sc in the great, 6sc in the great, 6sc in the middle, 6sc in the middle (photo 13)
close, cut, leave the thread for sewing. Fill in the thorns lightly and sew to the back of the head with large thorns at the top of the head. Place the first large spine 3 rows above the eyelids. The last spike should reach the back of the neck.
REAR SPIKES (yellow yarn)
Medium spikes (make 6)
1 – 5: like a big head spike
Small thorns (make 3)
1 – 3: like a large spine of the head.
4: 4sc, inc, 4 sc [10]
Fasten, cut, hide the thread on 2 thorns. Do not cut the thread on the third spike. In the next row, we will connect all 9 spikes.
5: 10sc small thorn, 5sc small thorn, 5sc small thorns, 6sc middle thorns, 6sc middle thorns, 6sc middle thorns, 6sc middle thorns, 6 sc middle thorns, 12 sc middle thorns, 6 sc middle thorns, 6 sc middle thorns medium, 6 sc medium, 6 sc medium, 6 sc medium, 5 sc small, 5sc small [102]
close, cut, leave the thread for sewing.
Fill in the thorns lightly and sew to the back of the body with the first middle thorn, positioning 2 rows down from the base of the head. The last small spike should reach down to catch on the end of the tail.
WING DIAPHRAGM (make 12, in yellow yarn)
Knit in rotary rows. All rows are BLO .
13 ch
1: sc in the second loop from the hook, 3 ch, 3hdc, 3 dc, 3c2n [12]
finish.
They will be combined into four groups, each of which will contain three membranes.
CONNECTING MEMBRANES
Take the first and second wing membranes and place them together with the right sides facing out. Start knitting at the base of the wing. After making sure that the hook goes through the back loops of only the lower diaphragm and the remaining loops on the upper diaphragm (Figure 15), pull the green yarn loop into the first pair of loops, 1 ch (not counting as a loop), sc in the same loop as the joint, 11 sc to the end [fig. 16) [12]
Secure. Place the third diaphragm over the uppermost diaphragm and connect in the same way as described above (fig. 17).
Finish. Tie the ends of the green yarn together at the base of the wing. Tie two pairs of yellow threads together at the ends of the wings (fig. 18). hide the ends of the yarn.
On the right side, pull the green yarn loop into the back loop in the upper right diaphragm only, 1ch (does not count as a loop), sc into the same loop as the connection, 11 sc, 3ch, from the second loop from the sc, 4 sc to DC, sc into the last loop of the green rib join, 3ch, from the second loop from the hook 1 sc, 4 sc along DC, sc into the last loop of the green rib join, 3ch, from the second loop from the hook 1 sc, 4 sc along DC, sc into last loop of green rib attachment, 4 sc DC, 12sc.
CONNECT FRONT AND REAR FENDER
Join the two wing pieces together with the right sides facing outward. Sew the base of the wings vertically to the sides of the body so that the top of the wing is in line with the top of the arm.
MOUTH
Sew a long stitch with black thread, secure it
