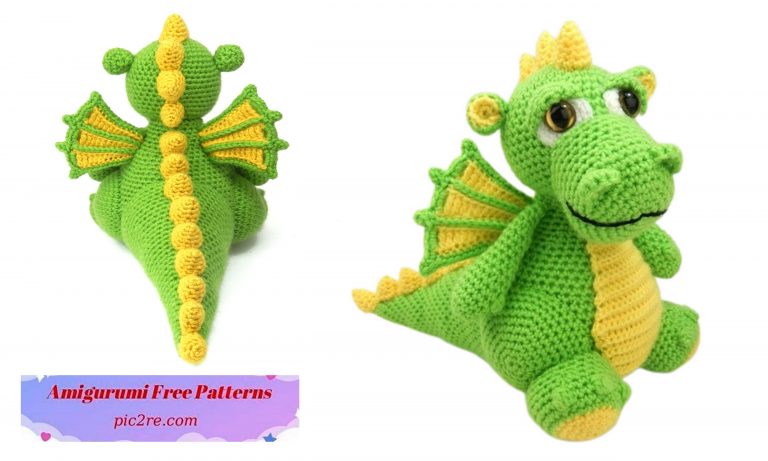
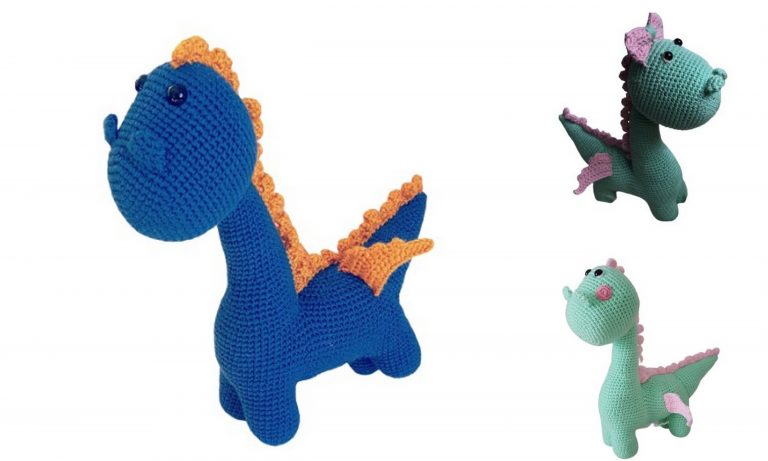
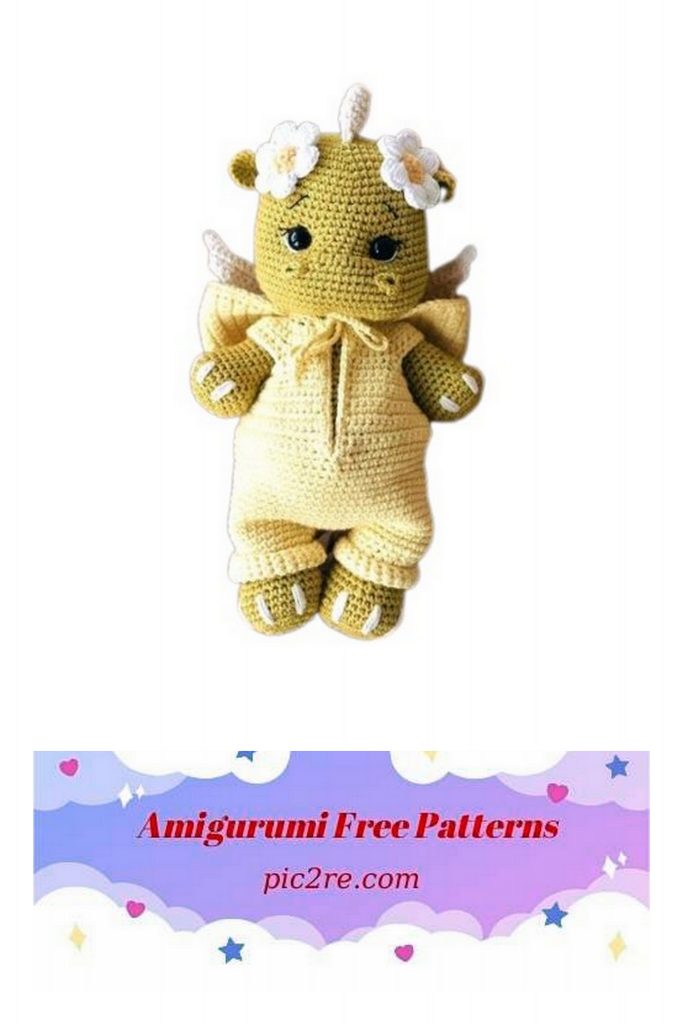
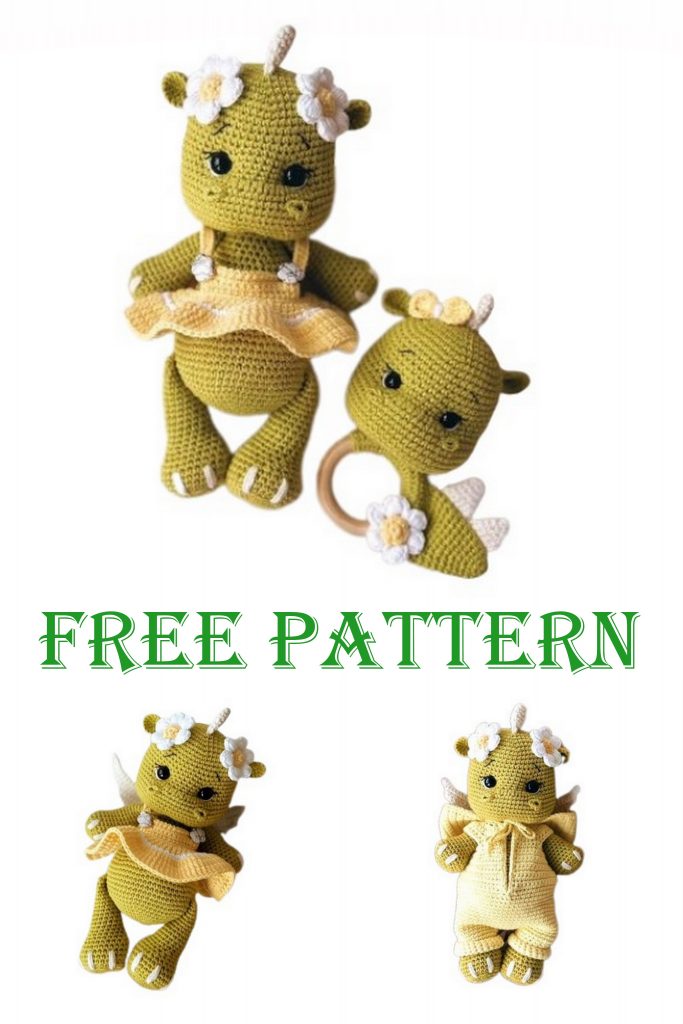
Amigurumi Winged Dino Free Pattern
We continue to share the most beautiful amigurumi patterns for you. You can visit our website for Amigurumi cute dino and more free patterns. Amigurumi Winged Dino Free
Tools and materials:
Amigurumi Winged Dino Free
1. Yarn:- Yarn Art Jeans (50 g / 160 m),
2. Hook No2 (I have Clover);
3. Filler holofiber;
4. Eyes 12 mm;
5. Black and white thread for muzzle decoration;
6. Thick needle for stitching details;
7. Scissors;
8. Two buttons for a sundress.
The size of the finished toy when using the specified materials is about 23cm.
Abbreviations
MR – amigurumi ring;
sc – single crochet;
hdc – double crochet;
sl-st – connecting column;
inc – increase (two single crochet in one loop);
dec – decrease (two columns connected together);
sl-st – connecting column;
ch – air loop;
ch – lifting loop;
(…) * X – what to knit X times in brackets;
(…) – the numbers in brackets indicate the number of loops in a Specific row.
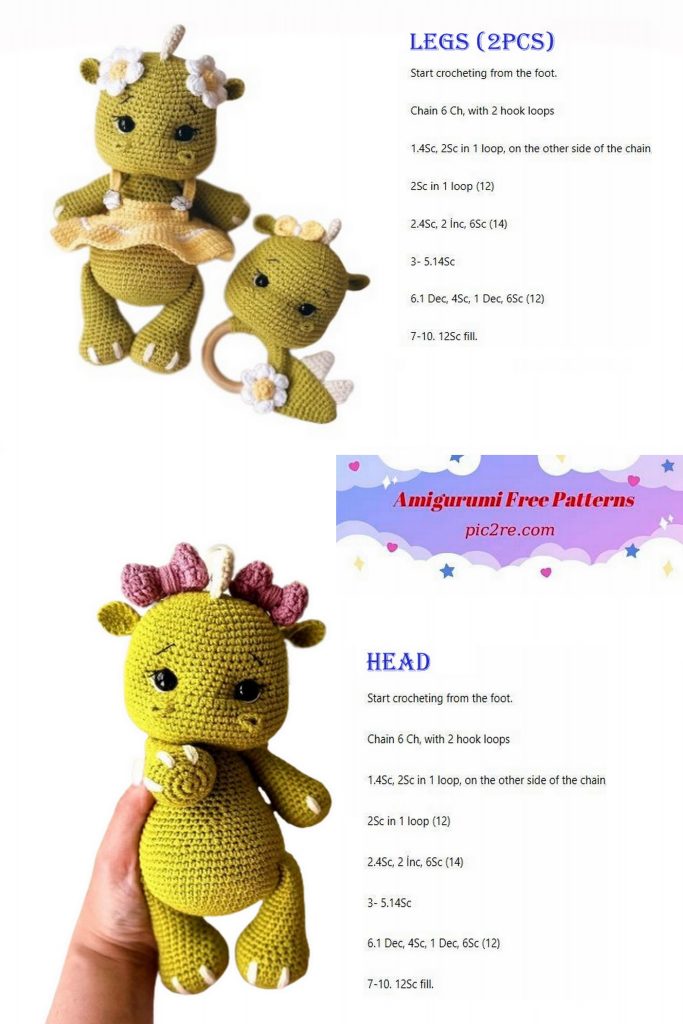
HEAD
1) 6sc in MR (6)
2) 6 inc (12)
3) (1 sc, inc) x 6 (18)
4) (2 sc, inc) x 6 (24)
5) (3 sc, inc) x 6 (30)
6) (4 sc, inc) x 6 (36)
7) (5 sc, inc) x 6 (42)
8) (6 sc, inc) x 6 (48)
9) (7 sc, inc) x 6 (54)
10-19) 54 sc (10 rows)
20) 22sc, 10inc hdc, 22sc (64)
21-27) 64sc (7 rows)
28) (14sc, dec) x 4 (60)
29) (8sc, dec) x 6 (54)
30) (7sc, dec) x 6 (48)
31) 24dec (24)
We fill the head, focusing on the bulge of the 20th row.
We insert eyes between 17 and 18 side by side. At a distance of 7 sc from one edge of the eye to the other so that the loops of the 20th row (10inc from hdc) are in the center With a white thread, embroider the whites of the eyes, black cilia and eyebrows at the level of the 13-14th row of the head. We make eye tightening, after the head is sewn to the body. We introduce the thread into the center between the head and the body. Having made the tightening, we tighten the thread. We should get a small indentation.
NOSTRILS
We fasten the thread between 21 and 22 side by side and knit sc, forming drops on both sides
BODY
1) 6sc in MR (6)
2) 6 inc (12)
3) (1 sc, inc) x 6 (18)
4) (2 sc, inc) x 6 (24)
5) (3 sc, inc) x 6 (30)
6) (4 sc, inc) x 6 (36)
7) (5 sc, inc) x 6 (42)
8) (6 sc, inc) x 6 (48)
9) (7 sc, inc) x 6 (54)
10) (8sc, inc) x 6 (60)
11-14) 60sc (4 rows)
15) (19sc, inc) x 3 (63)
16-17) 63 sc (2 rows)
18) 15sc, (dec, 6sc) x 5, 8sc (58)
19) 15sc, (dec, 3sc) x 5, 18sc (53)
20) 53 sc
21) 8sc, (dec, 6sc) x 5, 5sc (48)
22) 12sc, (dec, 7sc) x 3, 9sc (45)
23) 45sc
24) 9sc, (dec, 8sc) x 3, 6sc (42)
25) 13sc, dec, 12sc, dec, 13sc (40)
26) 13sc, (dec, 6sc) x 3, 3sc (37)
27) 15sc, dec, 5sc, dec, 13sc (35)
28) 12 sc, dec, 4 sc, dec, 15 sc (33)
29) 33 sc
30) 16 sc, dec, 15 sc (32)
31) 9sc, (dec, 3sc) x 3, 8sc (26)
32) 8sc (dec, 3sc) * 3, 6sc (26), and in the 31st row everything is correct, but the output is 29sc, not 26sc
33) 11 sc, dec, 11 sc, dec (24)
34-35) 24sc (rows)
When stuffing the body, we focus on the belly.
PENS
1) 8sc in to MR (8)
2) 8 inc (16)
3) (1 sc, inc) x 8 (24)
4) behind the back wall we knit 24sc (24)
5-6) 24 sc (2 rows)
7) (10 sc, dec) x 2 (22)
8) (9 sc, dec) x 2 (20)
9) (8 sc, dec) x 2 (18)
10) (7 sc, dec) x 2 (16)
11-13) 16 sc (3 rows)
14) (6 sc, dec) x 2 (14)
15-21) 14 sc (7 rows)
We stuff the bottom of the handle well, making the shape flat, so to speak, as in the photo of the toy. We stuff the handle up to the 14-15th row, and then there is emptiness. Fold and knit behind both walls 6sc. Make sl-st, cut the thread, leave the end for sewing.
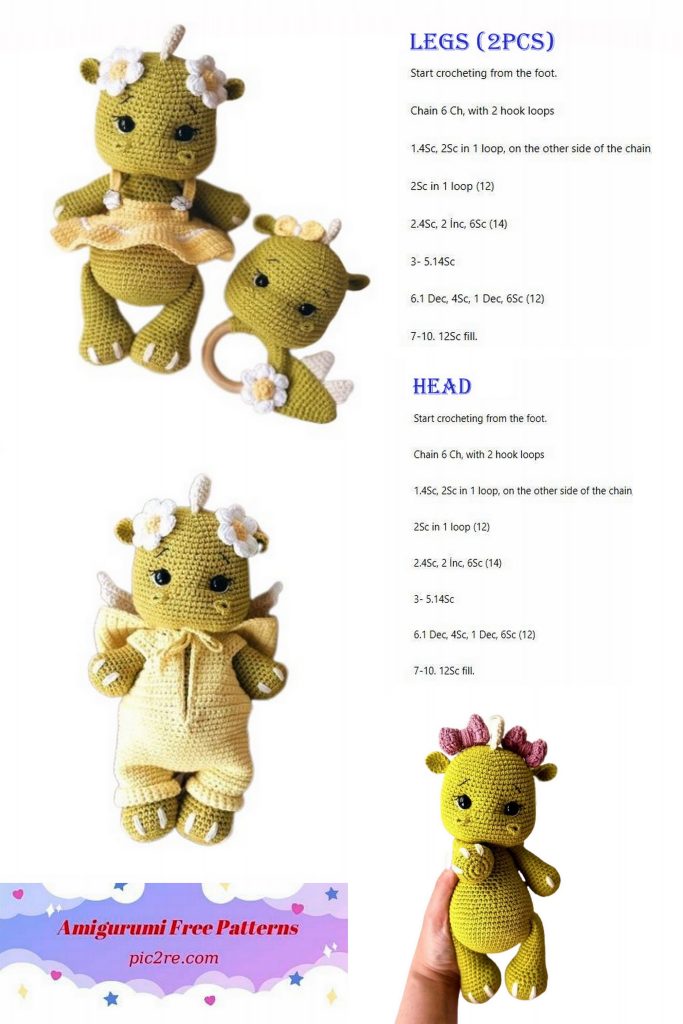
LEGS
1) 8sc in to MR (8)
2) 8 inc (16)
3) (1 sc, inc) x 8 (24)
4) (3sc, inc) x 6 (30)
5) we knit 30 sc (30) behind the back wall
6-8) 30 sc (3 rows)
9) (8sc, dec) x 3 (27)
10) (7sc, dec) x 3 (24)
11) (6sc, dec) x 3 (21)
12) (5sc, dec) x 3 (18)
13-17) 18 sc (5 rows)
18) (7sc, dec) x 2 (16)
19-26) 16 sc (8 rows)
We stuff the bottom of the leg well, making the shape in the same way as the handle. We stuff the leg up to the 16-18th row, and then there is emptiness. Fold and knit behind both walls 7sc Make sl-st, cut the thread, leave the end for sewing.
WINGS
We knit in turning rows with ch in each row. We collect a chain of 6 ch.
In the second loop from the hook we knit:
1) 4 sc, 1 sl-st, 1ch, turn
2) 2 sc, inc, 1 sc, 3 ch, 1 ch, turn
3) 4 sc, inc, 2 sc, 1 sl-st, 1 ch, turn
4) 2 sc, inc, 5 sc, 3 ch, 1 ch, turn
5) 8 sc, inc, 2 sc, sl-st, 1 ch, turn
6) 2 sc, inc. 9 sc, 3ch, 1 ch, turn
7) 12 sc, inc, 2 sc, sl-st, 1 ch, turn
8) 2sc, inc, 13 sc, 3ch, 1 ch turn
9) 16 sc, inc, 2 sc, sl-st, 1ch turn
10) 2 sc, inc, 17 sc, 3ch, 1 ch turn
11) 20 sc, inc, 2 sc, sl-st
We tie the side edge of the wings sc
EARS
1) 6sc in MR (6)
2) 6 inc (12)
3) (1 sc, inc) x 6 (18)
Fold in half and knit 2 sc behind both walls, DO NOT KNIT the rest of the rows
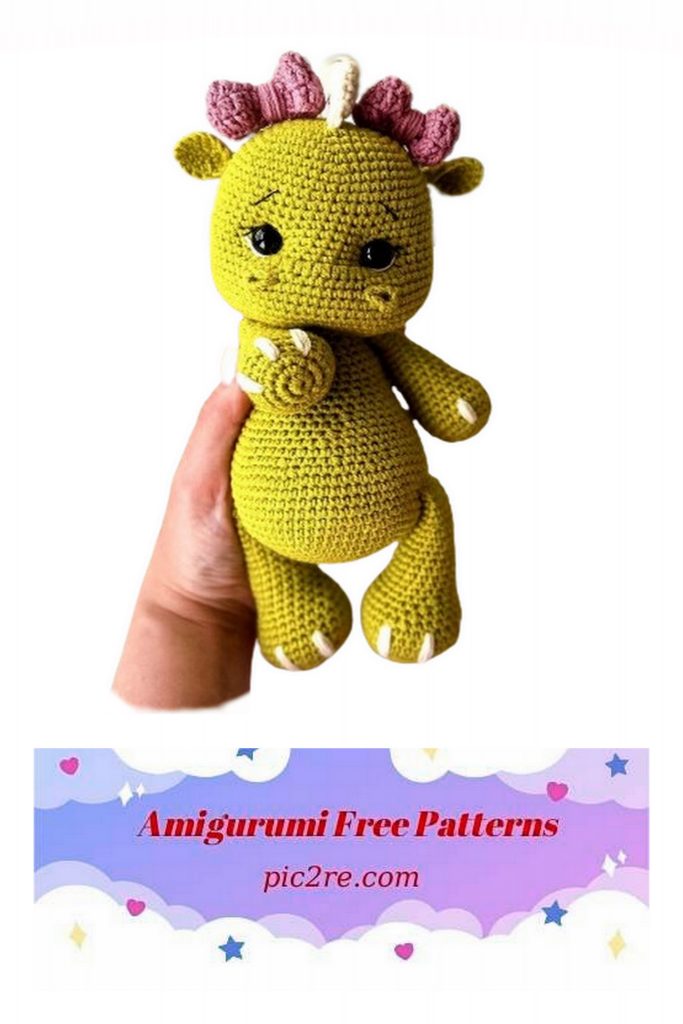
HEAD COMB
(3 pieces)
1) 6sc in MR
2) (inc, 2 sc) x 2 (8)
3) (inc, 3 sc) x 2 (10)
4) (inc, 4 sc) x 2 (12)
5) (inc, 5 sc) x 2 (14)
6) (inc, 6 sc) x 2 (16)
Fold the triangle in half and knit behind both walls.
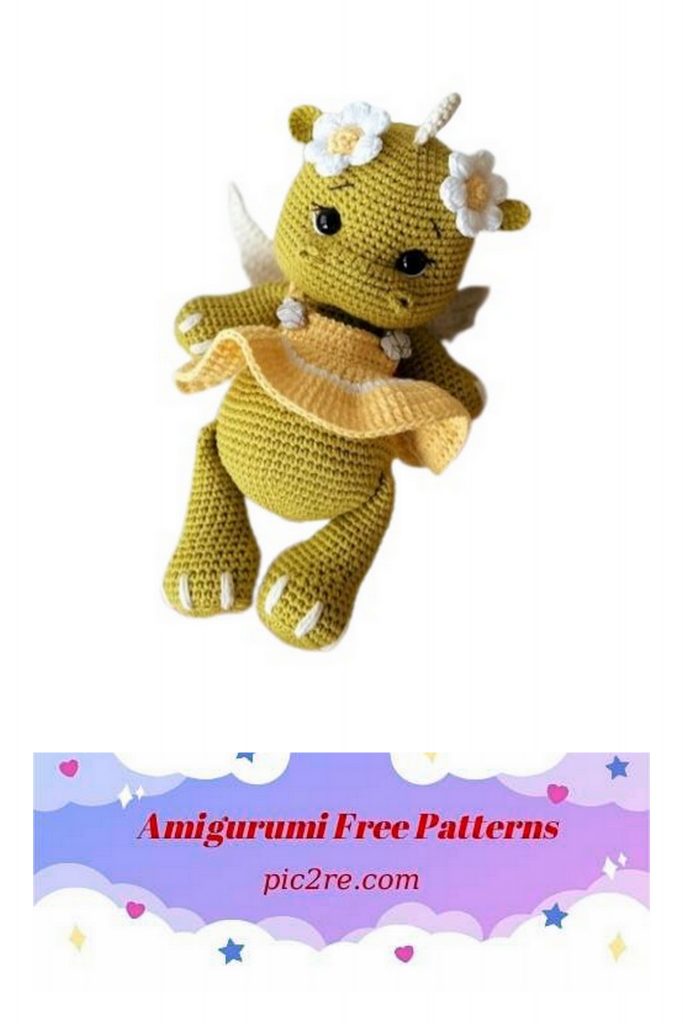
ASSEMBLY
Sew on the ears at the level of 11 and 12 rows of the head, slightly at an angle to the center so that they look to the side. For the loops, where we knitted 2sc for both walls.
Combs for the head (3pcs) are sewn in the center, distributing evenly.
Sew the upper legs between the 34th and 35th rows of the body.
I have a distance between them in front of 8 sc
Sew the lower legs between the 14th and 15th rows of the body.
The distance between them is approximately 23 sc (better adjust according to your settings).
We sew the wings at your discretion, this will not spoil the toy
We embroider the claws on the upper paws, capturing 3 rows, on the lower 4 rows. Between 3-4 sc
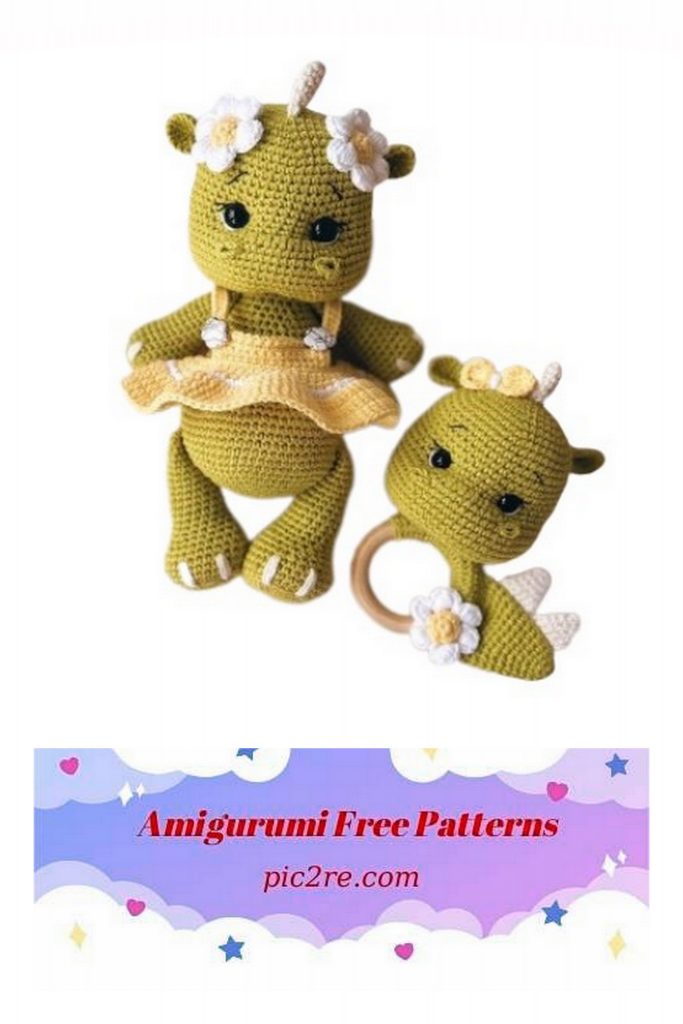
CHAMOMILE (2 pieces)
In yellow we knit 6sc in MR Change the thread to white
We make (4ch and into the next loop sl-st) * 6 times Next we make Zch, yarn over, in the arch with 4ch we stretch the loop as much as possible, yarn over again, pull the loop again …. And so we make only 6 yarn overs and 6 loops and elongated into one arch, only then we connect everything together and knit it into one pellet, we do again 3 ch and into the same arch sl-st. So we knit each arch, starting with 3ch and ending with 3 ch in sl-st as well. In order for the middle to be more voluminous, I separately knitted it in yellow
1) 6sc in MR
2) 6inc
And sewed to the center of the chamomile
Daisies I sewed between the ears and the comb
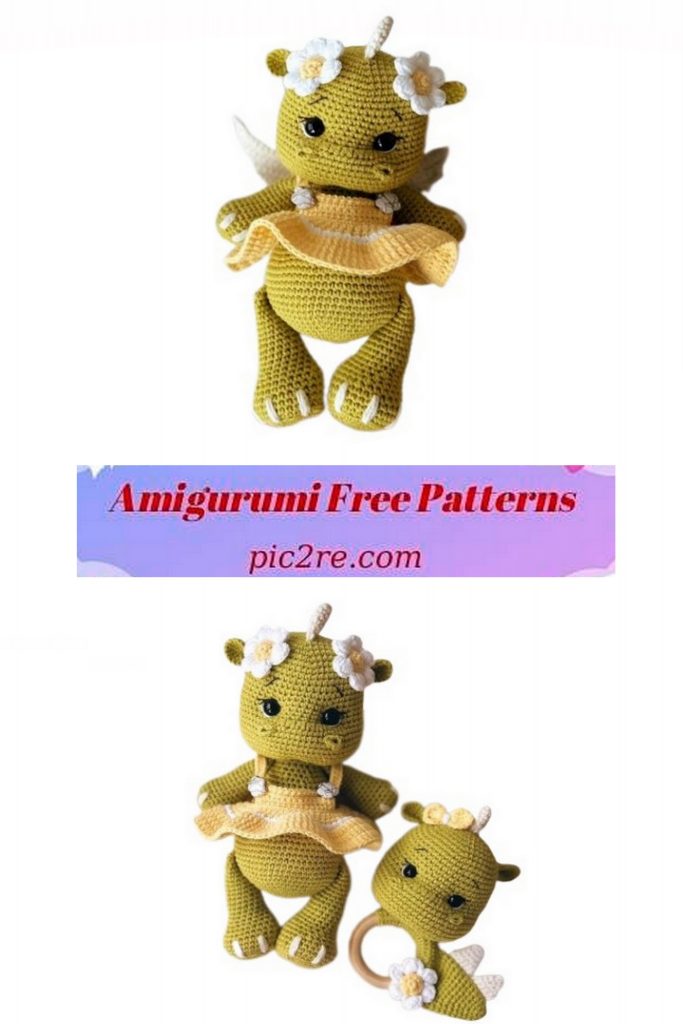
DRESS
We pay attention to the change of sc to hdc. We knit a chain from 60ch and connect it into a circle sl-st.
1) 1ch, 60 sc, sl-st
2) 2ch, 60hdc,sl-st
3) 1ch, 60sc, sl-st
Here I changed the thread to white
4) 1ch, 60 inc, sl-st
Change the thread back to yellow
5-7) 120 dc, sl-st. Cut the thread and hide
We knit a cent
We fasten the thread to 1 row and knit 15 sc TURNING with NOW rows, we knit 3 more rows of 15 sc, starting each row with ch. We make a harness, a connected center. For straps, dial 31 ch.
From the third loop we knit 29 hdc. We sew straps and buttons at our discretion.