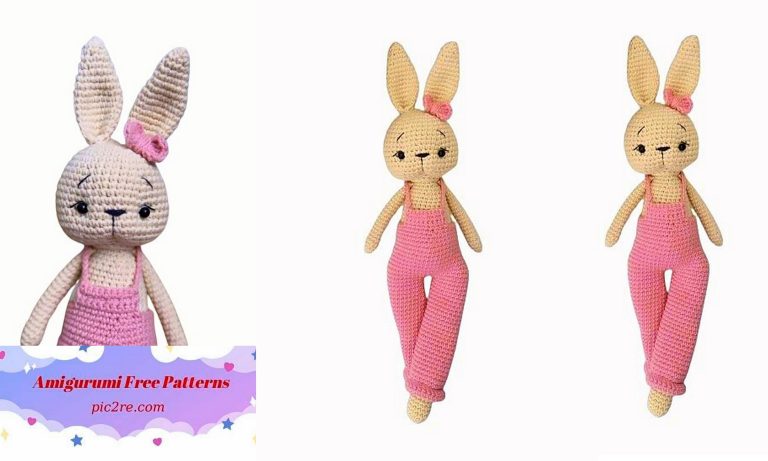
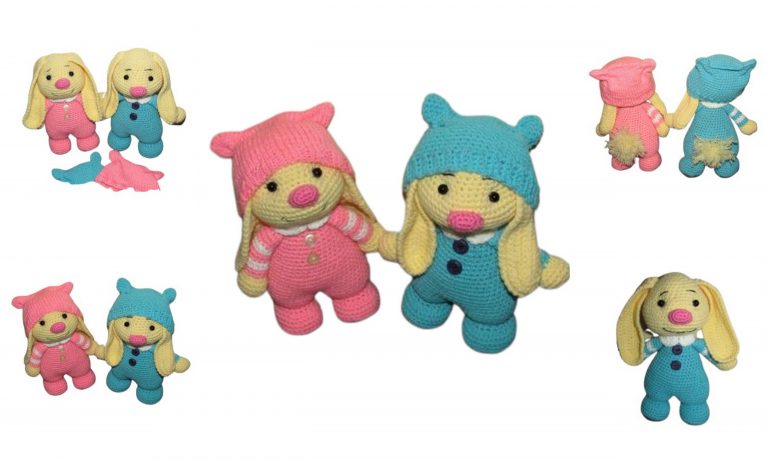
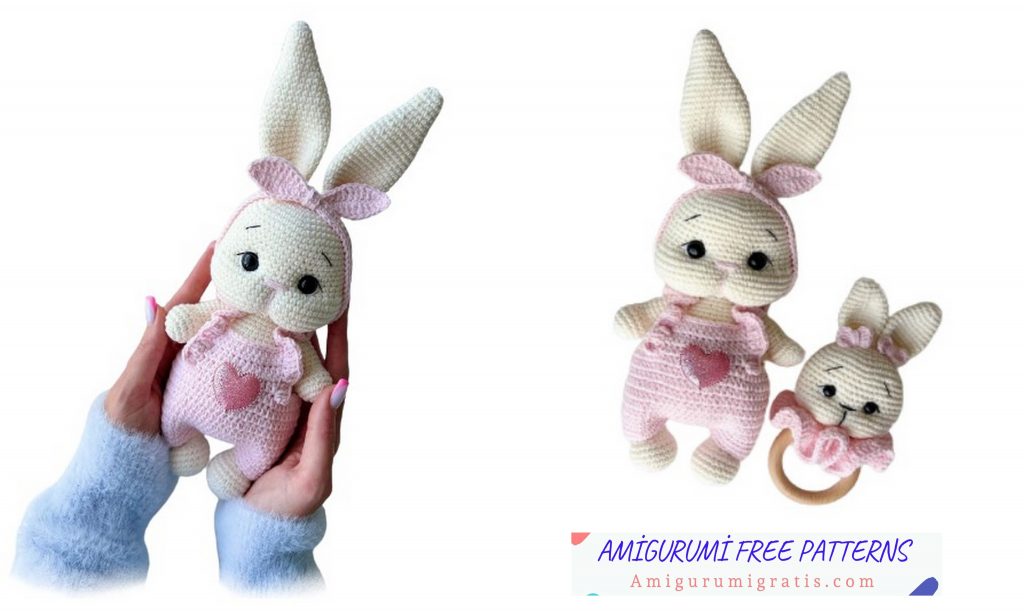
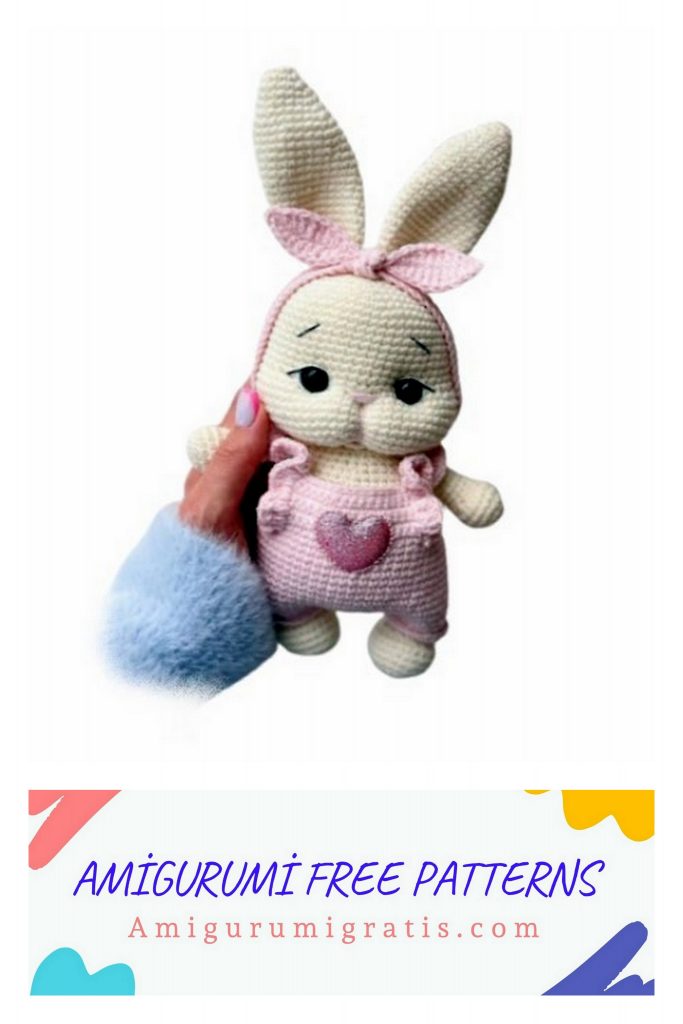
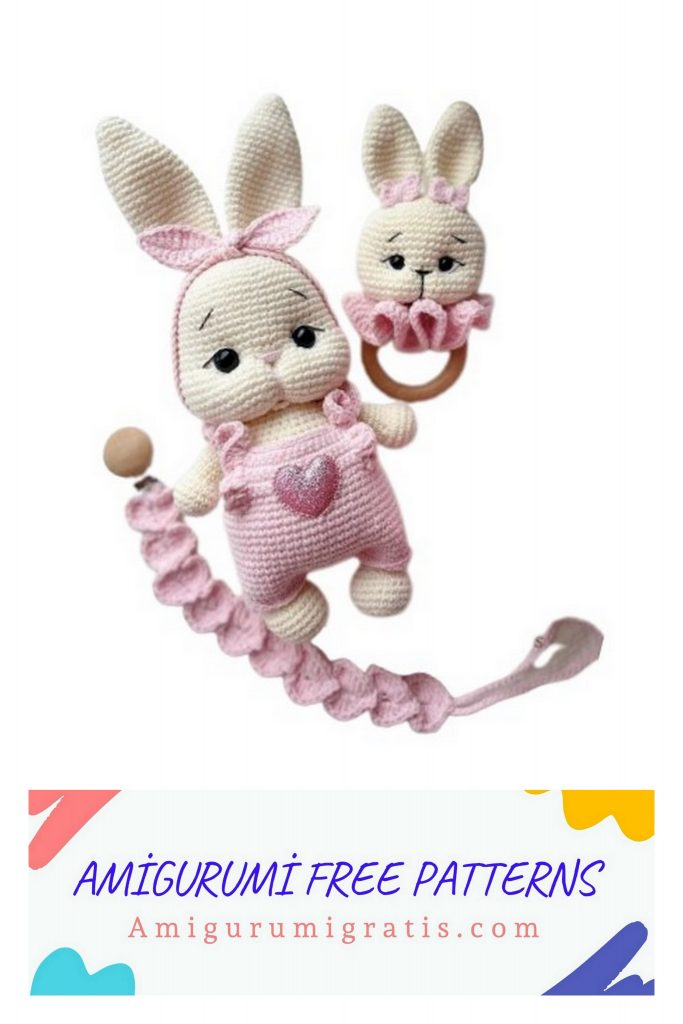
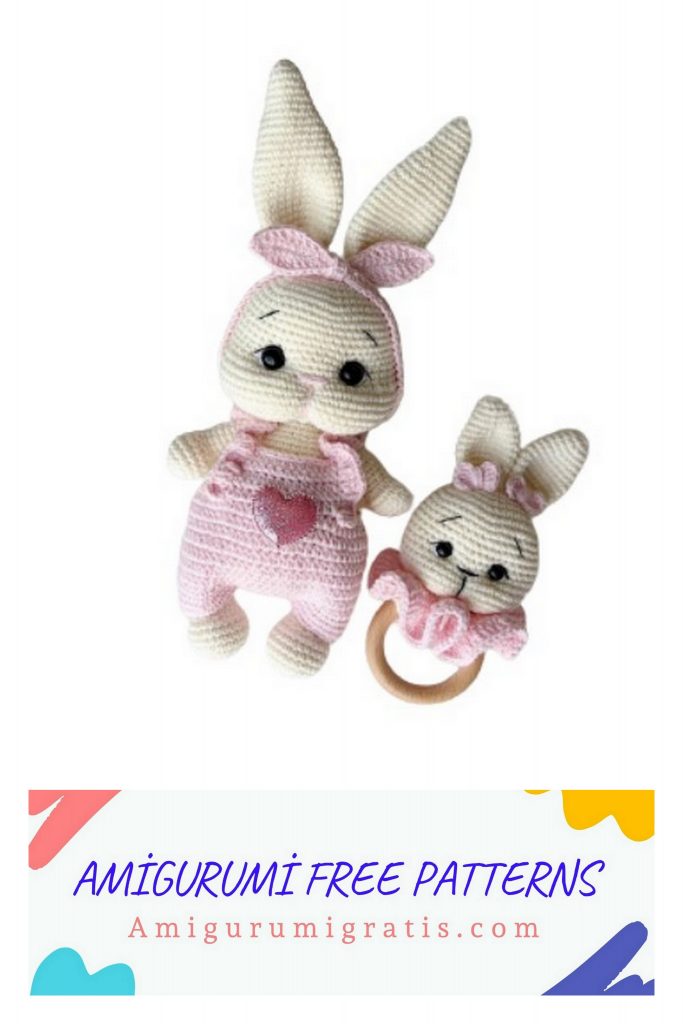
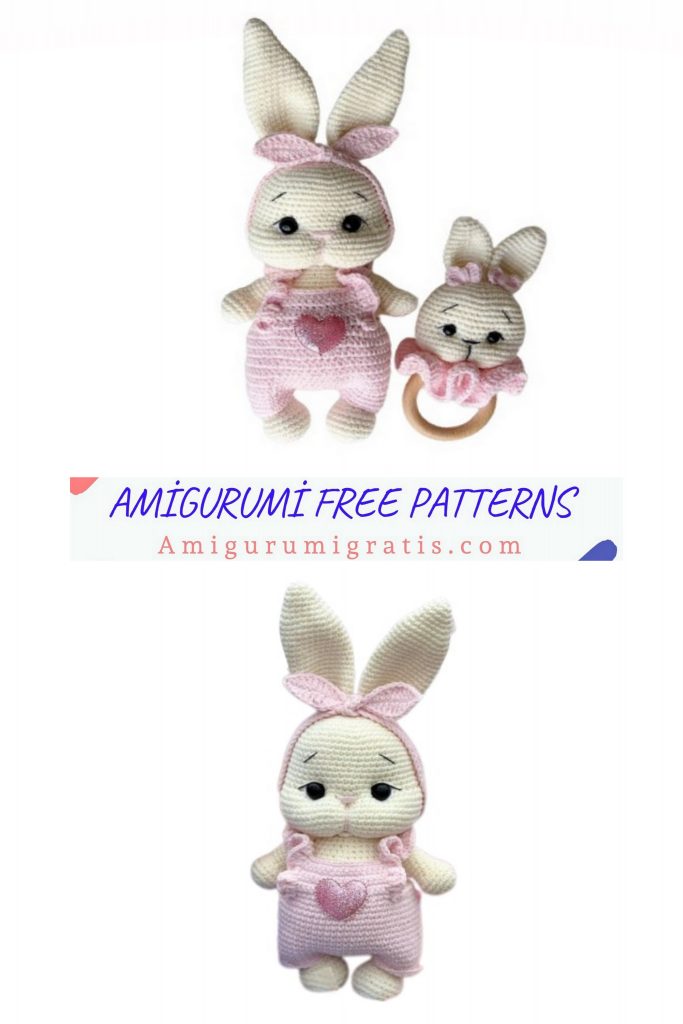
Amigurumi Jumpsuit Bunny Free Pattern
We continue to share the most beautiful free amigurumi patterns for you. You can visit our website for free pattern of amigurumi jumpsuit bunny.
Materials:
Hook No2
YarnArt Jeans No 03.74, No 05.75, No 62 for proteins
Yarn Art IRIS No 935 (black)
Filler
Safety eyelets 12 mm
Tweezers for filling small parts
1 button 15 mm
Stitching needle
Scissors
Lighter
The size of the finished toy, excluding ears, is approximately 22 cm
Abbreviations
MR – amigurumi ring
sc – single crochet
inc – increase
dec – decrease
dc – double crochet
hdc – double crochet
sl-st – slip stitch
ch- chain
Lip (mouth):
6 in MR
sew a few sc with a needle,
to move to the middle
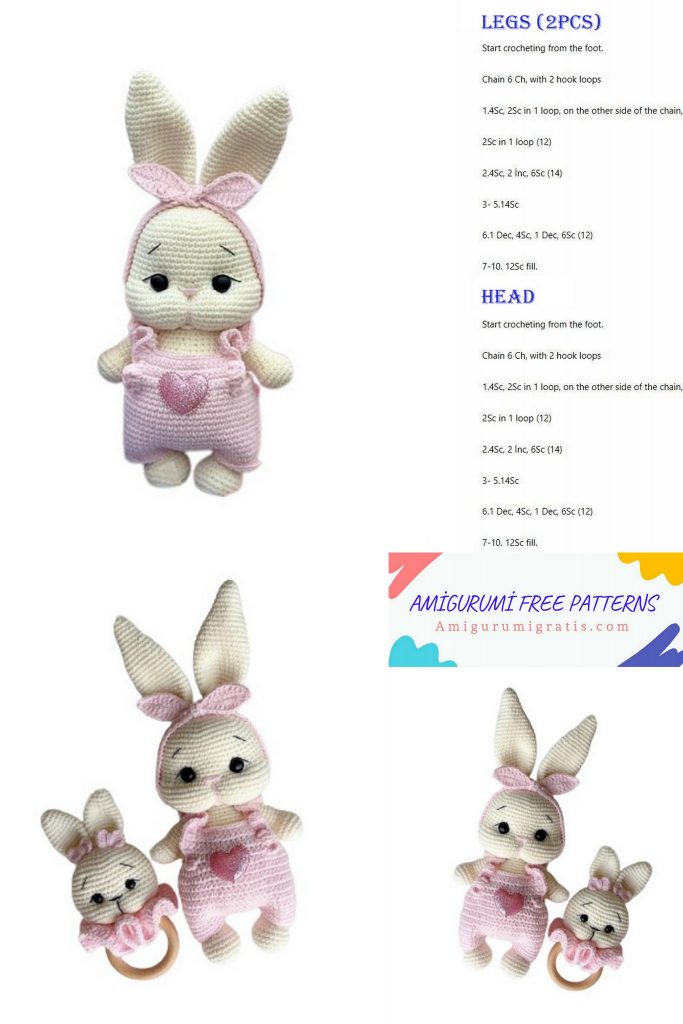
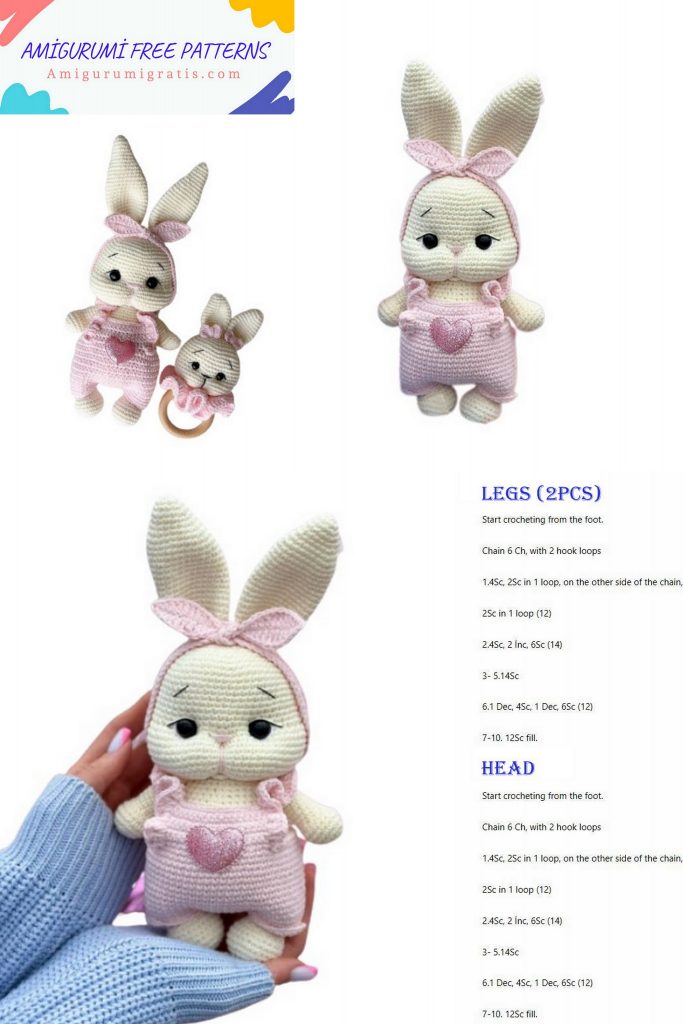
Head:
1 row: 6 in MR (6)
2nd row: 6 inc (12)
3 row: (1 sc, inc) * 6 (18)
4 row: (2 sc, inc) * 6 (24)
5 row: (3 sc, inc) * 6 (30)
6 row: (4 sc, inc) * 6 (36)
7 row: (5 sc, inc) * 6 (42)
8 row: (6 sc, inc) * 6 (48)
9 row: (7 sc, inc) * 6 (54)
10-19 row: 10 rows of 54 sc (54)
20 row: 10 sc (1 sc, inc) * 6, 10 sc, (inc, 1 sc) * 6, 10 sc (66)
Marker at back middle
21-25 row: 5 rows of 66 sc (66)
We insert the eyes at a distance of 10 sc between the 18th and 19th rows,
focusing on increases, over the first and last increase
26 row: (9 sc, dec) * 6 (60)
27 row: (8 sc, dec) * 6 (54)
28 row: (7 sc, dec) * 6 (48)
29 row: (6 sc, dec) * 6 (42)
30 row: (5 sc, dec) * 6 (36)
31 row: (4 sc, dec) * 6 (30)
32 row: (3 sc, dec) * 6 (24)
We fill the head, distributing the filler first from the center to the sides, then we fill the center. We pay special attention to the cheeks, shaping them to perfect plumpness)
At this stage, we fix, cut, leave the thread for sewing, if we sew the head with the body, and if you want to close and decorate the head separately, then continue according to the diagram below
33 row: (2 sc, dec) * 6 (18)
34 row: (1 sc, dec) * 6 (12)
35 row: 6 dec
We tighten the hole, fix the thread, cut it, hide
Ears:
1 row: 6 in MR (6)
2nd row: 6 inc (12)
3rd row: 12 sc (12)
5 row: (5 sc, inc) * 2 (14)
6 row: 14 sc (14)
7 row: (6 sc, inc) * 2 (16)
8 row: 16 sc (16)
9 row: (7 sc, inc) * 2 (18)
10 row: 18 sc (18) * 2 (20)
11 row: (8 sc, inc)
12 row: 20 sc (20
13 row: (9 sc, inc) * 2 (22)
14 row: 22 sc (22)
15 row: (10 sc, inc) * 2 (24)
16-25 row: 10 rows of 24 sc (24)
26 row: (10 sc, dec) * 2 (22)
27 row: (9 sc, dec) * 2 (20)
28 row: (8 sc, dec) * 2 (18)
29 row: (7 sc, dec) * 2 (16)
Knit for both walls, and for the edges
Body:
1 row: 6 in MR (6)
2nd row: 6 inc (12)
3 row: (1 sc, inc) * 6 (18)
4 row: (2 sc, inc) * 6 (24)
5 row: (3 sc, inc) * 6 (30)
6 row: (4 sc, inc) * 6 (36)
7 row: (5 sc, inc) * 6 (42)
8 row: (6 sc, inc) * 6 (48)
9 row: (7 sc, inc) * 6 (54)
10 row: (8 sc, inc) * 6 (60)
11-17 row: 7 rows of 60 sc
18 row: (8 sc, dec) * 6 (54)
19 row: 54 sc
20 row: (7 sc, dec) * 6 (48)
21 row: 48 sc (48)
22 row: (6 sc, dec) * 6 (42)
23-24 row: 2 rows of 42 sc (42)
25 row: (5 sc, dec) * 6 (36 sc)
26-27 row: 2 rows of 36 sc (36)
28 row: (4 sc, dec) * 6 (30 sc)
29-30 row: 2 rows of 30 sc (30)
31 row: (3 sc, dec) * 6 (24)
32 row: 24 sc (24)
Fasten the thread, cut, leave 25-30 cm for sewing
Handles 2 pcs:
1 row: 6 in MR (6)
2nd row: 6 inc (12)
3 row: (1 sc, inc) * 6 (18)
4-6 row: 3 rows of 18 sc (18)
7 row: 6 dec, 6 sc (12)
8-17 row: 10 rows of 12 sc (12)
Using 2/3 tweezers, fold in half, knit 6 sc behind both walls, leave the thread for sewing
Legs 2 pcs:
1 row: 6 in MR (6)
2nd row: 6 inc (12)
3 row: (1 sc, inc) * 6 (18)
4 row: (2 sc, inc) * 6 (24)
5-8 row: 4 rows of 24 sc (24)
9 row: 9 dec, 6 sc (15)
10-19 row: 10 rows of 15 sc (15)
Using tweezers, stuff 2/3, fold in half, knit 7 sc for both walls, leave the thread for sewing
T-shirt:
31 ch., 1 ch.
30 sc, 2 ch
(1 dc, inc from dc) *rep to end of row, 2 ch (2 sc, inc from dc) *rep to end of row, 1 ch
10 sc, 6 ch, skip 9 dc, 22 sc, 6 ch, skip 9 dc, 10 sc
60 dc, 2 ch
60 dc, ch
Next, we tie, form loops for buttons:
1 sc, 3 ch, skip 3 ch, 3 sc, 3 ch, skip 3 ch, 1 sc fix the thread, cut it. Sew the button opposite the loop
The button can be replaced with ties, for this we knit 55 ch, attach the thread to the T-shirt, knit 30 sc, then 55 ch.
Pants:
62 we close in a circle
3 rows of 62 sc 8 rows of 62 hdc
62 sc
We fasten the thread, cut
We knit the front of the overalls: we attach the thread, we knit 12 sc (we knit the first sc in the same loop where the thread was attached), 1 ch, turn knitting, 12 sc, 1 ch, turn knitting, 12 sc, fasten the thread, cut. Now back: attach the thread, knit 12 sc (we knit the first sc in the same loop where the thread was attached), 1 ch, turn knitting, 12 sc, 1 ch, turn knitting, 12 sc, do not cut the thread, continue knitting. We knit straps: we collect 17 ch (we try on our toy, because the size of the toy may differ, if necessary, add or subtract ch), attach to the front of the jumpsuit, knit 12 sl-st along the top, then again 17 ch, attach to the back of the overalls, knit 12 cc, fasten the thread, cut.
Next, we will tie the raw edge, for this we attach the thread at the back, where we started knitting the rack, and we knit it in a circle along the knitting path (from right to left), we knit the connector column (sl-st), we do the same on the other side.
If you want to knit a jumpsuit with ruffles for a girl), then we knit in the same way, but we do not knit sl-st along the racks and straps, but alternate increases from two dc into one loop and three dc into one loop, the sides are the same as in the first option , knit sl-st.
We try on a toy, align and carefully sew the bottom between the legs, so that the overalls can be removed, I got 7 stitches.
Assembly and decoration
If the head was closed separately, then we draw it up first. We make the tightening of the eyes and nose the way we are used to, as convenient. We embroider a nose, we embroider proteins, eyelids, cilia, eyebrows. Sew the head to the body.
Sew on the top and bottom legs.
Sew on the ears.
Dressing up.