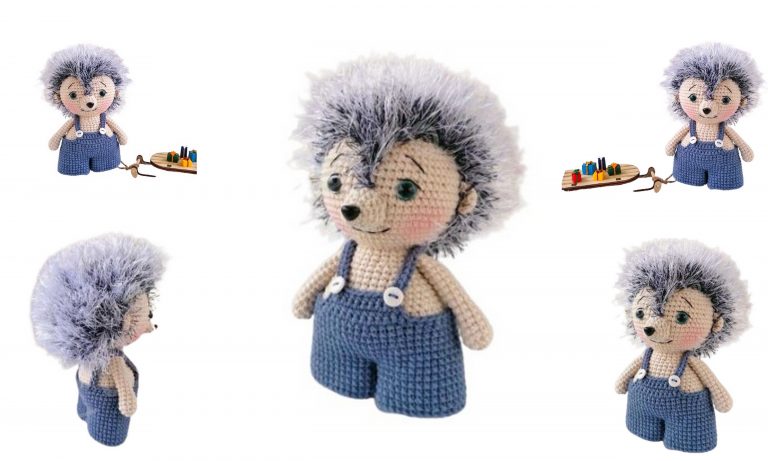
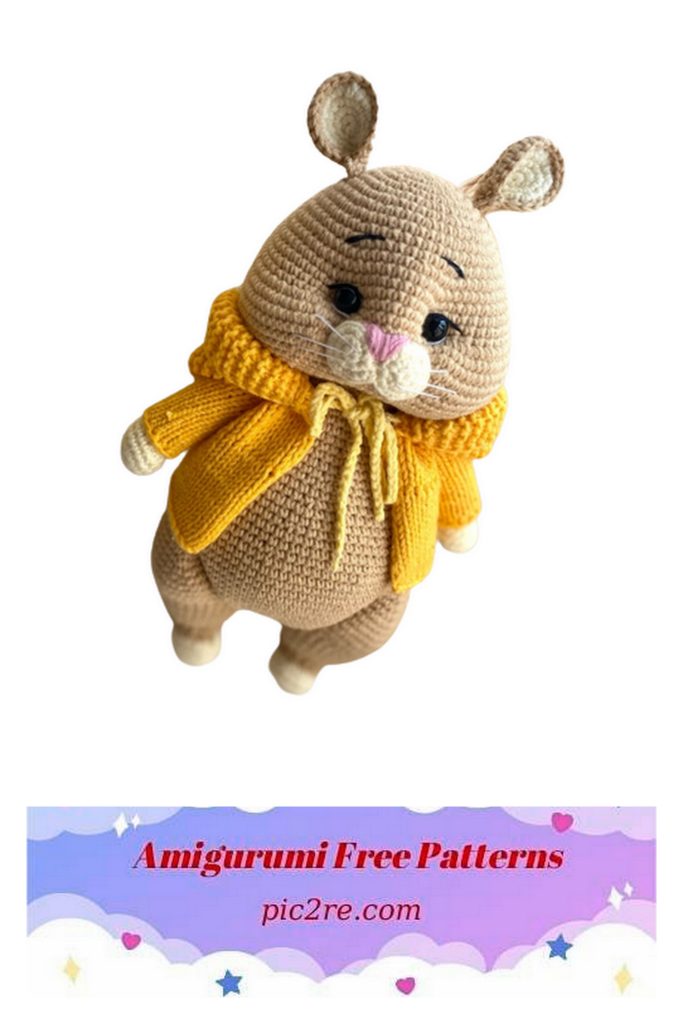
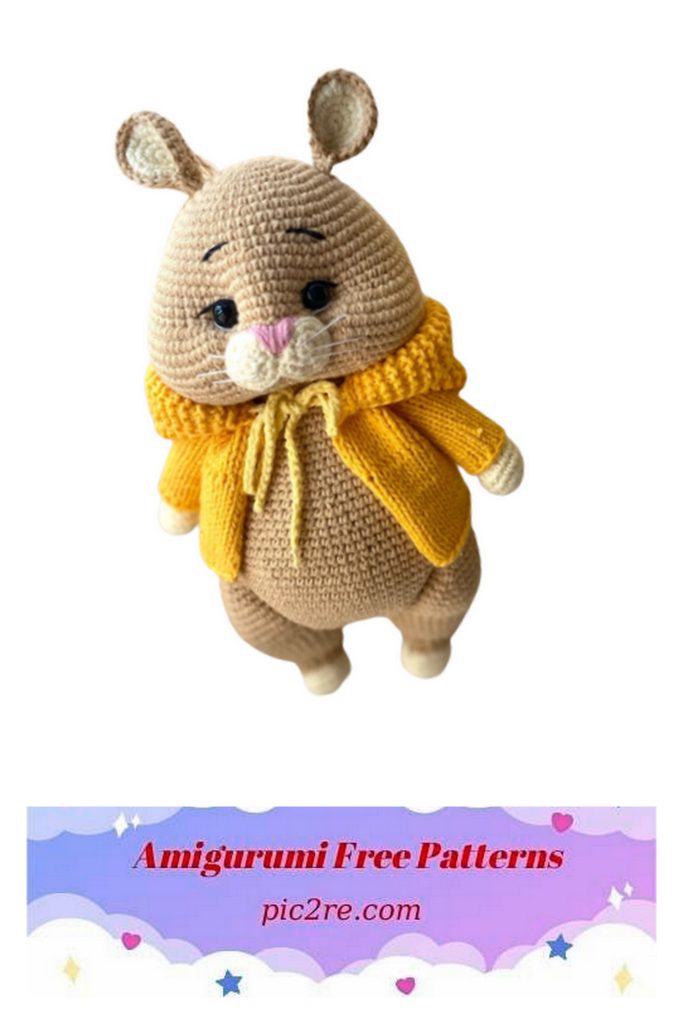
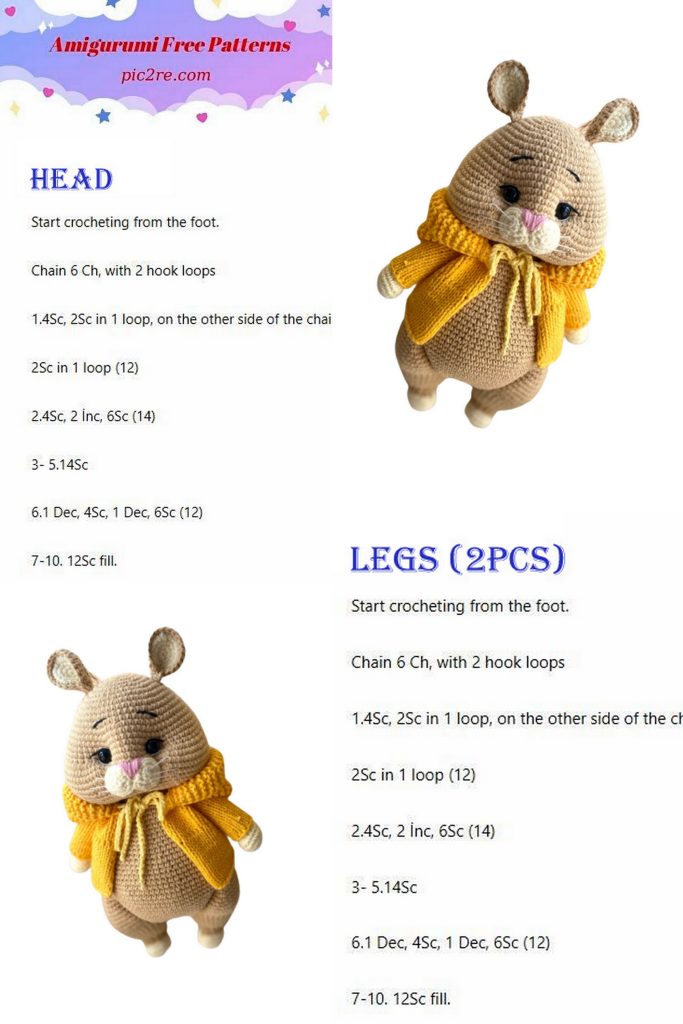
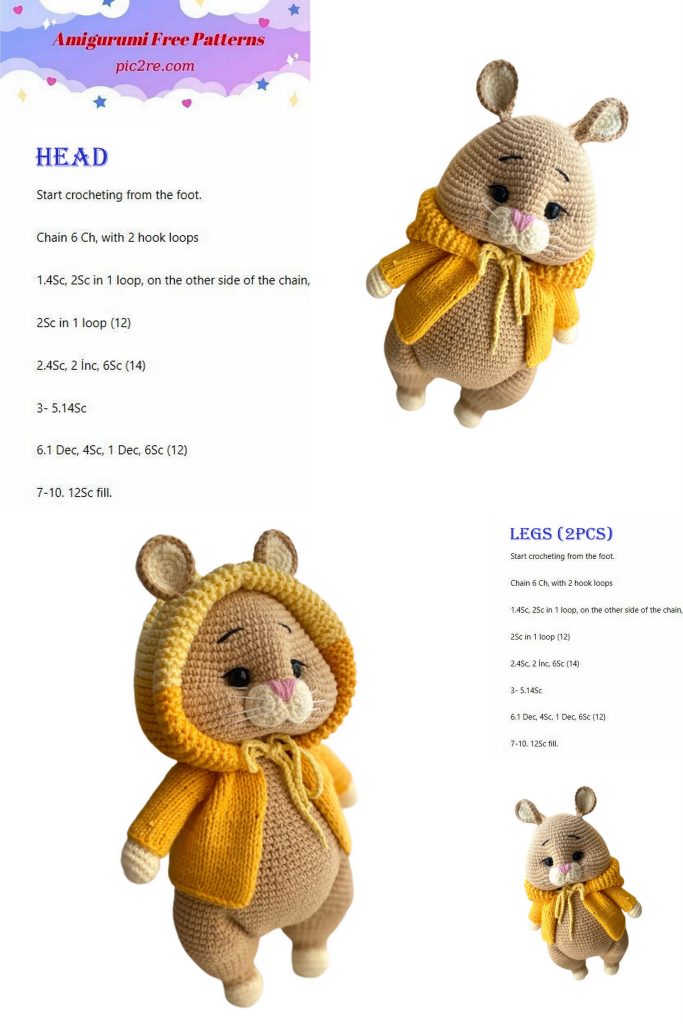
Amigurumi Hamster Free Pattern
Hello, your child will like the Amigurumi Hamster Free pattern, follow it for the most beautiful current patterns. Amigurumi Hamster
List of required materials:
Amigurumi Hamster
1. YarnArt Jeans and Alize Cotton Gold hobby. Also, I use white, black and pink thread to decorate the eyes and nose.
2. Hook No. 2 – No. 2.25.
3. A needle for sewing on parts, preferably with a blunt end, and a long needle for tightening.
4. Eyelets on a safe mount with a diameter of 10 mm.
5. Sintepon for filling, holofiber can be used.
6. Scissors.
7. Contrast thread for marking.
8. Knitting needles 2mm: stocking/on a fishing line 40cm.
Attention! Using the list of required materials, the toy comes out measuring 24.5 cm. When choosing a hook, focus on the density of your knitting. I knit quite tightly, so I use a No. 2.25 hook. If you knit quite loosely, you can use No. 1.75 – No. 2mm.
Note:
• from Alize Cotton Gold hobby – hamster size 22.5 cm
• YarnArt Jeans – hamster size 24.5 cm
I recommend knitting from YarnArt Jeans or any other thread with a density of 160m x 50g.
Palette:
Yarn – YarnArt Jeans:
• Main No. 07;
Yarn – Alize Cotton Gold hobby:
• Muzzle, ears, paws
No.01;
Also, white, black and pink thread for decorating the eyes and nose.
Yarn – Alize Cotton Gold hobby:
• Main No. 152
Yarn – YarnArt Jeans:
• Muzzle, ears, paws
No.03;
Also, white, black and pink thread for decorating the eyes and nose.
List of abbreviations:
1. MR – Amigurumi ring.
2. SC – single crochet.
3. DC – single crochet stitch.
4. HDC – half double crochet.
5. İnc – increase.
6. Dec – decrease.
7. CH – air loop.
8. SL-ST – connecting post.
9. P – loop.
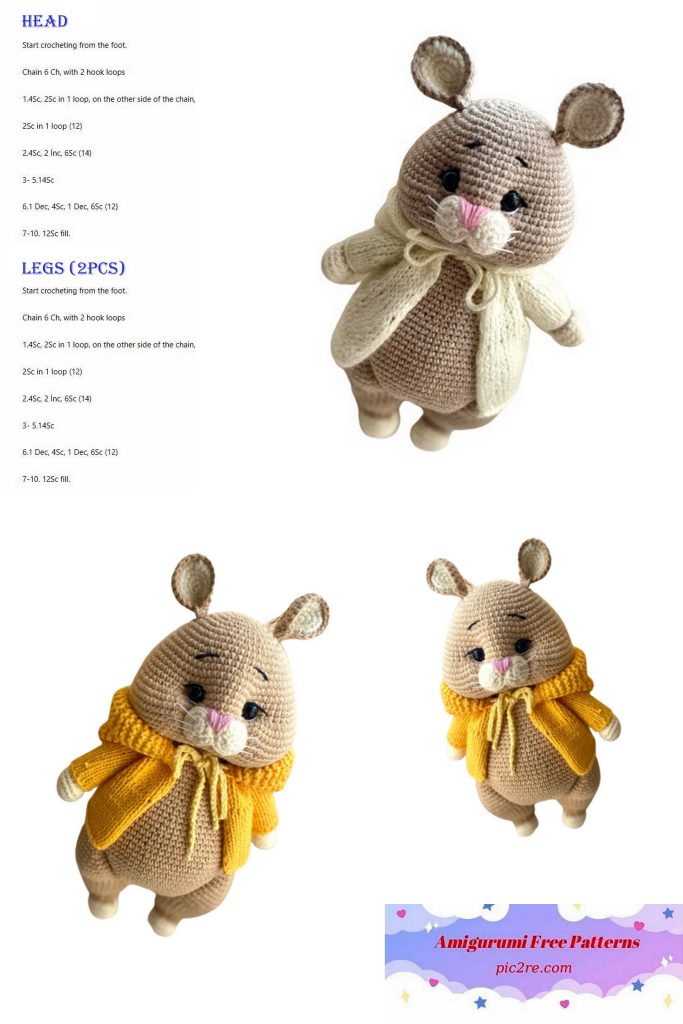
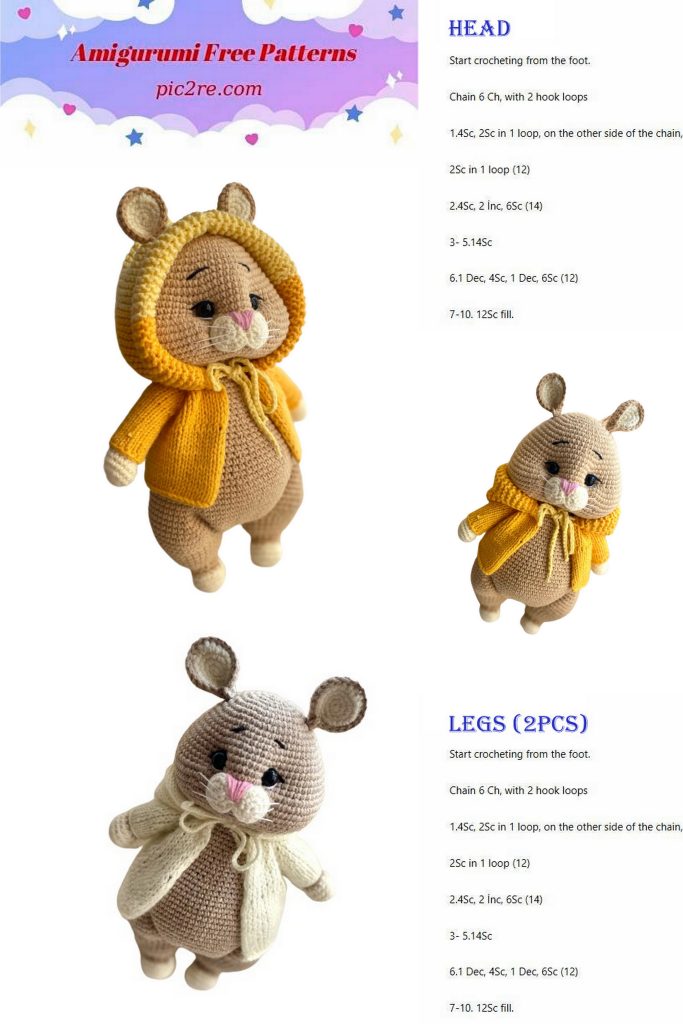
Head
1. 7 sc in MR;
2.7 inc; (14)
3. (1 sc, inc)*7; (21)
4. 1 sc, inc, (2 sc, inc)*6, 1 sc; (28)
5. (3 sc, inc)*7; (35)
6. 2 sc, inc, (4 sc, inc)*6, 2 sc; (42)
7. (5 sc, inc)*7; (49)
8. 3 sc, inc, (6 sc, inc)*6, 3 sc; (56)
9.56 sc;
10.56 sc;
11. (7 sc, inc)*7; (63)
12. 4 sc, inc, (8 sc, inc)*6, 4 sc; (70)
13. (9 sc, inc)*7; (77)
14-17. 77 sc; (4 rows)
18. 10 sc, (inc, 1 sc)* 7. 7 inc; 15 sc, 7 inc; (1sc, inc)*7, 10 sc; (105)
19.105 sc;
20.105 sc;
21. 43 sc, dec, 15 sc, dec, 43 sc; (103)
22. 42 sc, dec, 15 sc, dec, 42 sc; (101)
23. 41 sc, dec, 6 sc, dec, 7 sc, dec, 41 sc; (98)
24. (5 sc, dec)*14; (84)
25. (10 sc, dec)*7; (77)
26. (9 sc, dec)*7; (70)
27. (8 sc, dec)*7; (63)
28. (7 sc, dec)*7; (56)
29. (6 sc, dec)*7; (49)
30. (5 sc, dec)*7; (42)
31. (4 sc, dec)*7; (35)
32. (3 sc, dec)*7; (28)
Leave a long end for sewing.
We insert the eyes between 15 – 16 rows, 9 – 10 sc from edge to edge.
When using eyes with a diameter of 10mm. Guideline for eye placement:
In the 18th row we do 7 inc in a row, we place the eyes, counting: –
the last İNC + 2 sc and insert the eye, similarly to the second eye, not forgetting that we insert the eyes between 15-16 rows.
We do not stuff it tightly, otherwise it will not be possible to make a tightening.
Handles 2 parts.
We start with color No. 03.
1.6 in MR;
2.6 inc; (12)
3. (1 sc, inc)*6; (18)
4. 18 sc;
5.18 sc;
6. 6 sc, 3 dec, 6 sc; (15) on the last loop, change the color to the main one.
7. (3 sc, dec)*3; (12)
8-20. 12 sc; (13 rows)
21. 6 dec; (6)
We only stuff color No. 03 tightly, and we fill it lightly along the part. Next, if sewn, tighten the loops behind the front walls.
If knitting, fold in half and knit 3 sc.
Legs 2 parts:
Right. Let’s start with color No. 03
1.7 in MR;
2.7 inc; (14)
3. (1 sc, inc)*7; (21)
4.21;
5.21;
6. (1 sc, dec)*7; (14) on the last loop, change the color to the main one.
7.14;
8.14;
9. (1 sc, inc)*7; (21)
10. 1 sc inc, (2 sc, inc)*6, 1 sc; (28)
11.28;
12.28;
13. 14 sc, 4 inc, 10 sc; (32)
14.32 sc;
Cut the thread.
Second leg (Left) change row 13
13. 10 sc, 4 inc, 14 sc; (32)
14. 32 sc.
Next we knit 2ch and attach the right leg -> On the right leg 32 sc, 2 sc on ch, 32 sc on the left leg, 2 sc on ch. (68) Next:
Body:
1. 68 sc;
2. inc, 21 sc (1 sc, inc)*10, 23 sc, inc, 2 sc; (80)
3. 29 sc, 19 inc, 32 sc; (99)
4. 24 sc, dec, 44 sc, dec, 27 sc; (97)
5. 24 sc, 2 dec, 38 sc, 2 dec, 27 sc; (93)
6. 25 sc, dec, 36 sc, dec, 28 sc; (91)
7. 25 sc, dec, 34 sc, dec, 28 sc; (89)
8. 25 sc, dec, 32 sc, dec, 28 sc; (87)
9. 25 sc, dec, 30 sc, dec, 28 sc; (85)
The knitting looks quite strange at this stage, but this should not bother you. When you start filling the toy, all the grooves and folds will fall into place.
10. 25 sc, dec, 28 sc, dec, 28 sc; (83)
11. 25 sc, dec, 26 sc, dec, 28 sc; (81)
12. 25 sc, dec, 24 sc, dec, 28 sc; (79)
13. 25 sc, dec, 22 sc, dec, 28 sc; (77)
14.77 sc;
It is better to fill the toy during the knitting process, paying special attention to the frogs and belly.
15. (9 sc, dec)*7; (70)
16.70;
17.70;
18. (8 sc, dec)*7; (63)
19.63;
20.63;
21. (7 sc, dec)*7; (56)
22.56;
23.56;
24. (6 sc, dec)*7; (49)
25.49;
26.49;
27. (5 sc, dec)*7; (42)
28.42;
29.42;
30. (4 sc, dec)*7; (35)
31.35;
32. 35; if we knit handles, then: 11 sc, 3 sc along with the handle. 14 sc, 3 sc with handle, 4 sc; (35)
33. (3 sc, dec)*7; (28)
Fill the part.
Ears 4 parts
First we knit two parts with color No. 03, then the main one.
1.6 in MR;
2.6 inc; (12)
3. (1 sc, inc)*6; (18)
4. (2 sc, inc)*2, 2 hdc, inc from DC, 2 hdc, inc, (2 sc, inc)*2; (24) SL-ST
only on color 03
On parts of the main color, do not cut the thread, continue knitting:
Connecting the parts: after the last increase on the main color, pull out the loop. We fold the two parts inside out, insert the hook into the part of color No. 03 in the last stitch, where we knitted SL-ST, make CH and then knit SC to the end of the row, we knit the last SC in the first stitch, where CH.
Fold the eyelet in half and knit 3 SC, knit the first SC behind the jumper and CH. Cut the thread, leaving a long end for sewing.
Pull the thread to the beginning.
Muzzle:
We knit from 2 parts.
1.6 in MR;
2.6 inc; (12)
First part, close sl-st; cut the thread, hide.
The second part, do not cut the thread, continue knitting.
SL-ST to the last sc of the 1st part, (1sc, inc)*5, sl-st.
On the second part sl-st, then we knit (inc, 1sc)*5, sl-st and finish by imperceptibly closing the last loop. Completing the detail will be the pinnacle.
Assembly: let’s start assembling and decorating the muzzle.
First we do the tightening:
Tighten the muzzle, repeat 3-5 times until we get the desired result.
We repeat the second option for tightening the muzzle 3-5 times until we get the desired result.
We sew the ears between 6 and 8 rows.
We sew the muzzle behind the back walls of the loop and jumper.
Next we shape the nose, eyes and eyebrows. Divide the white yarn into threads and embroider antennae.
We sew the handles between 32 and 33 next to each other.
Sew the head in the center, behind the jumpers.
Cloth:
List of abbreviations.
1. KNİT – front loop;
2. Purl – purl loop;
3. N – yarn over (with the help of yarn overs we make increases);
4. Kr – edge.
5. P – loop.
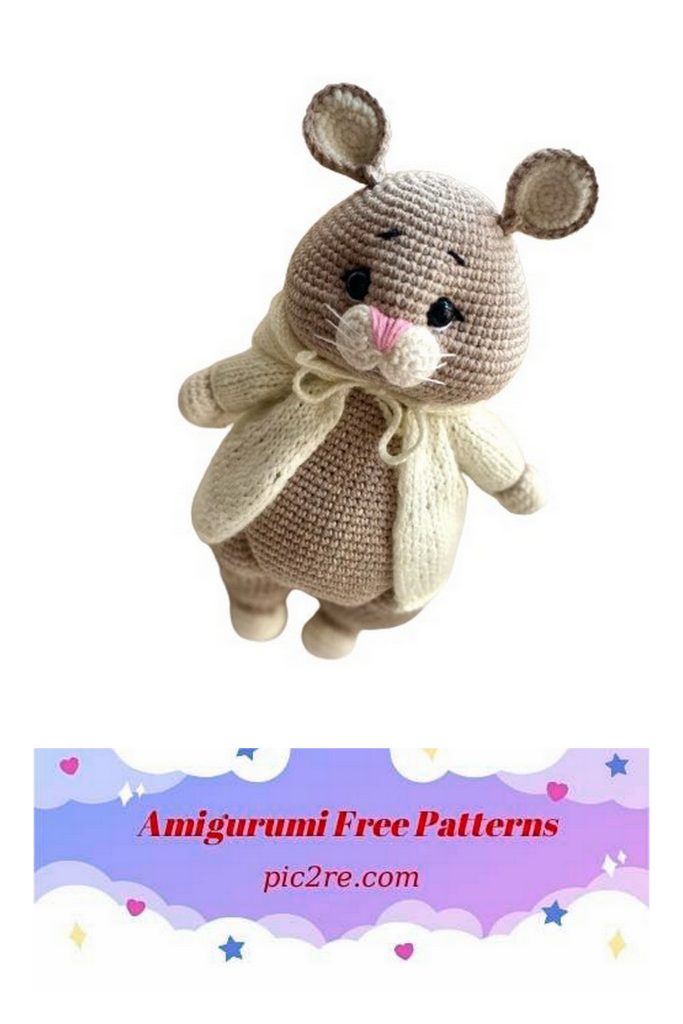
We knit a sweater.
We cast on 44 loops on a knitting needle. In your usual way.
We remove the edge loop at the beginning of the row, and always purl it at the end of the row.
1. Kr, 42knit, cr. (44)
2. Kr, 7knit, n,knit,n, 6knit, n,knit,n, 12knit, n,knit,n, 6knit, n,knit,n, 7knit, kr; (52)
We make a yarn over as shown in the photo below:
3. Kr, 50 purl, kr; (52) – we knit the yarn over with a purl loop behind the front wall.
4. Kr, 8knit, n,knit,n, 8knit, n,knit,n, 14knit, n,knit,n, 8knit, n,knit,n, 8knit, kr; (60)
5. Kr, 58 purl, kr; (60)
6. Kr, 9knit, n,knit,n, 10knit, n,knit,n, 16knit, n,knit,n, 10knit, n,knit,n, 8knit, kr; (68)
7. Kr, 66 purl, kr; (68)
8. Kr, 10knit, n,knit,n, 12knit, n,knit,n, 18knit, n,knit,n, 12knit, n,knit,n, 10knit, kr; (76)
9. Kr, 74 purl, kr; (76)
10. Kr, 11knit, n,knit,n, 14knit, n,knit,n, 20knit, n,knit,n, 14knit, n,knit,n, 11knit, Kr; (84)
11.Kr, 82knit, kr; (84)
12. Kr, 13knit we knit, 16 loops are removed using a needle with a blunt end on an additional thread, 24knit, 16 loops on an additional thread, 13knit, cr;
Attention! If you want to knit a blouse with short sleeves, then at this stage do not remove the additional loops. thread, and close it in any way convenient for you.
13. Kr, 50 purl, kr;
14. Kr, 12knit, (2knit, n)*12, 14knit, kr;
15. Kr, 62 purl, kr;
Next we knit the stockinette stitch to the required length. I got 12 rows.
Sleeves:
We take stocking needles, cast on loops, and remove the temporary thread. From the first loop we attach a new thread. We knit with facial loops, periodically trying on the length. I got 17 rows.
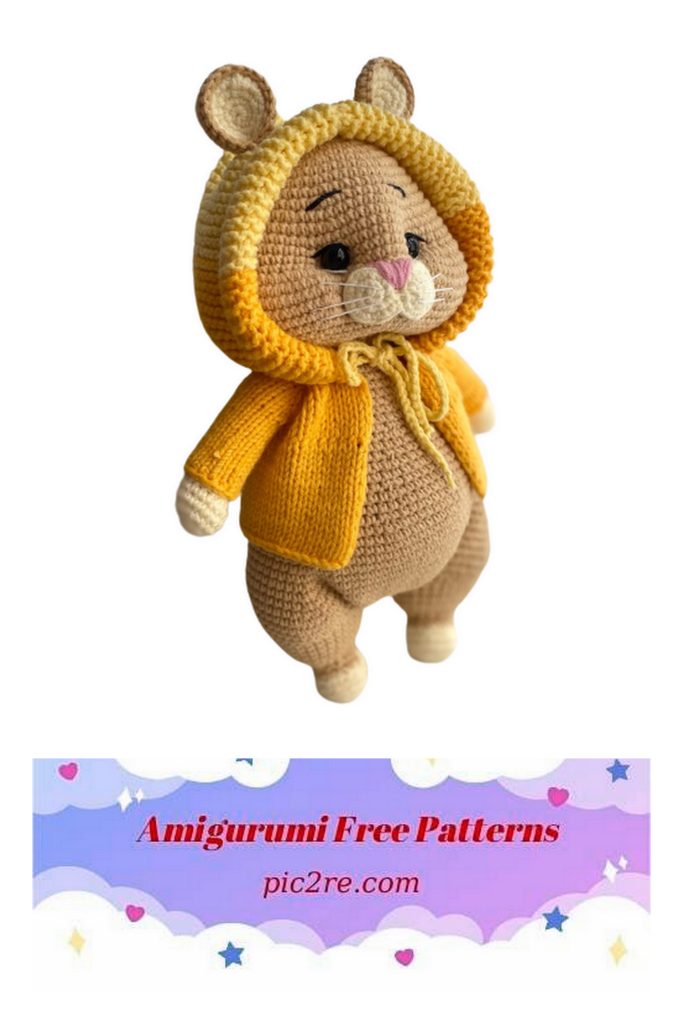
Hood:
We cast on 44 loops along the edge, in any way convenient for you.
Or directly onto knitting needles on a 40cm fishing line.
1. Kr. 1knit, n (2knit, n)*20, 1knit, cr; (65)
2. Kr, 63 knit, kr;
Next we knit in turning rows, garter stitch (knit stitches). When trying it on periodically, you need to knit it to the ears. (I wanted to dilute the yellow a little)
Having knitted the required number of rows, we knit the holes for the ears:
Kr, 10knit, 5p close, 32knit, 5 close, 9knit, kr; (53)
Kr, 10knit, 5p we type, 33knit, 5p we type, 10knit, kr; (63)
Next we knit, also in garter stitch, until the hood closes on the head.
Having knitted the required number of rows, we close it with a knitted seam.
And we finish the blouse, make a chain of ch, the length is at your discretion – this will be the string for the blouse. I threaded a chain of ch into the row in which the yarn over was made (along the hood). But you can make 2 chains from ch and fasten them along the edges of the blouse.
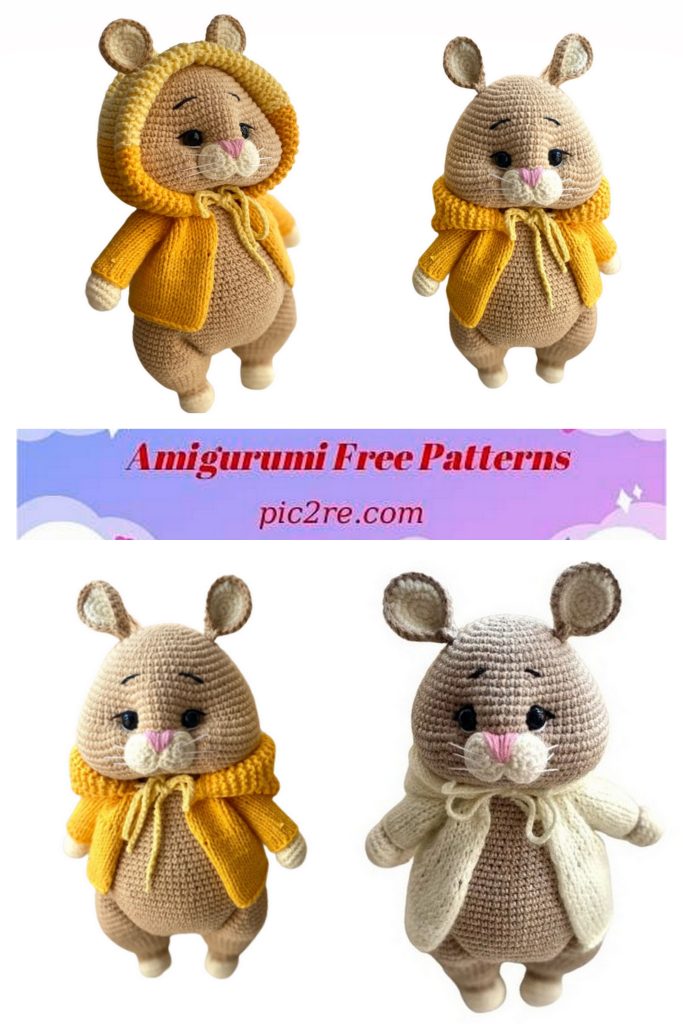
Your hamster is ready!!!