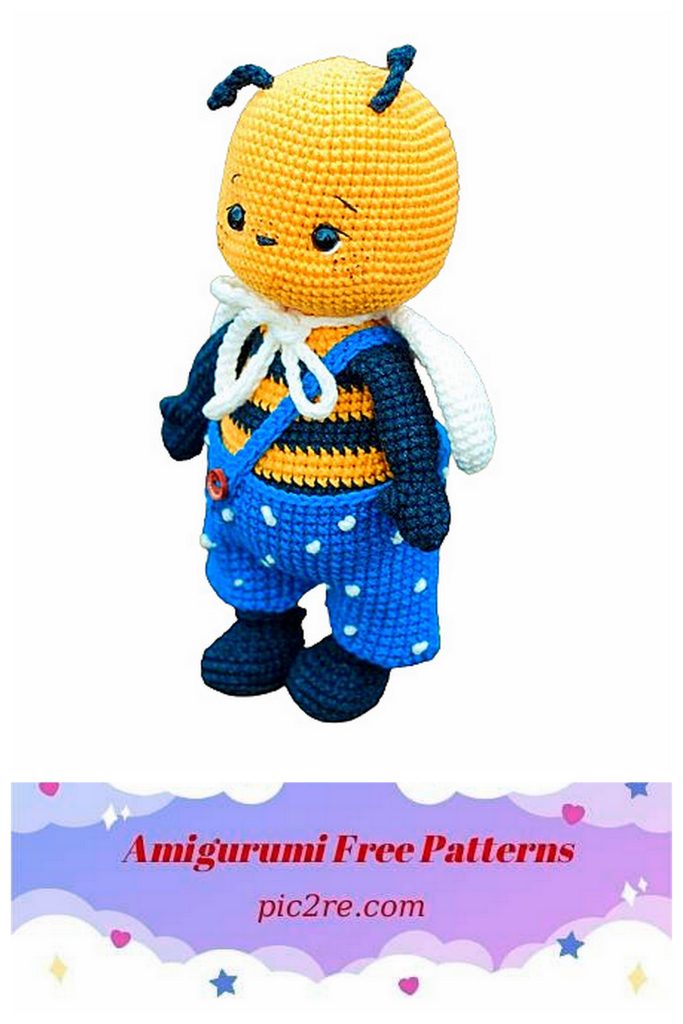
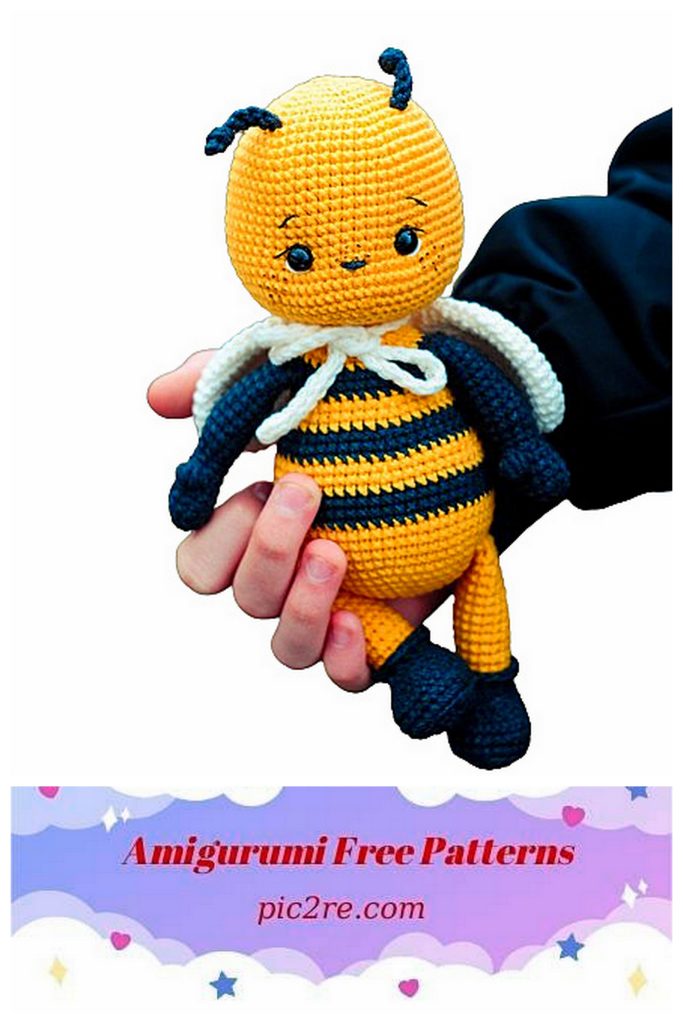
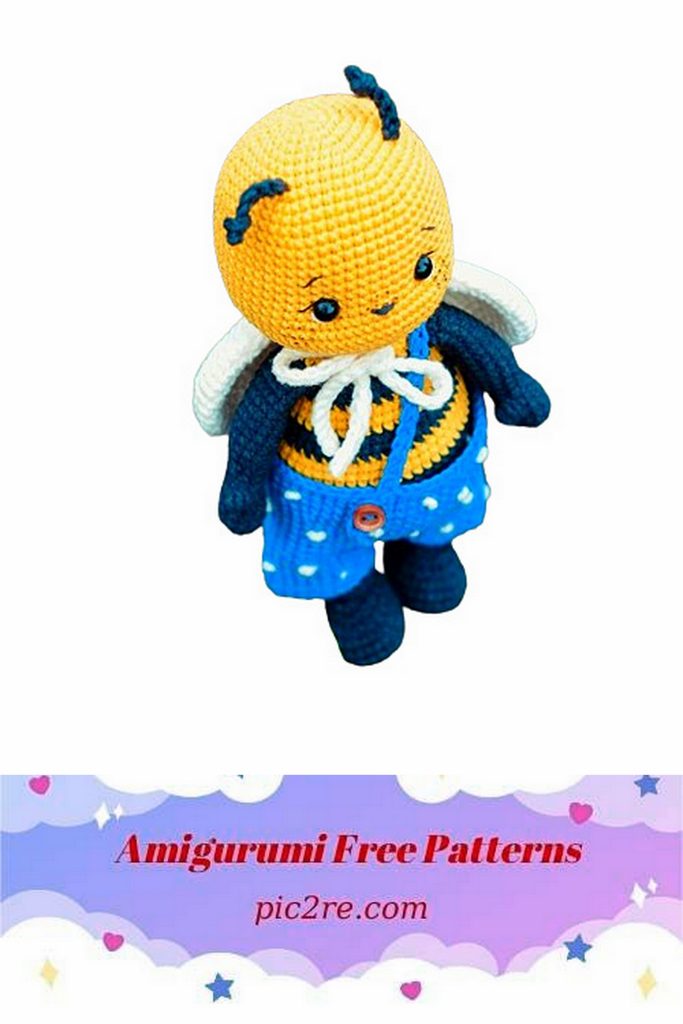
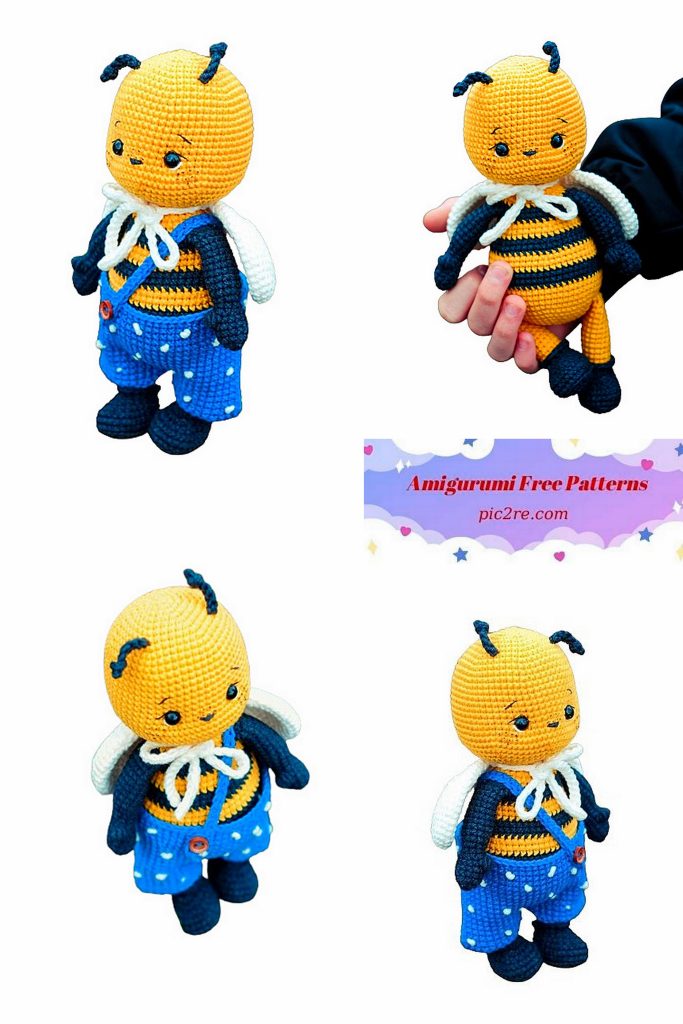
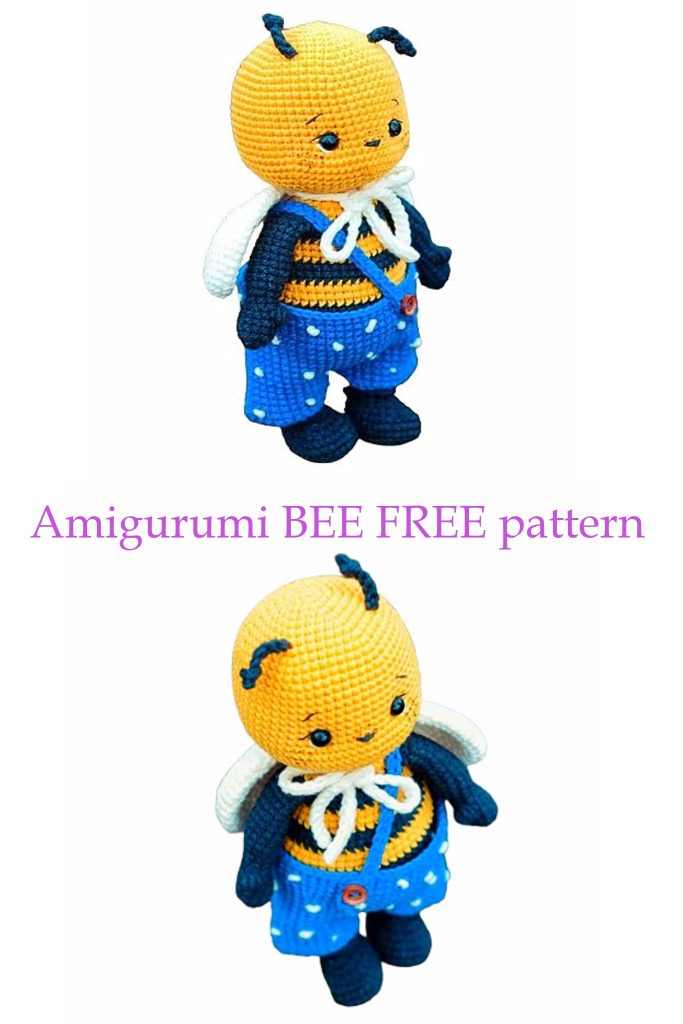
Amigurumi Little Bee Free Pattern
Note!
- Using this master class, you will knit a bee in pants.
- This master class does not contain knitting lessons. Required basic crochet skills.
- The difficulty level of the master class is medium.
- The parts of the toy are knitted in a spiral (unless otherwise indicated).
- The arms are tied into the body, the legs are sewn on.
- For the handles I used wire as a frame, but this is not Necessarily.
- Pants and wings are removable.
- I knit with half crosses, if you knit with ticks, then the size toys may differ from those stated.
- Size of the finished toy using the specified materials is approximately 22 cm (excluding the height of the antennae).
Required materials and tools
1. Yarn:
- For head, body and legs – YarnArt Jeans (160 m/50 g) color 35 (yellow). You will need more than half a skein.
- For the body, legs, arms and mustache – YarnArt Jeans color 28 (graphite) 1/3 skein.
- For wings and embroidery – YarnArt Jeans color 03 (milky). A little.
- For pants – YarnArt Jeans color 17 (blue). A little.
2. Hook (2 mm and 2.5 mm).
3. Filling (synthetic fluff, holofiber).
4. Eyes on a safe mount with a diameter of 8-9 mm (1 pair).
5. Needle, marker, scissors, tailor’s pins.
6. Black bobbin thread for decorating the face.
7. Black felt-tip pen (for freckles).
8. 2 pieces of wire, each 15 cm long, for the frame of the handles.
9. Fabric adhesive plaster.
10. Button with a diameter of 6-7 mm (I use wood).
Required materials and tools
Mr – amigurumi ring
SC – single crochet
İnc – increase
Dec – decrease
Ch – air loop
Sl-st – connecting post
DC – single crochet
Cone – 4 DC with a common top
knit in one loop
(…) – number of loops in a row
(…) x times – repeat the action in brackets specified number of times
Bee Antennas
(2 parts, graphite color, 2 mm hook)
Before you start knitting the chain, leave the end of the thread approximately 10 cm long. You will need it to secure the antennae on the head.
We cast on a chain of 13 Ch, turn it over, on the reverse side there are loop arms (shown by an arrow in photo 1). We insert the hook under these arms and from the second loop from the hook we knit 12 Sl-st. We do not tighten the loops, we knit them loosely. We tie a knot at the end of the antennae.
Note! Before you start knitting the head it is necessary to tie the antennae.
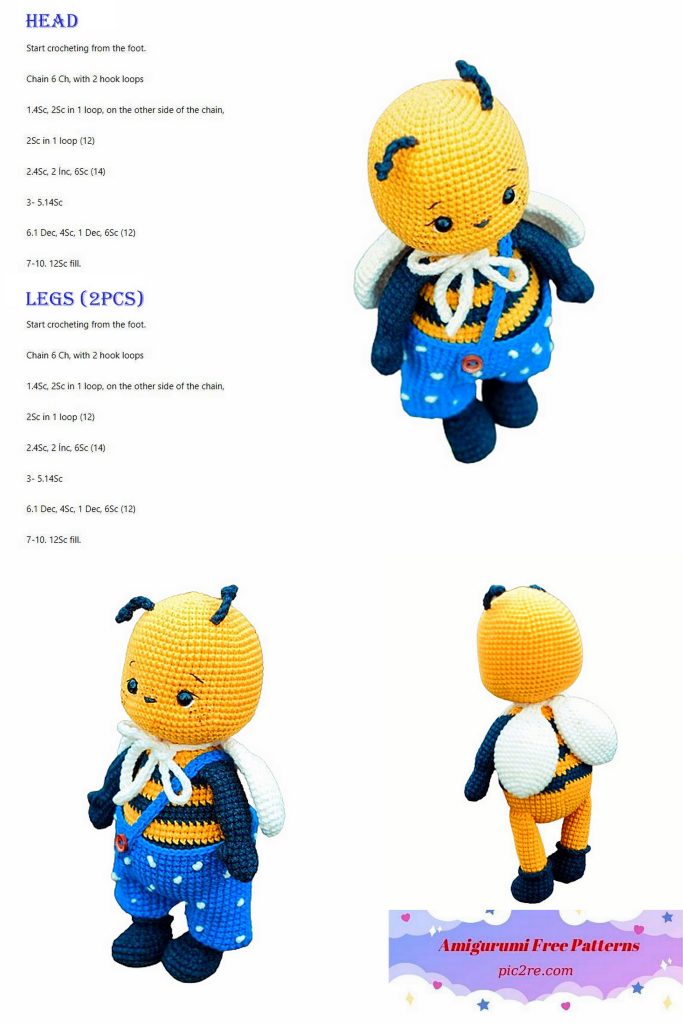
Head
(yellow, 2 mm hook)
it is necessary to tie the antennae.
1 row. 6 SC to Mr (6)
2nd row. (İnc) x 6 (12)
3rd row. (1 SC, İnc) x 6 (18)
4 row. (2 SC, İnc) x 6 (24)
5 row. (3 SC, İnc) x 6 (30)
6th row. (4 SC, İnc) x 6 (36)
7th row. (5 SC, İnc) x 6 (42)
8 row. (6 SC, İnc) x 6 (48)
9 row. (7 SC, İnc) x 6 (54)
10, 11 rows. 54 SC (54) 2 rows
12 row. (8 SC, İnc) x 6 (60)
Rows 13-20. 60 SC (60) 8 rows
21 row. 10 SC, 3 İnc, 7 SC, 3 İnc, 37 SC (66)
22, 23 rows. 66 SC (66) 2 rows
24 row. (9 SC, Dec) x 6 (60)
25 row. (8 SC, Dec) x 6 (54)
26 row. (7 SC, Dec) x 6 (48)
We insert the eyes on a safe fastening between the 19th and 20th rows, at a distance of 8 SC. We place them above the second and fifth increases of 21 rows.
We fix the antennae under the seventh row of the head (rows are counted from the top) at a distance of 11 SC from each other. Photo 5. Using a hook, we bring the ends of the threads to the wrong side and tie them in a knot.

Back to head knitting
27 row. (6 SC, Dec) x 6 (42)
28 row. (5 SC, Dec) x 6 (36)
Let’s start filling in the part.
29 row. (4 SC, Dec) x 6 (30)
Row 30 (3 SC, Dec) x 6 (24)
31 row. (6 SC, Dec) x 3, Sl-st (21)
We fill the part from rows 29 to 31 loosely. We cut the thread and hide the end in the detail.
Head decoration
To embroider the nose, we use YarnArt Jeans graphite thread, dividing it into 4 thin threads, using 1 of the 4 threads. We embroider the nose in the center under the 20th row (we count the rows from the top). Make 6 horizontal stitches. Stitch length 2 SC.
We tighten the eyes. We embroider squirrels with milky YarnArt Jeans thread.
We embroider the eyelids with black spool thread.
We embroider the eyebrows with YarnArt Jeans graphite thread, dividing it into 4 thin threads, using 1 of the 4 threads.
Using a black felt-tip pen, draw freckles on the cheeks and above the nose.
Pens
(2 parts, graphite color, 2 mm hook)
If you plan to use wire for the frame of the handles, then it must be prepared. We will need 2 pieces, each about 15 cm long (my wire is thin, so I used 30 cm long pieces, folding them in half, so the length of each piece was 15 cm).
Bend one end of the wire so that the length of the segment becomes approximately 13-14 cm.
Using adhesive tape, we wrap the wire, as shown in
1 row. 6 SC to Mr (6)
2nd row. (İnc) x 6 (12)
3-5 rows. 12 SC (12) 3 rows
6th row. 5 SC, cone, 6 SC (12)
7th row. (2 SC, Dec) x 3 (9)
8 row. 9 SC (9)
9 row. (2 SC, İnc) x 3 (12)
Rows 10-19. 12 SC (12) 10 rows
20 row. 12 SC, Sl-st (12)
We cut the thread. Insert the wire and fill the handle loosely to the middle. We do not fill the brush.
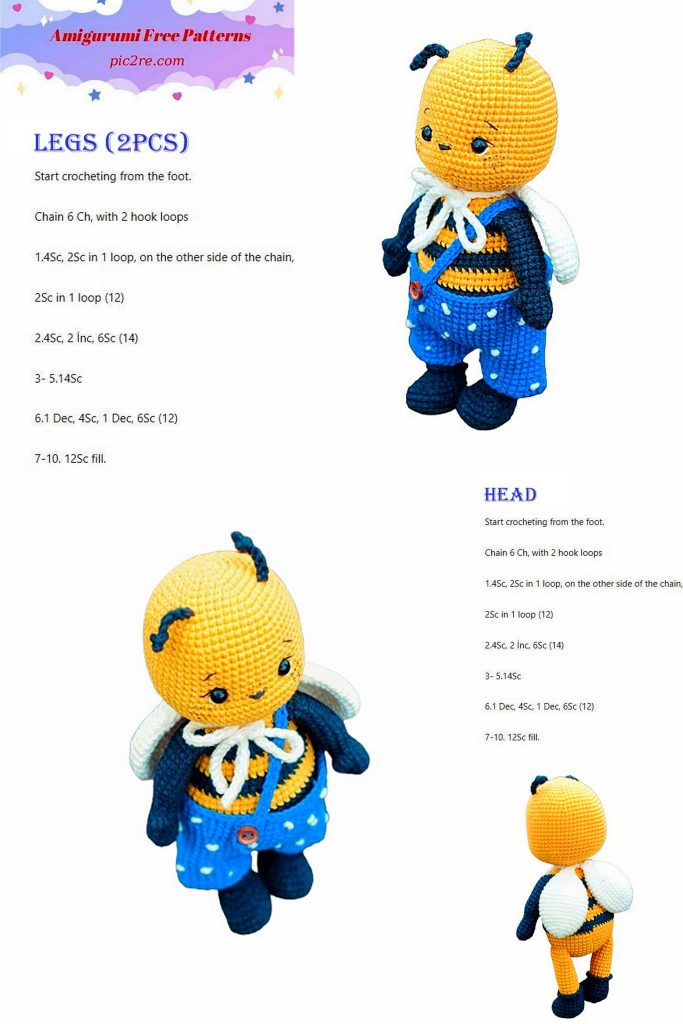
Legs
(2 parts, 2 mm hook)
We start knitting with graphite color.
1 row. 5 Ch, from the second loop from the hook: İnc, 2 SC, 4 SC in one loop, on the other side of the chain: 2 SC, İnc (12)
2nd row. (İnc) x 2, 2 SC, (İnc) x 4, 2 SC, (İnc) x 2 (20)
3rd row. (1 SC, İnc) x 2, 2 SC, (1 SC, İnc) x 4, 2 SC, (1 SC, İnc) x 2 (28)
4 row. We knit loops 28 SC (28) behind the back wall
5, 6 rows. 28 SC (28) 2 rows
7th row. 8 SC, (Dec) x 6, 8 SC (22)
8 row. 7 SC, (Dec) x 4, 7 SC (18)
9 row. 7 SC, 4 SC knitted together, 7 SC (15)
In the last SC of the ninth row we attach a yellow thread, leaving a graphite thread before work.
10 row. In yellow behind the back wall of the loop 15 SC (15)
11, 12 rows. Yellow 15 SC (15) 2 rows
We return to the graphite-colored thread, which we left before work, and knit the front half-loops of the ninth row: 1 Ch rise, 15 SC, connect the beginning and end of the row Sl-st, cut the thread, fasten on the wrong side.
We continue to knit the leg.
Rows 13-20. 15 SC (15) 8 rows
21 row. (3 SC, Dec) x 3 (12)
Fill the leg to the middle.
22 row. Fold the piece in half (if necessary, knit offset stitches), knit 6 SC, grabbing both halves (6)
We cut the thread, leaving a long end for sewing.
Torso
(hook 2 mm)
Note! Before you start knitting the body, you need to knit the handles.
We start knitting in yellow.
1 row. 6 SC to Mr (6)
2nd row. (İnc) x 6 (12)
3rd row. (1 SC, İnc) x 6 (18)
4 row. (2 SC, İnc) x 6 (24)
5 row. (3 SC, İnc) x 6 (30)
6th row. (4 SC, İnc) x 6 (36)
7th row. (5 SC, İnc) x 6 (42)
8 row. (6 SC, İnc) x 6 (48)
9 row. (7 SC, İnc) x 6 (54)
10 row. (17 SC, İnc) x 3 (57)
Rows 11-13. 57 SC (57) 3 rows
We change it to a graphite-colored thread, but do not cut the yellow thread.
14 row. graphite 57 SC (57)
15 row. graphite (17 SC, Dec) x 3 (54)
16th row. graphite 54 SC (54)
17, 18 rows. yellow 54 SC (54) 2 rows
Row 19 yellow (7 SC, Dec) x 6 (48)
20, 21 rows. graphite 48 SC (48) 2 rows
22 row. graphite (6 SC, Dec) x 6 (42)
23, 24 rows. yellow 42 SC (42) 2 rows
25 row. yellow (5 SC, Dec) x 6 (36)
26 row. graphite 36 SC (36)
Filling in the detail.
Next we will knit the handles. Note! The marker for the beginning of the row is located at the back in the middle of the body. Thus, the color change line is located behind the body.
When tying handles, pay attention to their location. They should be located symmetrically on the sides of the body, thumbs
“look” forward.
27 row. graphite color 8 SC, 6 SC, grabbing the loops of the body and the inside of the first handle, 11 SC, 6 SC, grabbing the loops of the body and the inside of the second handle, 5 SC (36)
28 row. graphite color 8 SC, 6 SC on the outside of the first handle, 11 SC, 6 SC on the outside of the second handle, 5 SC (36). De”
29 row. yellow (4 SC, Dec) x 6 (30)
We cut the graphite-colored thread, fasten it, and then knit it in yellow.
Row 30 30SC (30)
31 row. (3 SC, Dec) x 6 (24)
32 row. (6 SC, Dec) x 3, Sl-st (21)
Cut the thread, leaving a long end. We fill the torso.
Let’s do the frame. Twist the ends of the wire, bend them and wrap them with adhesive tape.
Assembling the toy
Sew on the head.
We sew the legs on the sides of the body above the eighth row (we count the rows from the bottom).
Wings
(2 parts, milky color, 2 mm hook, do not fill)
1 row. 6 SC to Mr (6)
2nd row. (İnc) x 6 (12)
3rd row. (1 SC, İnc) x 6 (18)
4 row. 18 SC (18)
5 row. (2 SC, İnc) x 6 (24)
6th row. 24 SC (24)
7th row. (7 SC, İnc) x 3 (27)
Rows 8-12. 27 SC (27) 5 rows
13 row. (7 SC, Dec) x 3 (24)
14 row. 24 SC (24)
15 row. (2 SC, Dec) x 6 (18)
16th row. 18 SC (18)
17th row. (1 SC, Dec) x 6 (12)
18th row. 12 SC (12)
Row 19 (Dec) x 6 (6)
20 row. Fold the piece in half and knit 3 SC, grabbing both halves (3). We cut the thread.
We knit the second wing in the same way, but do not cut the thread. Next we will knit the ties and connect the 2 parts of the wings. We collect a chain of 35 Ch. We turn the chain over; on its reverse side there are loop arms (indicated by the arrow in photo 26). Insert the hook under these arms and, starting from the second loop from the hook, knit 34 Sl-st. We knit loosely, do not tighten the loops.
Next, 3 SC along the top of the wing, then 3 SC along the top of the first wing.
We knit the second tie in the same way as the first. We cut the thread and fasten it.
Panties
(blue, hook 2.5)
Note! If the girth of your little bee’s tummy exceeds 21 cm at the widest part, then you need to use a 3 mm hook to knit panties.
We knit the pants from the bottom up.
To knit the first leg, cast on a chain of 24 Ch, connect it in a circle Sl-st (make sure that the chain does not twist).
1, 2 rows. 24 SC (24) 2 rows
3rd row. 24 SC, Sl-st (24)
We cut the thread and hide the end in the detail.
We knit the second leg in the same way (photo 29), but after the third row we do not cut the thread, we will connect both legs: 3 Ch, attach the first leg (photo 30), set a marker for the beginning of the row (located at the back of the pants).
4 row. 24 SC on the first leg, 3 SC on the chain, 24 SC on the second leg, 3 SC on the chain (54)
Rows 5-13. 54 SC (54) 9 rows
14 row. (17 SC, İnc) x 3 (57)
Rows 15-17. 57 SC (57) 3 rows.
Next we will knit the strap.
We collect a chain of 30 Ch. Try on your pants, you may need a different amount of Ch. Next you need to create a hole for the button. To do this, from the second loop from the hook we knit along the chain 2 SC, 2 Ch, skip two loops, starting from the third we knit 25 SC.
Please note that the button hole on the strap is designed to fit button with a diameter of 6-7 mm. If the diameter of your button is larger/ less, then you will need to calculate the amount yourself loops
Embroidery on pants
For embroidery I use milky YarnArt Jeans thread. Embroidery We perform it using the French knot technique.
We do embroidery on all sides. I placed the knots randomly.
Next we knit 56 SC along the top of the panties to the end of the row, Sl-st.
Please pay