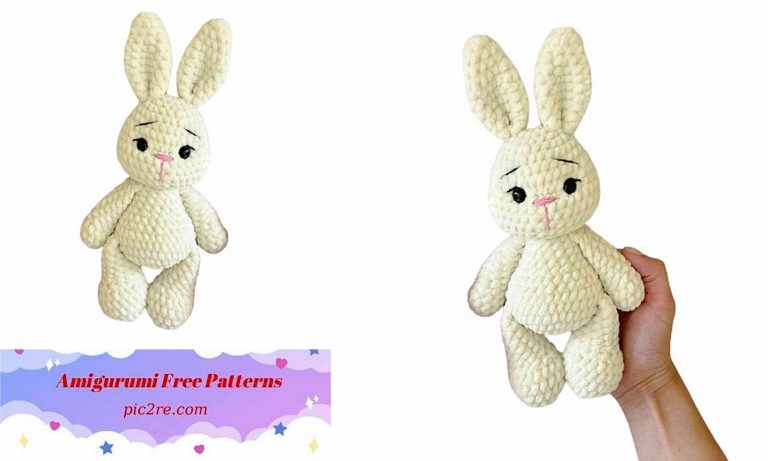
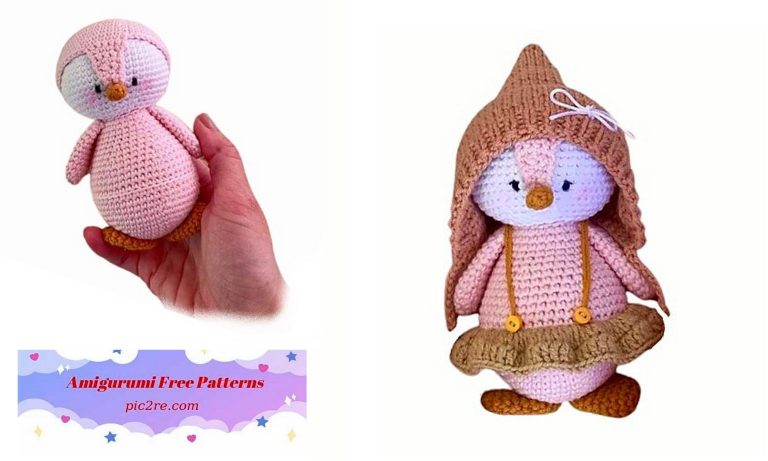
Free Little Bunny Amigurumi Pattern
If you are a beginner or an experienced knitter, a free little rabbit amigurumi pattern may be just what you are looking for. These patterns can often be made with simple materials and basic knitting techniques, making them accessible to knitters of all levels.
These cute craft projects can be a great option, especially for beginner knitters. Moreover, starting with cute animal motifs like bunny figures is a perfect way to enter the world of knitting. Let’s start knitting our rabbit
Materials:
*Himalaya Dolphin Baby – less than 1 skein of pink and some white of the same yarn
*Fable Fur Yarnart – a little for a fluffy chest
*Hook – 4mm
*Safety eyes -14mm
*Safety spout – 10mm
*Black yarn or thread – to decorate the eyes
*Needle for stitching parts
*Padding material
The size of the finished toy is 20cm (including the use of recommended materials)
Abbreviations
Mr – amigurumi ring
Ch – air loop
Sc – single crochet
Sl-st- connecting post
İnc – increase
Dec – decrease
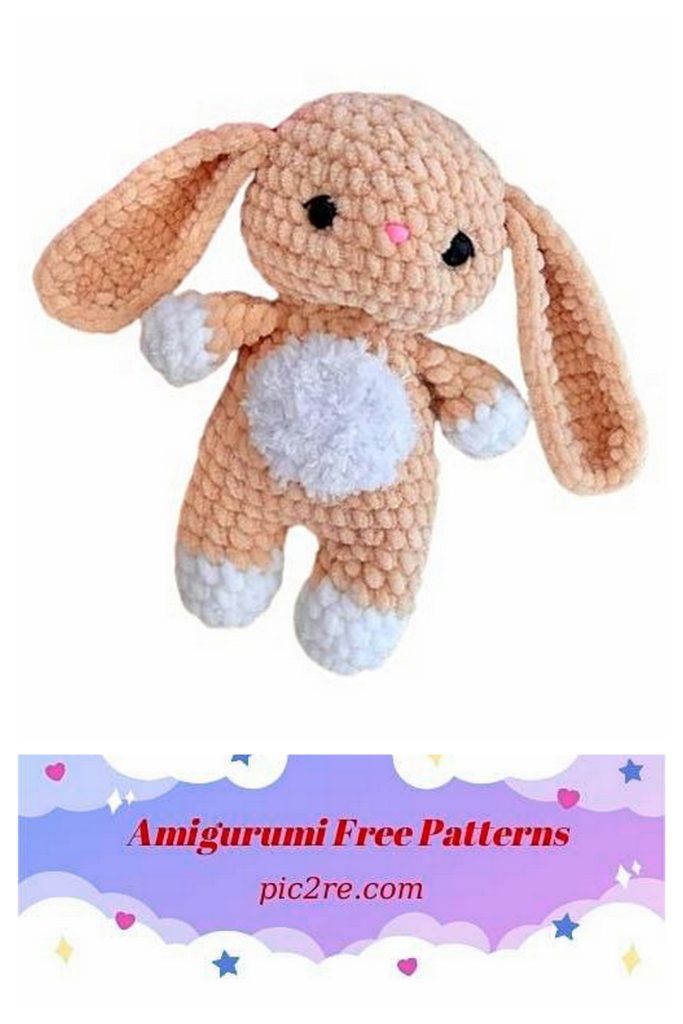
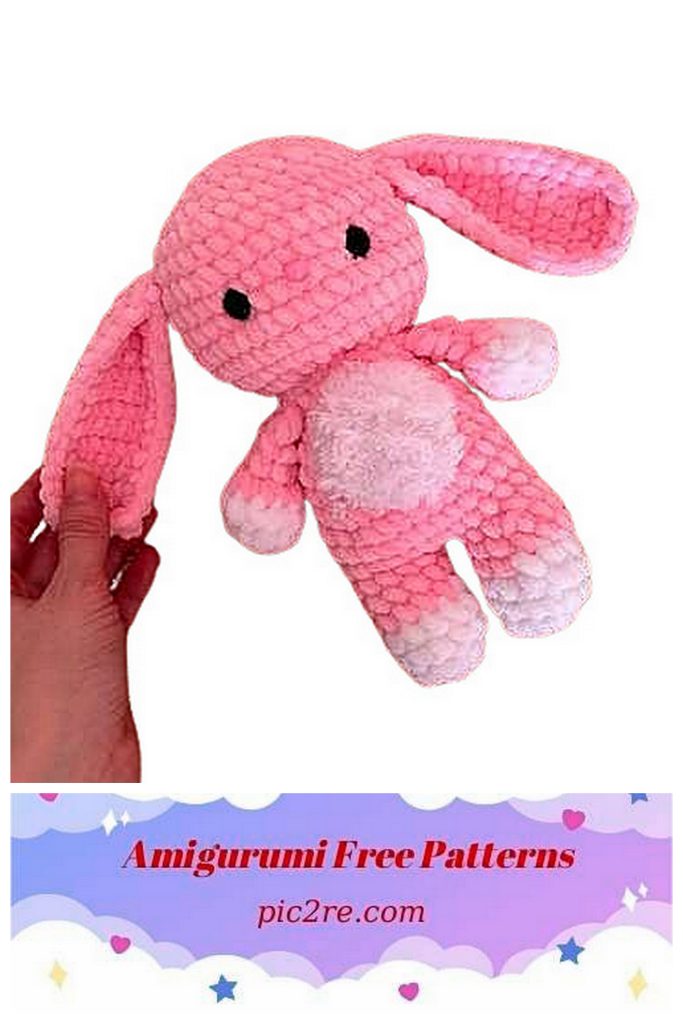
Head
1:8Sc to Mr (8)
2: 8İnc (16)
3: (1Sc, İnc)*8 (24)
4: (3Sc, İnc)*6 (30)
5: 2Sc, İnc, (4Sc, İnc)*5, 2Sc (36)
6: (5Sc, İnc)*6 (42)
7-9: 42Sc (42)
10: (5Sc, İnc)*6 (36)
11: 36Sc (36)
Insert safety eyes between rows 8 and 9 (distance between eyes 6-7Sc), insert safety spout between rows 8 and 9)
12: (4Sc, Dec)*6 (30)
Stuff as you knit
13: (3Sc, Dec)*6 24)
14: (2Sc, Dec)*6 (18)
15: (Sc, Dec)*6 (12)
16:6Dec (6)
Cut the thread
Pens:
We start knitting in white
1:6Sc to Mr (6)
2:6Sc (12)
3: 12Sc (12)
We continue to knit in pink
color
4:6Dec (6)
5-6: 6Sc (6)
Stuff the ends of the handles Fold the handle in half and knit 3Sc on both sides Cut the thread
Legs-body:
We start knitting in white
1:6Sc to Mr (6)
2: 6İnc (12)
3-4: 12Sc (12)
We continue to knit in pink
5-6: 12Sc (12)
Cut the yarn, we knit the second leg in the same way, but do not cut the yarn, we continue knitting
Attaching the legs:
7: We dial 2Ch, 12Sc on the first leg, 2Sc on the chain from Ch, 12Sc on the second leg, 2Sc on the chain from Ch (28)
8: (13Sc ,İnc)*2 (30)
9-10: 30Sc (30)
11: (4Sc, Dec)*5 (25)
12-13: 30Sc (30)
14: (3Sc, Dec)*5 (20)
15-16: 20Sc (20)
In the next row we will knit handles
17: 4Sc, 3Sc with handle, 6Sc, 3Sc with handle, 4Sc (20)
Stuff, leave thread for sewing
Tail:
1:6Sc to Mr (6)
2: 6İnc (12)
3: 12Sc (12)
Stuff a little, leave the thread for sewing
Ears:
We will knit in turning rows
1: Dial 6Ch
2: 5Sc, 1Ch (5)
3: 5Sc, 1Ch (5)
4: 2Sc, İnc, 2Sc, 1Ch (6)
5-9: 6Sc, 1Ch (6)
10: 2Sc, Dec, 2Sc, 1Ch (6)
11: 5Sc, 1Ch (6)
12: Sc, Dec, 2Sc, 1Ch (4)
13: 4Sc, 1Ch (4)
14:2Dec, 1Ch (2)
15:Dec
We do not cut the thread, we tie our part on 3 sides with single crochets. Click here to watch video
Breast
1:6Sc to Mr (6)
2: 6İnc (12)
3: (1Sc, İnc)*6 (18)
Leave the thread for sewing
Assembly:
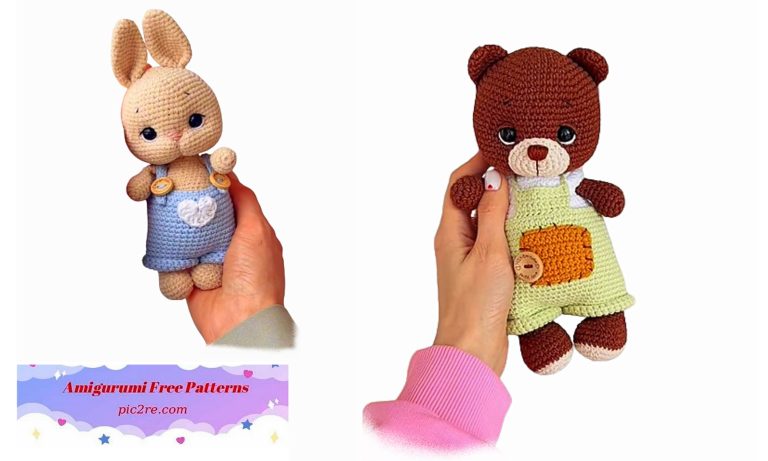
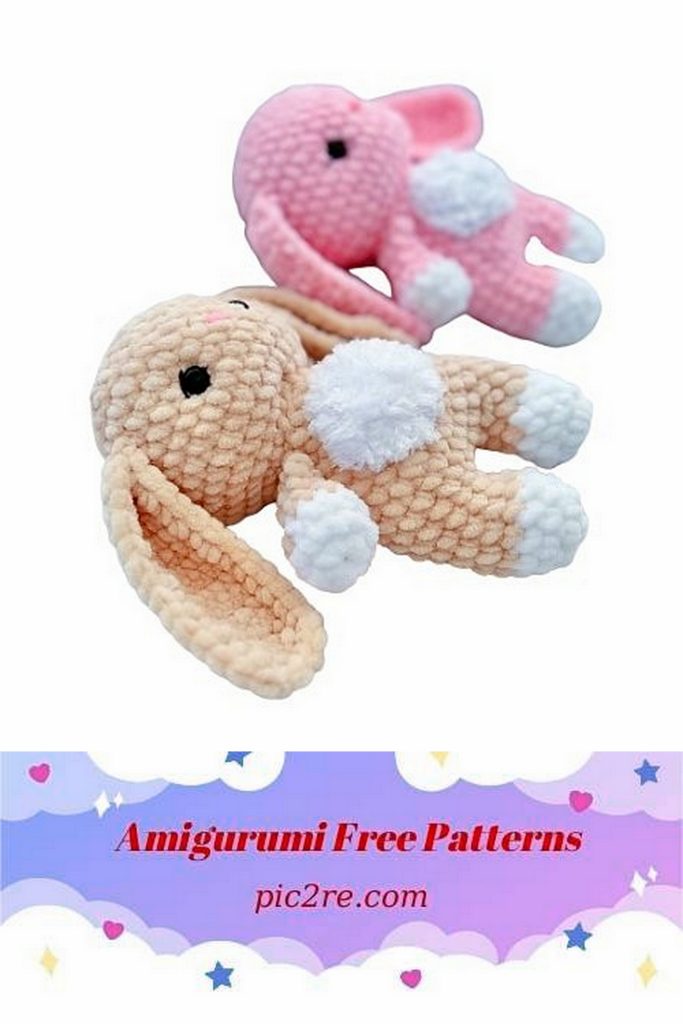
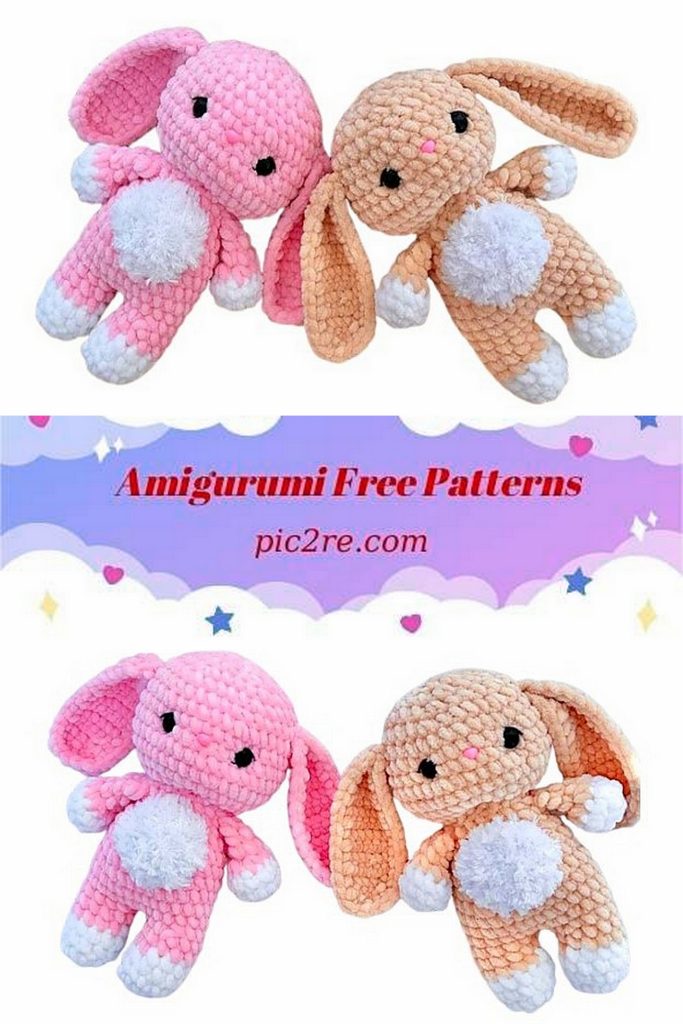
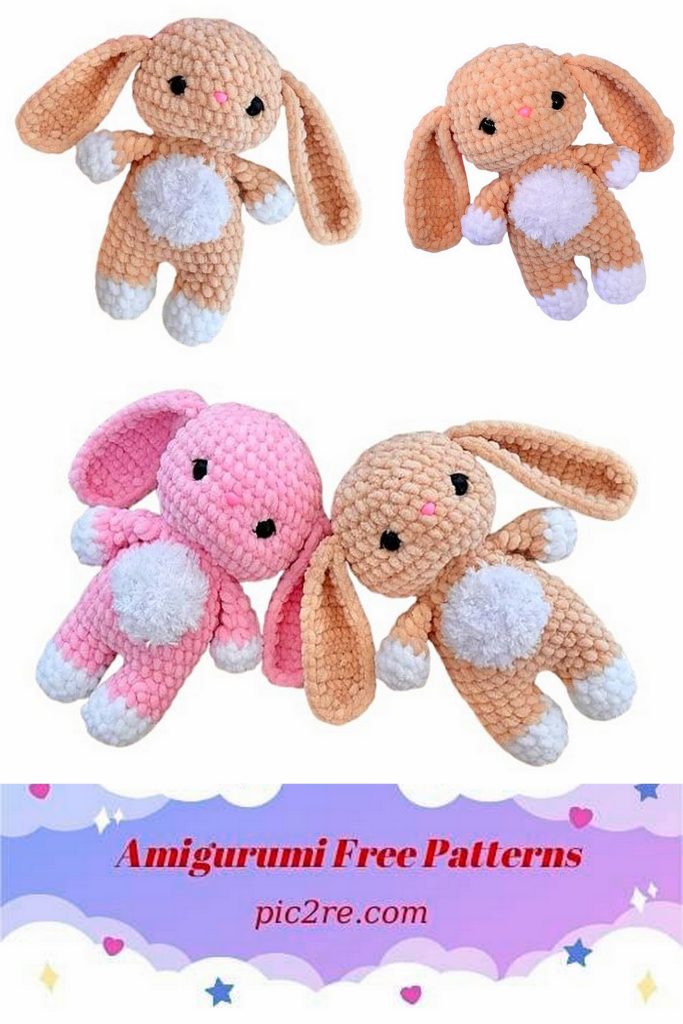
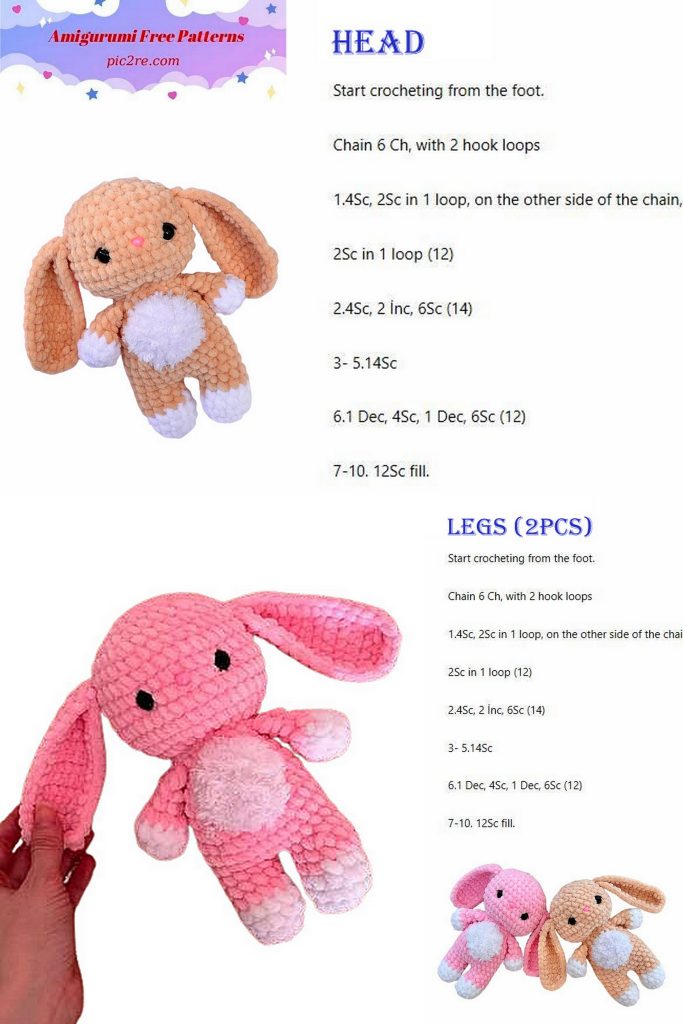
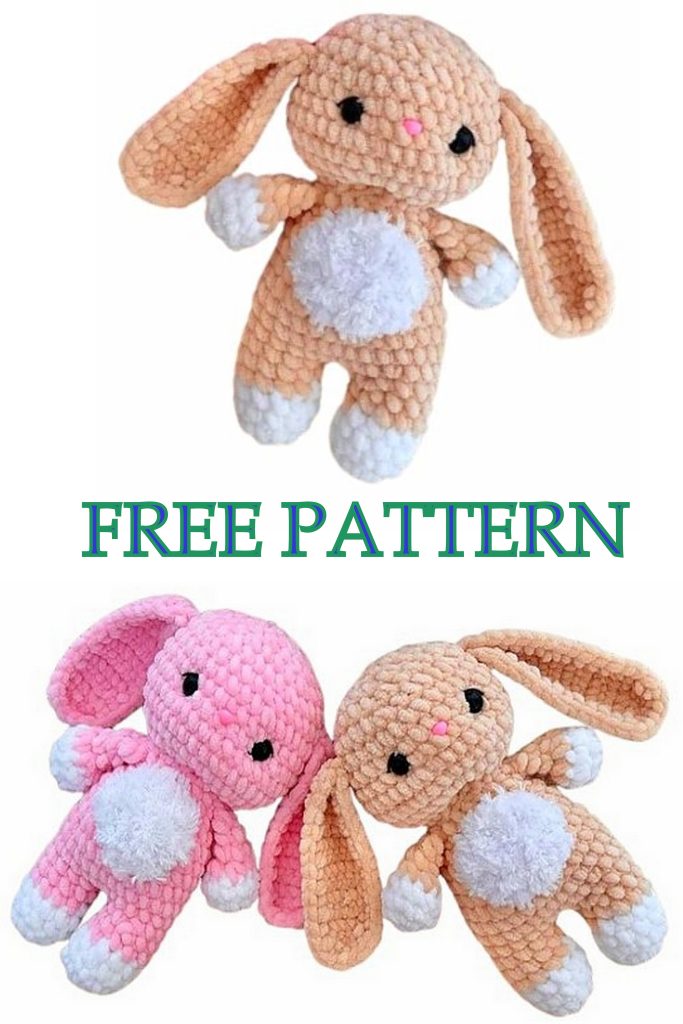
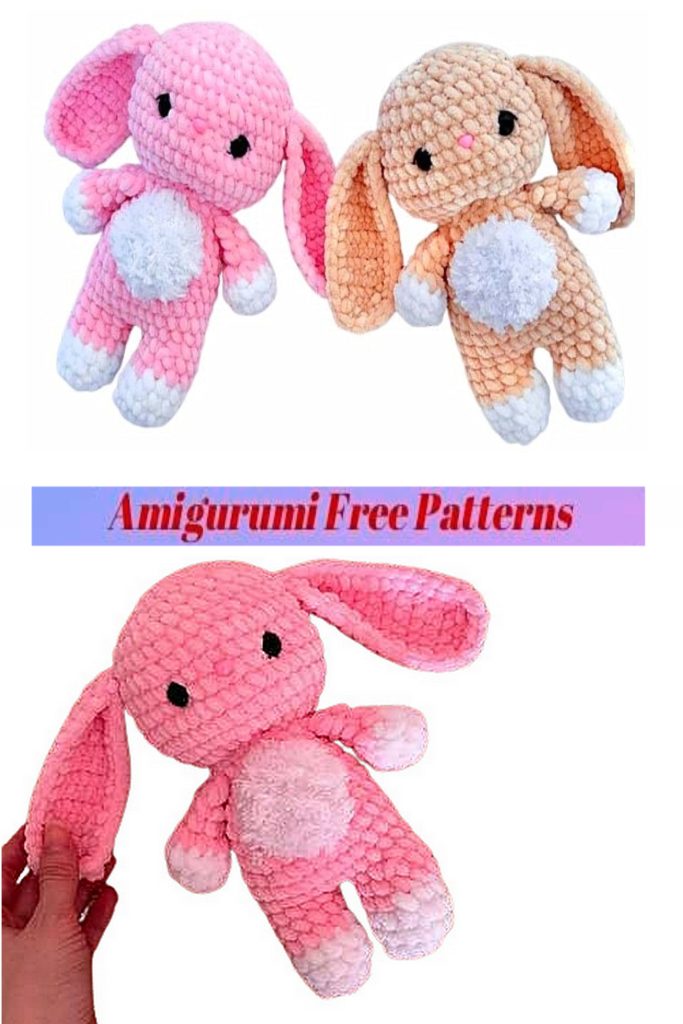
Sew on the ears at row 11. Sew on the chest as shown in the photo.
Sew the tail between rows 9 and 11
Embroider a line above the eyes as shown in the photo
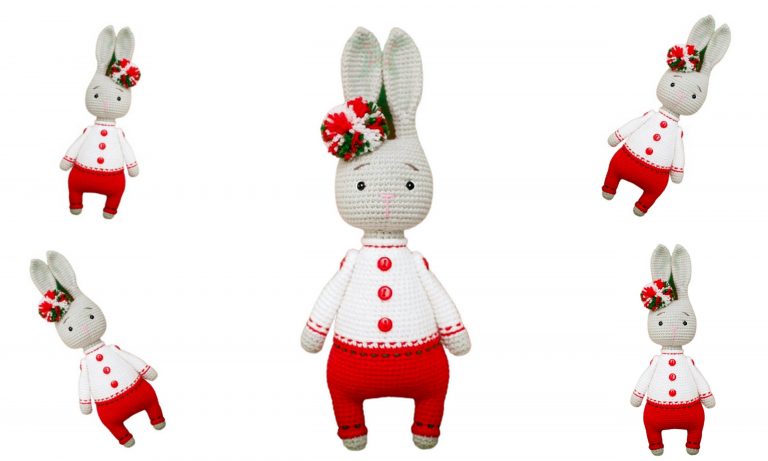
Cute bunny is ready!
