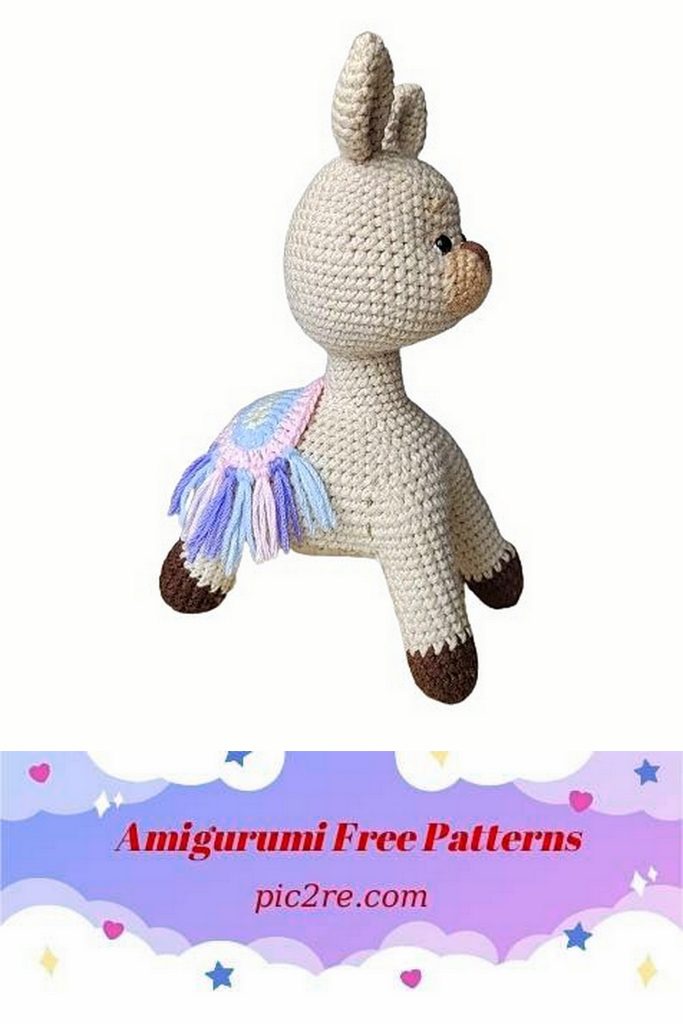
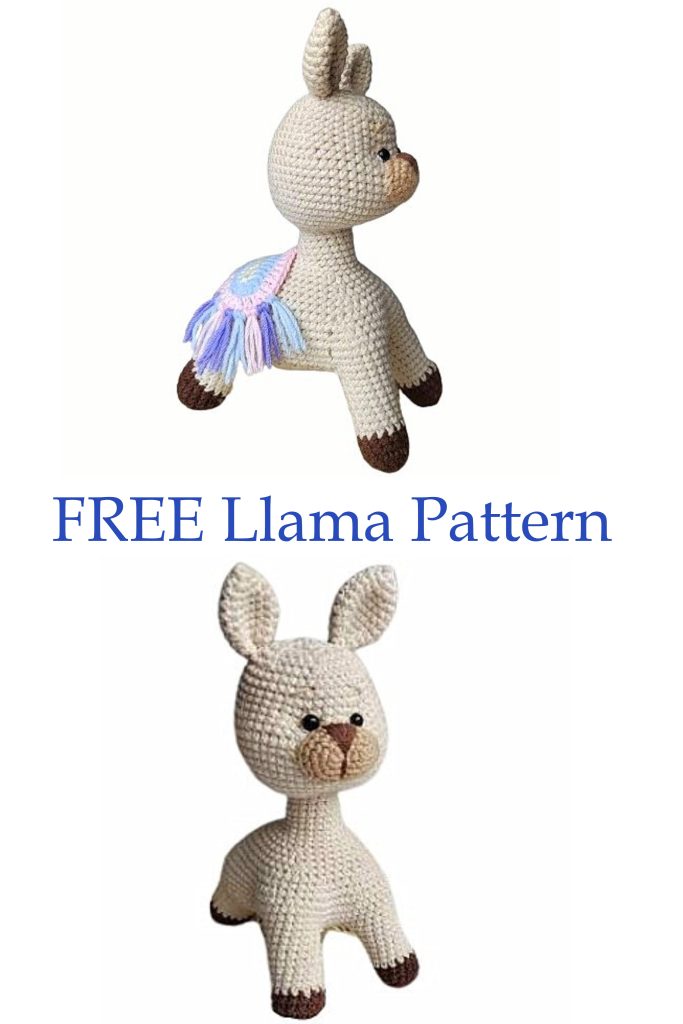
Free Amigurumi Llama Pattern: Create Your Own Adorable Crochet Companion
Looking to add a touch of whimsy to your crochet collection? Dive into the enchanting world of amigurumi with our delightful free pattern for a crocheted llama! Llamas have captured the hearts of many with their gentle demeanor and fluffy appearance, making them a perfect inspiration for a cuddly toy project. Whether you’re a seasoned crocheter or just starting out, this pattern offers a fun and rewarding experience for crafters of all skill levels.
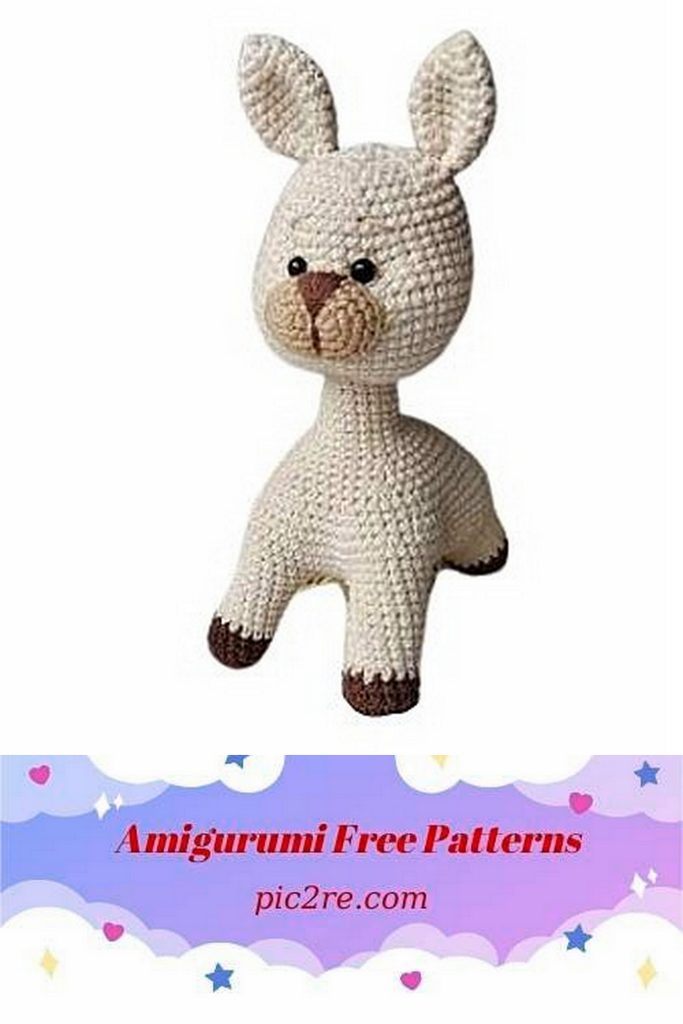
In this pattern, you’ll find step-by-step instructions and helpful tips to guide you through creating your very own amigurumi llama. From crocheting the body and limbs to adding adorable facial features, every detail is carefully explained to ensure your finished creation is as charming as can be. So, gather your yarn, grab your crochet hook, and let’s embark on a crafting adventure together as we bring this lovable llama to life!
REQUIRED MATERIALS
Yarn
You can use any semi-cotton yarn with the required length of 50g 165m. I recommend:
Yarn Art Jeans 50g 165m
Gazall Baby Cotton 50g 165m
Alize Cotton Gold 100g 330m
Tools
Hook 2-2.5
Scissors
Needle for sewing ears and weights
Markers, threads of contrasting colors
Decoration
Eyes 2-4mm (I used 4mm)
Clothing buttons
Yarn for clothing of any colors, leftover yarn can be used
Stuffing (holofiber, polyester fiberfill)
USAGE RULES
All educational materials are copyrighted. Transmission, copying, resale is prohibited.
Crochet in continuous rounds, in a spiral, do not make a turning chain at the end of the row.
Do not turn the work unless specified.
Always use a marker, a thread of contrasting color, mark the first stitch of each new row.
For crocheting the toy, you can use absolutely any yarn, but if you use a completely different yarn, the toy may deform. Always try to find a similar one.
Also, choose the hook size based on your tension. If you have large holes forming, use a smaller hook.
Stuff the toy tightly enough so that it doesn’t lose its shape but remains soft and pleasant to touch, ensuring the stitches don’t stretch or create holes.

Abbreviations
ch – chain stitch
mr – magic ring
sc – single crochet
hdc – half double crochet
dc – double crochet
inc – increase
dec – decrease
inv dec – invisible decrease
sl st – slip stitch
blo – back loop only
USAGE RULES
All educational materials are copyrighted. Transmission, copying, resale is prohibited.
Crochet in continuous rounds, in a spiral, do not make a turning chain at the end of the row.
Do not turn the work unless specified.
Always use a marker, a thread of contrasting color, mark the first stitch of each new row.
For crocheting the toy, you can use absolutely any yarn, but if you use a completely different yarn, the toy may deform. Always try to find a similar one.
Also, choose the hook size based on your tension. If you have large holes forming, use a smaller hook.
Stuff the toy tightly enough so that it doesn’t lose its shape but remains soft and pleasant to touch, ensuring the stitches don’t stretch or create holes.
Front Legs
Color: Coffee
1: 5 sc in mr
2: 5 inc = 10
3: (1 sc, 1 inc) x 5 = 15
4-6: 15 sc
7: Switch to milk color, 15 sc
8-13: Crochet 15 sc, fasten off and cut yarn. Repeat for the second part.
Back Legs
Color: Coffee
1: 6 sc in mr
2: 6 inc = 12
3: (1 sc, 1 inc) x 6 = 18
4-6: 18 sc
7-11: Change yarn to milk color, crochet 5 more rows of 18 sc. Fasten off and cut yarn. Crochet the second part without fastening off, continue crocheting.
12: Connect the back legs. 12 sc along the leg, 4 ch, 18 sc along the second leg, 6 sc along the ch. 6 sc along the first leg.
13: 12 sc, 5 sc along the ch, 8 sc along the second leg, 1 ch, we’ll crochet the abdomen in turning rows, crochet a new row in the opposite direction.
14: 21 sc, 1 ch, turn.
15: 21 sc, 1 ch, turn.
16: 21 sc, 1 ch, turn.
17: 1 dec, 17 sc, 1 dec, 19 ch, 1 ch, turn.
18: 19 sc
19: 1 dec, 15 sc, 1 dec, 17 ch, 1 ch, turn.
20: 17 sc
21: 1 dec, 13 sc, 1 dec, 15 ch, 1 ch, turn.
22: 15 sc
23: 1 dec, 11 sc, 1 dec, 13 ch, 1 ch, turn.
24: 13 sc
25: 13 sc
26: Now attach the front legs. 5 sc together with the front paw, 3 sc along the body, 5 sc with the other paw. Then continue crocheting in the round.

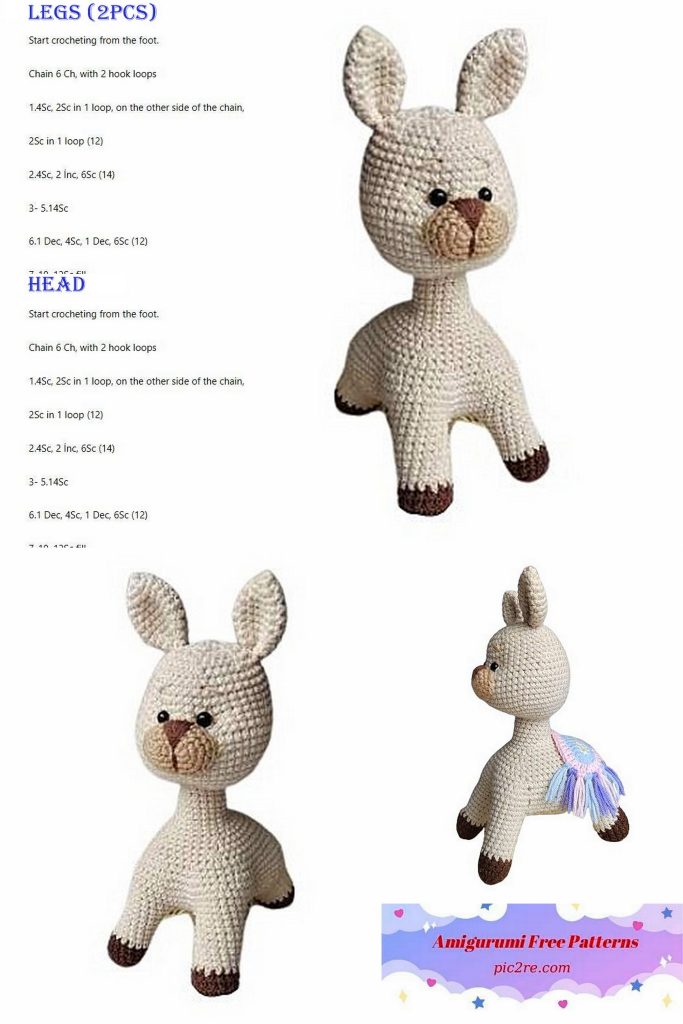
Legs (2 Parts)
27: Place a marker at the beginning of the row, other markers are no longer needed. 1 sc in the first stitch of the leg, 10 sc along the front leg, 1 sc between the leg and the body, 4 sc along the body, 1 sc between the second leg and the body, 10 sc along the second leg, 1 sc between the leg and the body, 13 sc along the side, 2 sc along the back leg, 1 inc, 4 sc, 1 inc, (2 sc, 1 inc) x 3, 4 sc, 1 inc, 2 sc, 1 dec, 12 sc along the body = 84.
28-31: Crochet 84 sc without increases or decreases.
32: 4 sc, 1 dec, 16 sc, 1 dec, 22 sc, 1 dec, 16 sc, 1 dec, 18 sc = 80.
33: 2 sc, 1 dec, (5 sc, 1 dec) x 3, 17 sc, 1 dec, (5 sc, 1 dec) x 3, 15 sc = 72.
34: 2 sc, 1 dec, (4 sc, 1 dec) x 3, 16 sc, 1 dec, (4 sc, 1 dec) x 3, 14 sc = 64.
35: 1 sc, (1 dec, 4 sc) x 3, 1 dec, 11 sc, 1 dec, 6 sc, 1 dec, 4 sc, 1 dec, 6 sc, 1 dec, 8 sc = 56.
36: 3 sc, 1 dec, 6 sc, 1 dec, 15 sc, 1 dec, 12 sc, 1 dec, 12 sc = 52.
37: 2 sc, 1 dec, 6 sc, 1 dec, 14 sc, 1 dec, 10 sc, 1 dec, 12 sc = 48.
38: 1 dec, 8 sc, 1 dec, 7 sc, (2 sc, 1 dec) x 5, 9 sc = 41.
39: 1 dec, 6 sc, 1 dec, 8 sc, (1 sc, 1 dec) x 5, 8 sc = 34.
40: 9 sc, 1 dec, 5 sc, 5 dec, 6 sc = 27, place a marker at the beginning of the row.
41: 1 dec, 8 sc, 1 dec, 5 sc, 2 dec, 5 sc, 1 dec = 23.
42: 14 sc, 2 dec, 5 sc = 21.
43: 13 sc, 2 dec, 4 sc = 19.
44: 13 sc, 1 dec, 4 sc = 18.
45-48: 18 sc, continue crocheting, place a new marker, do not cut yarn, reset row count for convenience.
Head
1: (1 sc, 1 inc) x 9 = 27.
2: (1 inc, 1 sc) x 13, 1 sc = 40.
3: (3 sc, 1 inc) x 5, 19 sc = 45.
4: 8 sc, 1 inc, (6 sc, 1 inc) x 2, 22 sc = 48.
5: 8 sc, 1 inc, (7 sc, 1 inc) x 2, 23 sc = 51.
6: 8 sc, 1 inc, (8 sc, 1 inc) x 2, 24 sc = 54.
7-12: 54 sc.
13: (7 sc, 1 dec) x 6 = 48.
14: 48 sc.
15: (6 sc, 1 dec) x 6 = 42.
16-18: 42 sc.
19: (5 sc, 1 dec) x 6 = 36.
20: (4 sc, 1 dec) x 6 = 30.
21: (3 sc, 1 dec) x 6 = 24.
22: (2 sc, 1 dec) x 6 = 18.
23: (1 sc, 1 dec) x 6 = 12.
Draw the hole closed.

Snout
Crochet an oval shape.
1: 5 ch, starting from the second ch from hook, 3 sc, in the last ch 3 sc, crochet along the second side 2 sc, in the last ch 2 sc = 10.
2: 1 inc, 2 sc, 3 inc, 2 sc, 2 inc = 16.
3: (1 inc, 2 sc) x 3, 2 sc, (1 inc, 2 sc) x 3, 2 sc, (1 inc, 2 sc) x 2 = 22.
4-5: 22 sc (2 rows). Fasten off and cut yarn. Sew on the nose, stuff.
Ears
1: 6 sc in mr.
2: (1 sc, 1 inc) x 3 = 9.
3: (1 inc, 2 sc) x 3 = 12.
4: (3 sc, 1 inc) x 3 = 15.
5: (1 inc, 4 sc) x 3 = 18.
6-8: 18 sc.
9: (1 dec, 7 sc) x 2 = 16.
10: (1 dec, 5 sc) x 2 = 14.
11: (1 dec, 4 sc) x 2 = 12.
Decorating the snout:
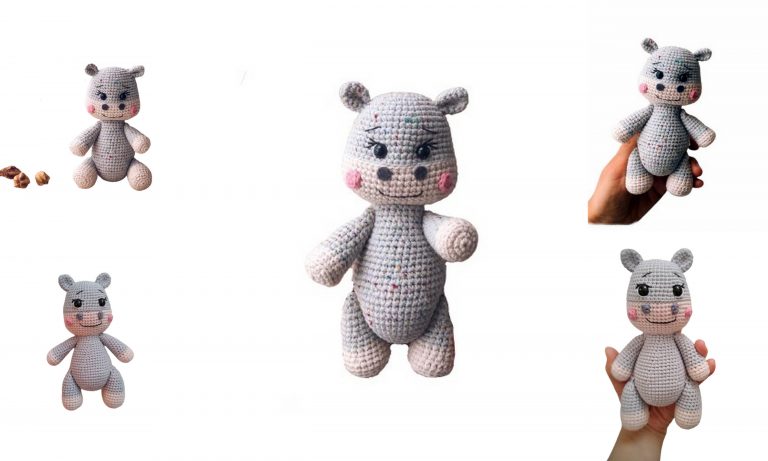
Sew the snout at the level of rows 8-13 of the head. Create weights for the eyes as shown in the photo. Insert the eyes, sew or insert the nose. Don’t hesitate to experiment with weights, and you can also place a piece of white felt under the eyes.
Crochet an oval, changing colors for each row.
1: 16 ch, starting from the second ch from hook, 14 sc, in the last ch 3 sc, 13 sc along the second side of the chain, in the last ch 2 sc = 32. Fasten off and cut yarn.
2: 1 inc, 13 hdc, 3 inc, 13 hdc, 2 inc = 38. Fasten off and cut yarn.
3: (1 hdc, 1 inc), 13 hdc, (1 hdc, 1 inc) x 3, 13 hdc, (1 hdc, 1 inc) x 2 = 44. Fasten off and cut yarn.
Cut 3 colors into pieces of 6-7 cm, about 40 pieces in total. Fold 2 threads together, fold in half and thread along the edge of the poncho with a hook, placing them evenly along the edge.


Tail
1: 6 sc in mr.
2: 6 inc = 12.
3: 12 sc.
4: 6 dec. Sew on the tail, and the toy is ready.
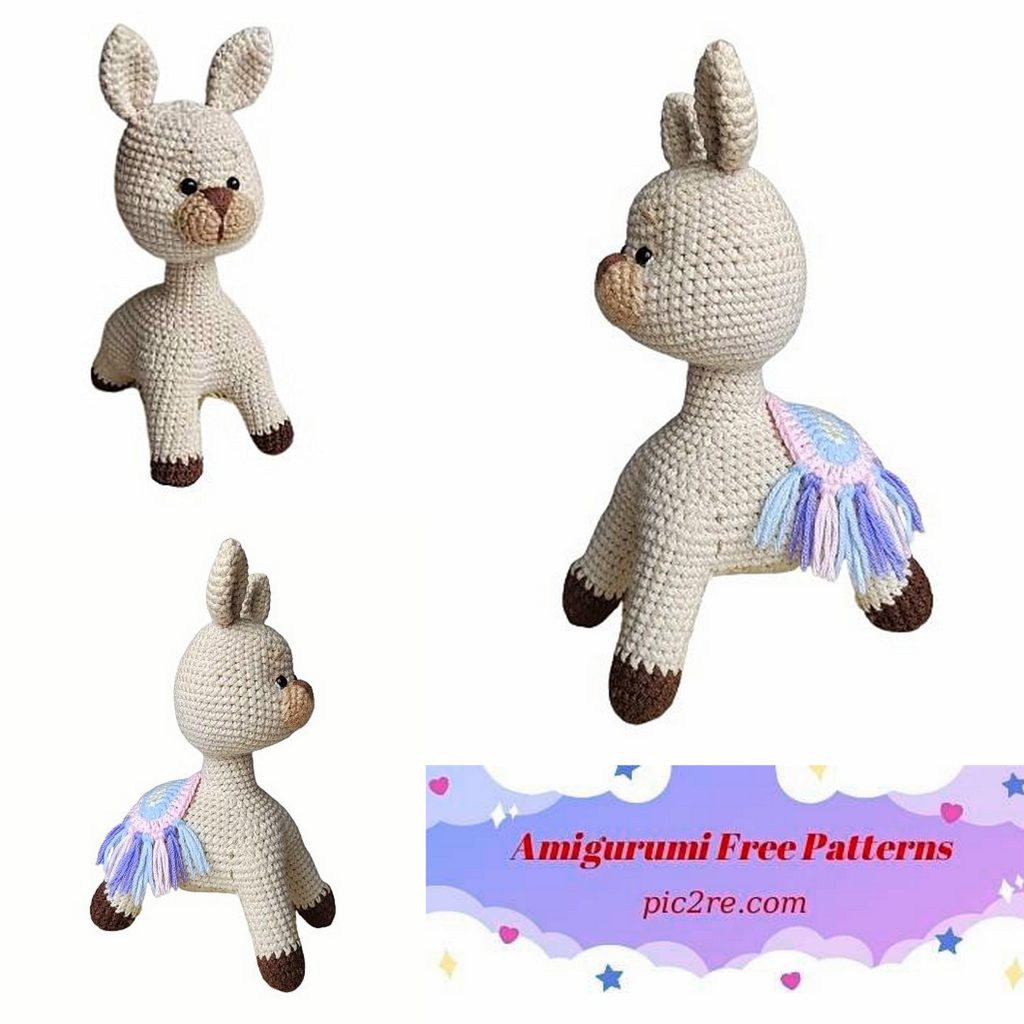
Your llama is ready..