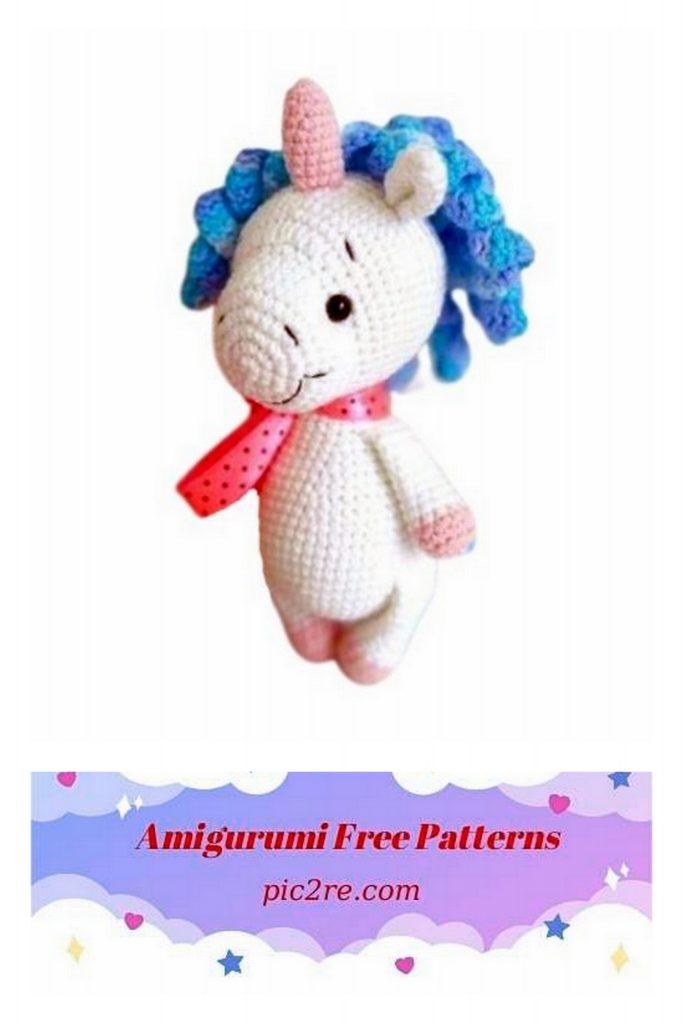
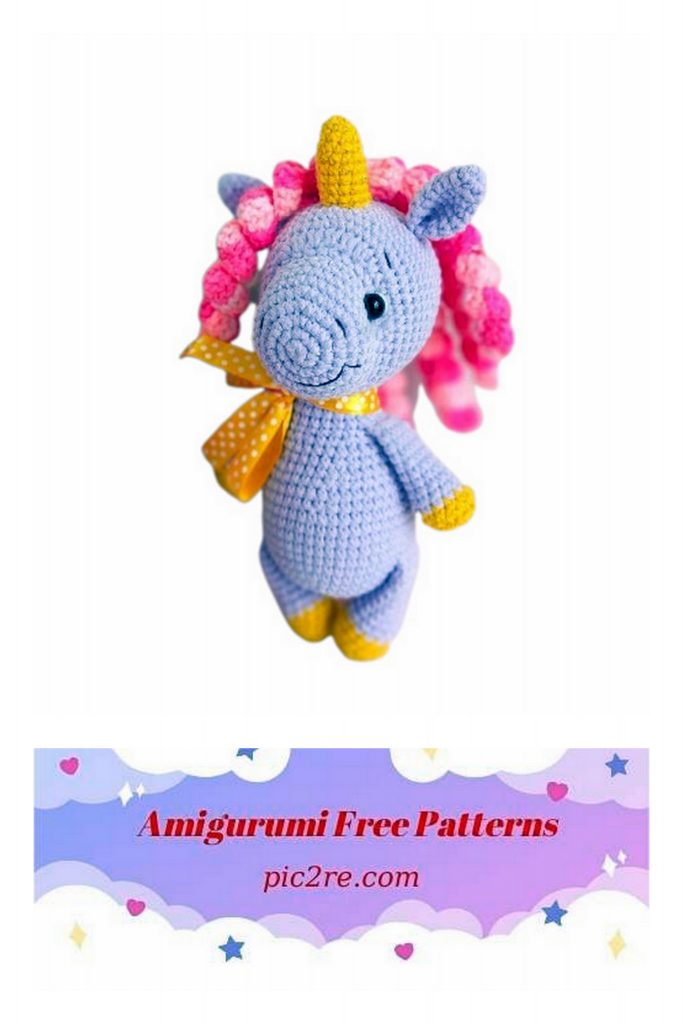
Cute Unıcorn Amigurumi Free Pattern
The toy is knitted in half-cross stitches, in a spiral, (unless otherwise indicated).
The legs are knitted, the horn and ears are sewn on. The mane is knitted separately, in one piece and sewn on. The tail is knitted from the body.
When using these materials, the height of the finished toy is about 16 cm (including the horn).
Mark the beginning of each row with a contrasting thread, thinner than the one you are knitting the toy with.
Required materials and tools:
1. Hook suitable for your yarn.
2. Basic semi-cotton yarn. I have this “YarnArt JEANS” No. 89 about 20 grams and “Festive” for hooves and horns, with lurex, No. 104 from Kamteks.
For the mane, I took acrylic yarn Baby Print Vita No. 4890. You can use any yarn in any color you like.
3. A little dark thread to decorate the muzzle. Take it thinner than the main one from which you will knit a toy. I used “Openwork” from
“Pekhorki” No. 02 (black 280 m / 50 gr.) Do not take the entire thickness of YarnArt JEANS for embroidery, it will look rough on the muzzle. You can split it.
4. Filler.
5. Eyes on a secure fastening 8 mm, either sewn on or glued on (beads, half beads – your choice).
6. Strong thread for tightening.
7. Needle for sewing details, scissors, pins, marker thread.
Abbreviations
MR – amigurumi ring
SC – single crochet
HDC – half double crochet
DC – double crochet
CH – air loop
İNC – increase
DEC – decrease
SL-ST – connecting post
(…)*X – repeat X times indicated in brackets
The number after the = sign means the total number of loops in the row
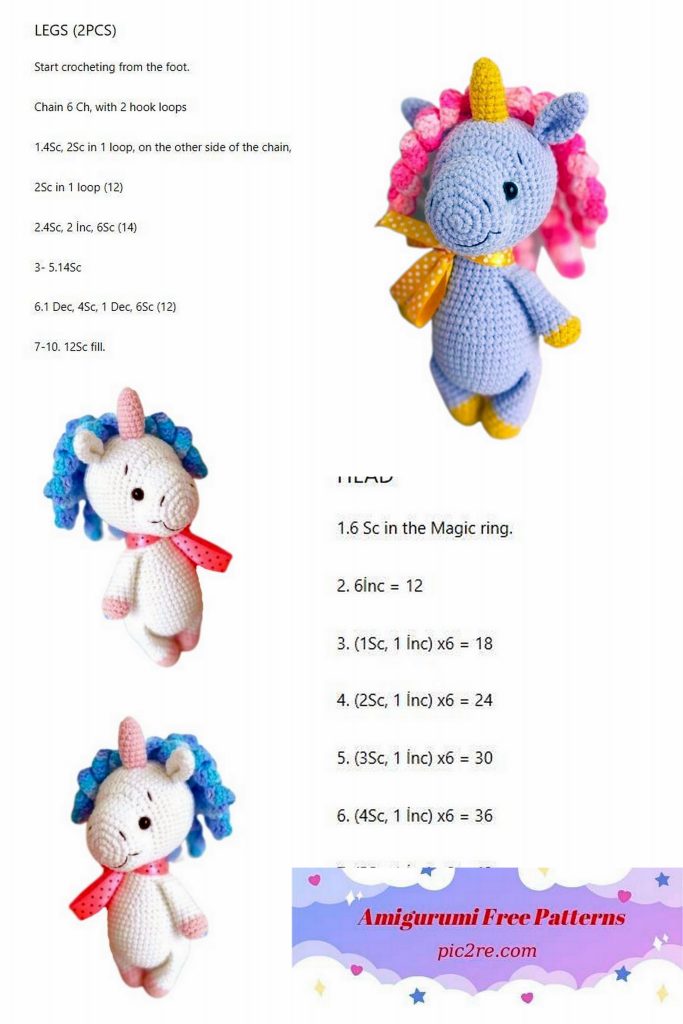
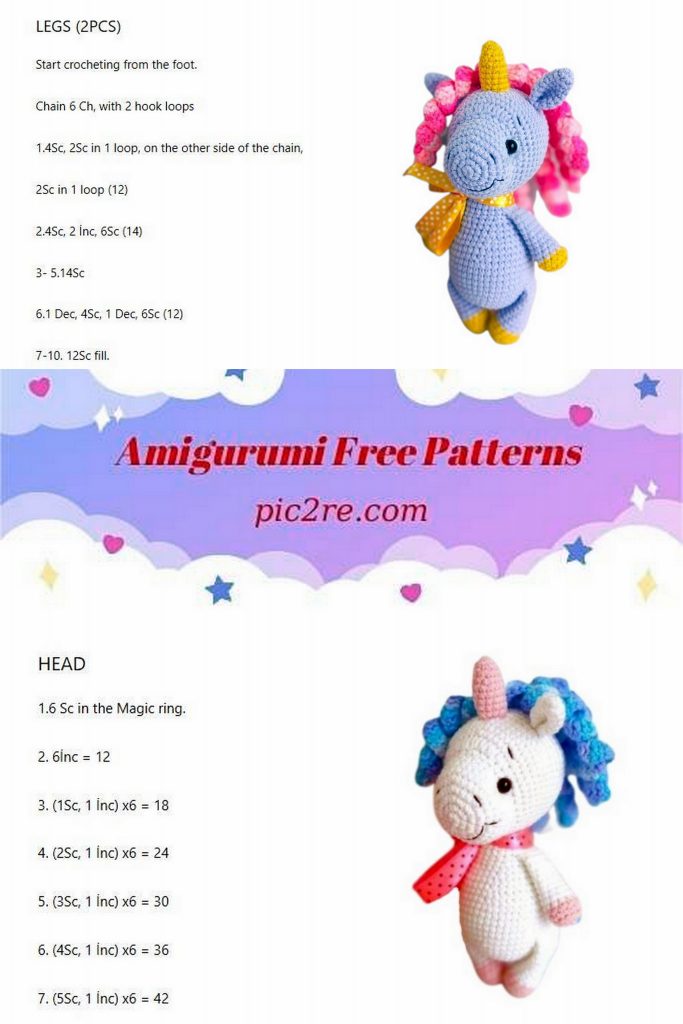
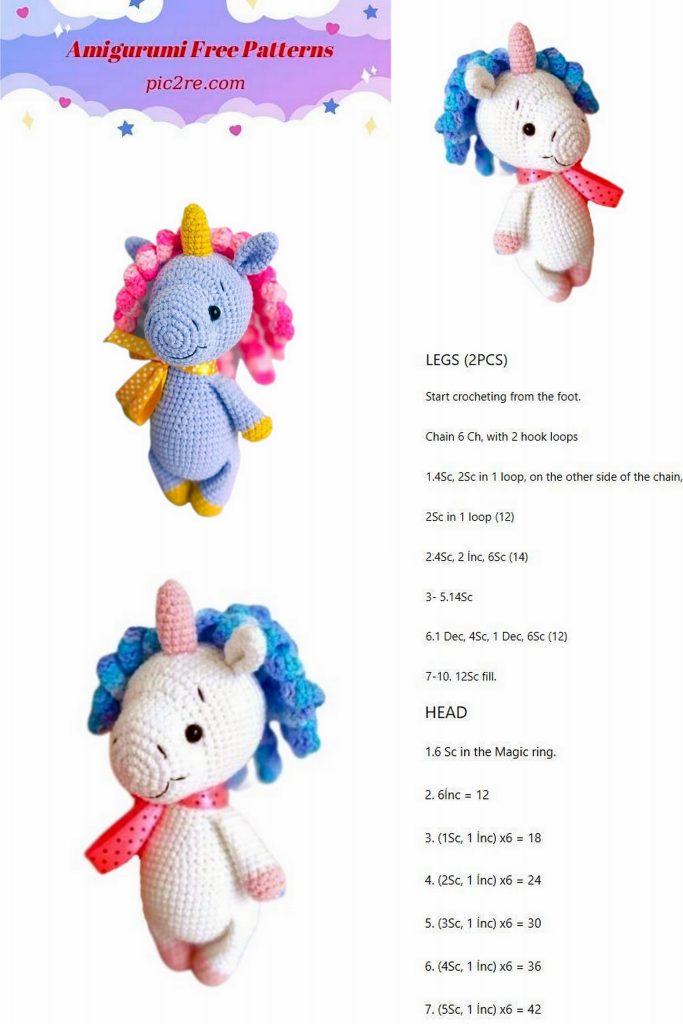
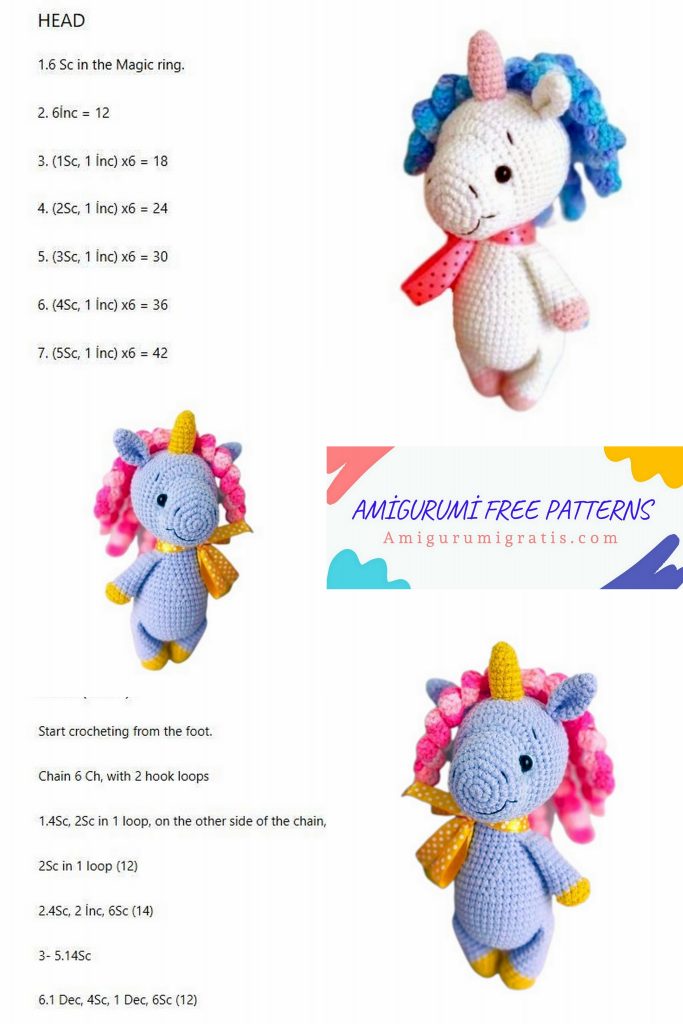
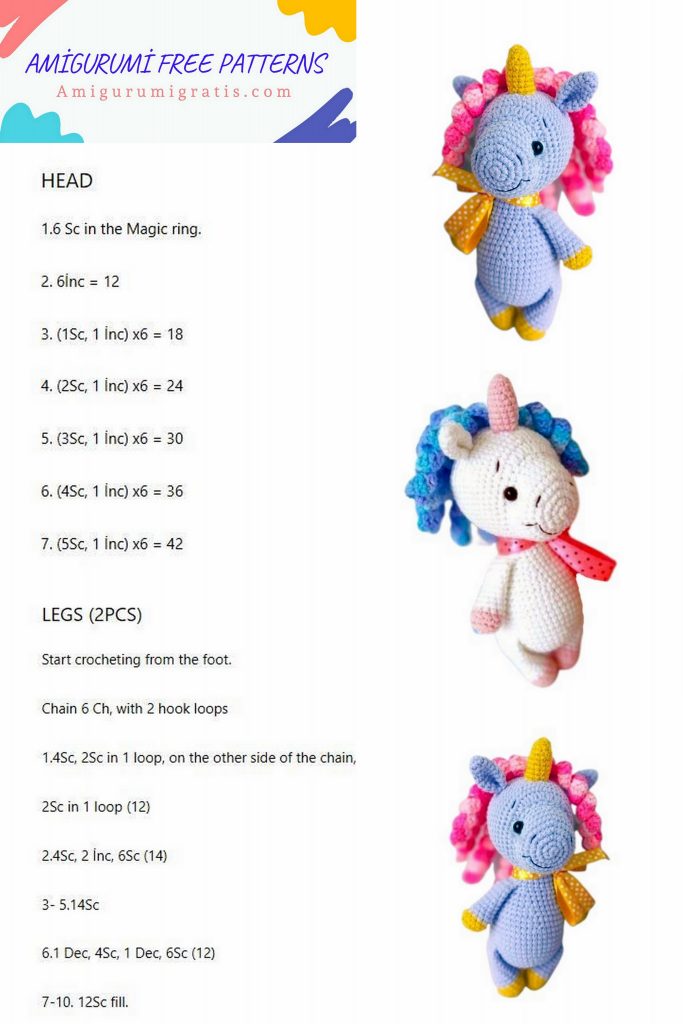
HEAD
1 row: 6 SC in MR
2 row: 6 İNC = 12
3rd row: 12 İNC = 24
4 row: (3 SC, İNC) * 6 = 30
5 row: (4 SC, İNC) * 6 = 36
6-8 rows: 36 SC
9 row: (4 SC, DEC) * 6 = 30
10 row: we knit for the front half loops:
(4SC, İNC)*6 = 36
11 row: (4 SC, İNC) * 3, then we knit 6 increases with half crochets with a crochet (HDC), (İNC, 4SC) * 3 = 48
12 row: (7 SC, İNC) * 6 = 54
13-21 rows: 54 SC
We install eyes between 9 and 10 rows. Between the eyes 14 SC (we count on the 10th row, we count the increase for 2 loops). I used the eyes on the 8mm safety mount.
Later, we will do a simple, light tightening.
22 row: (7 SC, DEC) * 6 = 48
23 row: (6 SC, DEC) * 6 = 42
24 row: (5 SC, DEC) * 6 = 36
25 row: (4 SC, DEC) * 6 = 30
26 row: (3 SC, DEC) * 6 = 24
27 row: (2 SC, DEC) * 6 = 18
I’m stuffing my head at this stage.
28 row: (1 SC, DEC) * 6 = 12
29 row: 3 DEC, SL-ST = 9
Cut the thread, pull the remaining hole behind the front half loops.
Hide the thread inside the part.
WEIGHTS
Cut off a strong thread about 50 cm long. Leaving a piece of thread about 20 cm outside, insert the needle at point 1, withdraw at point 2. Next, insert at point 3, withdraw at point
Make sure that the thread is hidden under the eyes. If necessary, help with a needle.
Please note: the result will be different, there is a pulling thread to tuck behind or in front of the eyes. I put it before my eyes, and you do as you like.
We tighten the thread, tie it into several knots and hide the ends inside the head (tuck under the eye). The knot can be gently smeared with glue.
FRONT (upper) LEGS
1 row: 6 SC in MR
2 row: 6 İNC = 12
3 row: 12 SC for the back half loops = 12
4th row: 12 SC
Change color to main
5-13 rows: 12 SC
Work a few more SC so that the closure is parallel to the color change. I have it 3 SC. We stuff lightly only the lower part (“hoof”).
Fold in half, knit 6 SC behind both walls.
BACK (lower) LEGS
1 row: 7 SC in MR
2 row: 7 İNC = 14
3 row: 14 SC for the back half loops = 14
4-5 rows: 14 SC
Change color to main
6-14 rows: 14 SC
As in the case of the front legs, we lightly fill only the lower part (“hoof”).
Fold in half, knit 7 SC.
HORN
1 row: 6 SC in MR
2 row: (1 SC, İNC) * 3 = 9
3rd row: 9 SC
4 row: (2 SC, İNC) * 3 = 12
5-9 rows: 12 SC
We fill the part loosely, leave the thread for sewing.
EARS, 2 parts.
1 row: 6 SC in MR
2 row: (1 SC, İNC) * 3 = 9
3rd row: 9 SC
4 row: (2 SC, İNC) * 3 = 12
5 row: 12 SC
6 row: (3 SC, İNC) * 3 = 15
7 row: 15 SC
8 row: (3 SC, DEC) * 3 = 12
We do not stuff the ears, fold them in half, knit 6 SC for the obstructions.
We cut the thread, leaving a segment of about 40 cm. Fold it in half again, make a few stitches with a needle, leave the thread for sewing to the head.
BODY
1 row: 6 SC in MR
2 row: 6 İNC = 12
3rd row: 12 İNC = 24
4 row: (3 SC, İNC) * 6 = 30
5 row: (4 SC, İNC) * 6 = 36
6 row: (5 SC, İNC) * 6 = 42
7 row: 42 SC
8 row: (6 SC, İNC) * 6 = 48
In the next row we will tie the legs.
Please note that the finished toy will look neater if the color transition on both legs is at the back.
9 row: 8 SC, 7 SC with leg, 17 SC, 7 SC with second leg, 9 SC = 48
10-14 rows: 48 SC
15 row: (6 SC, DEC) * 6 = 42
16 row: 42 SC
17 row: (5 SC, DEC) * 6 = 36
18 row: 36 SC
19 row: (4 SC, DEC) * 6 = 30
20 row: 30 SC
21 row: (3 SC, DEC) * 6 = 24
Now we will knit the upper legs.
Also, as in the case of the lower legs, make sure that the color transition on the hooves is at the back.
The legs should be located strictly on the sides, parallel to the bottom. Please note that your degree of bias may differ from mine. Given my bias, it turned out like this:
22 row: 5 SC, 6 SC with handle, 6 SC, 6 SC together with the second handle, 1 SC = 24
23-25 rows: 24 SC
We fix the thread, cut it, leaving a small segment for sewing on the head.
We remove the marker thread, stuff it quite tightly.
ASSEMBLY.
In order to sew the head evenly, I fix it on the knitting needle.
In order for the head of the finished toy to sit tightly and not dangle, knock the filler into the hole during sewing.
Ears are sewn with three stitches after
17 rows. There are 14 SCs between them.
We sew the horn in the center between 14 and
18 rows.
We decorate the muzzle to your taste: we embroider nostrils, eyebrows, cilia, squirrels, a smile.
Additionally, the unicorn can be decorated with a bow, choker, jabot. You can knit a blouse, dress or skirt.
MANE.
Leaving about 40 cm of free thread, we collect a chain of 10 CH, put a marker. Let’s call
this chain “parting”. We will knit curls on it.
For a spiral (curly) we continue the collection of air loops and dial another 40 CH. If you want shorter curls, you can dial 30 air loops.
In the third loop from the hook, we knit DC. Then we return along the chain, knitting 2 DC into each CH. At the end we fix the spiral on the parting with a connecting column in the 9th loop of the parting (after the one on which the marker is installed, see diagram).
In the 8th loop of the chain we knit SL-ST, then 40 CH for the next curl.
We return, we fix the SL-ST spiral into the 7th loop of the chain. So we knit until there are 5 spirals on the side of the chain and we will not be in 1 loop.
Let’s go to the other side. We knit another connecting column in 1 loop of the “parting”, we collect a chain of 40 CH and repeat until we reach 10 loops. On the second side, you will also get 5 spirals. At the end, we fix the thread SL-ST and cut it off, leaving a small segment.
Now we straighten the so-called tress: we lay out the curls on both sides so that the chain of CH (our parting) is in the middle. We should get 5 spirals on each side (10 in total). But if you made a big mistake, then your unicorn’s mane will only be more magnificent
We pin the tress along the chain with pins to the head from the back in the center from the horn to the back of the head. Please note that the curls lie on each side of our “wig” in different ways. You can flip the wig and choose the way you like best.
Sew the curls with the thread left for this purpose from any side convenient for you. Hide the remaining segments inside the head.
The tail will also be knitted, 2 DC in each loop of the air chain.
Enough 3-5 spirals of 20 CH.
Mark a place for the ponytail and cling each curl directly to the loops of the finished toy.
In the photo below, a white unicorn has curls on a mane of 30 CH.
I hope the creation process turned out to be easy and exciting for you, and the result met your expectations!