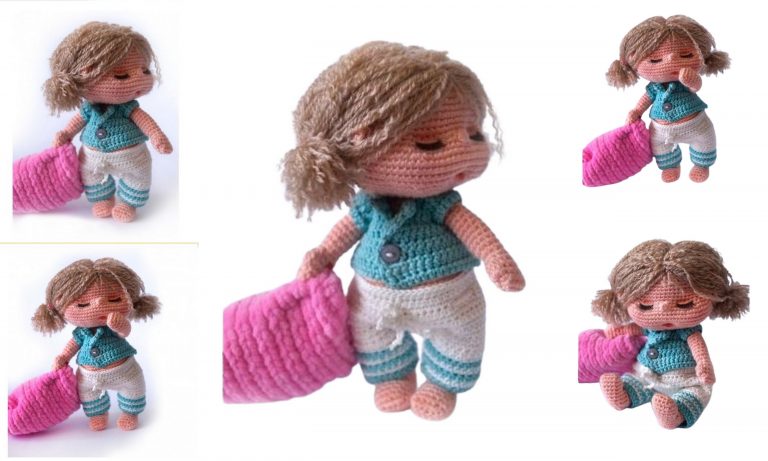
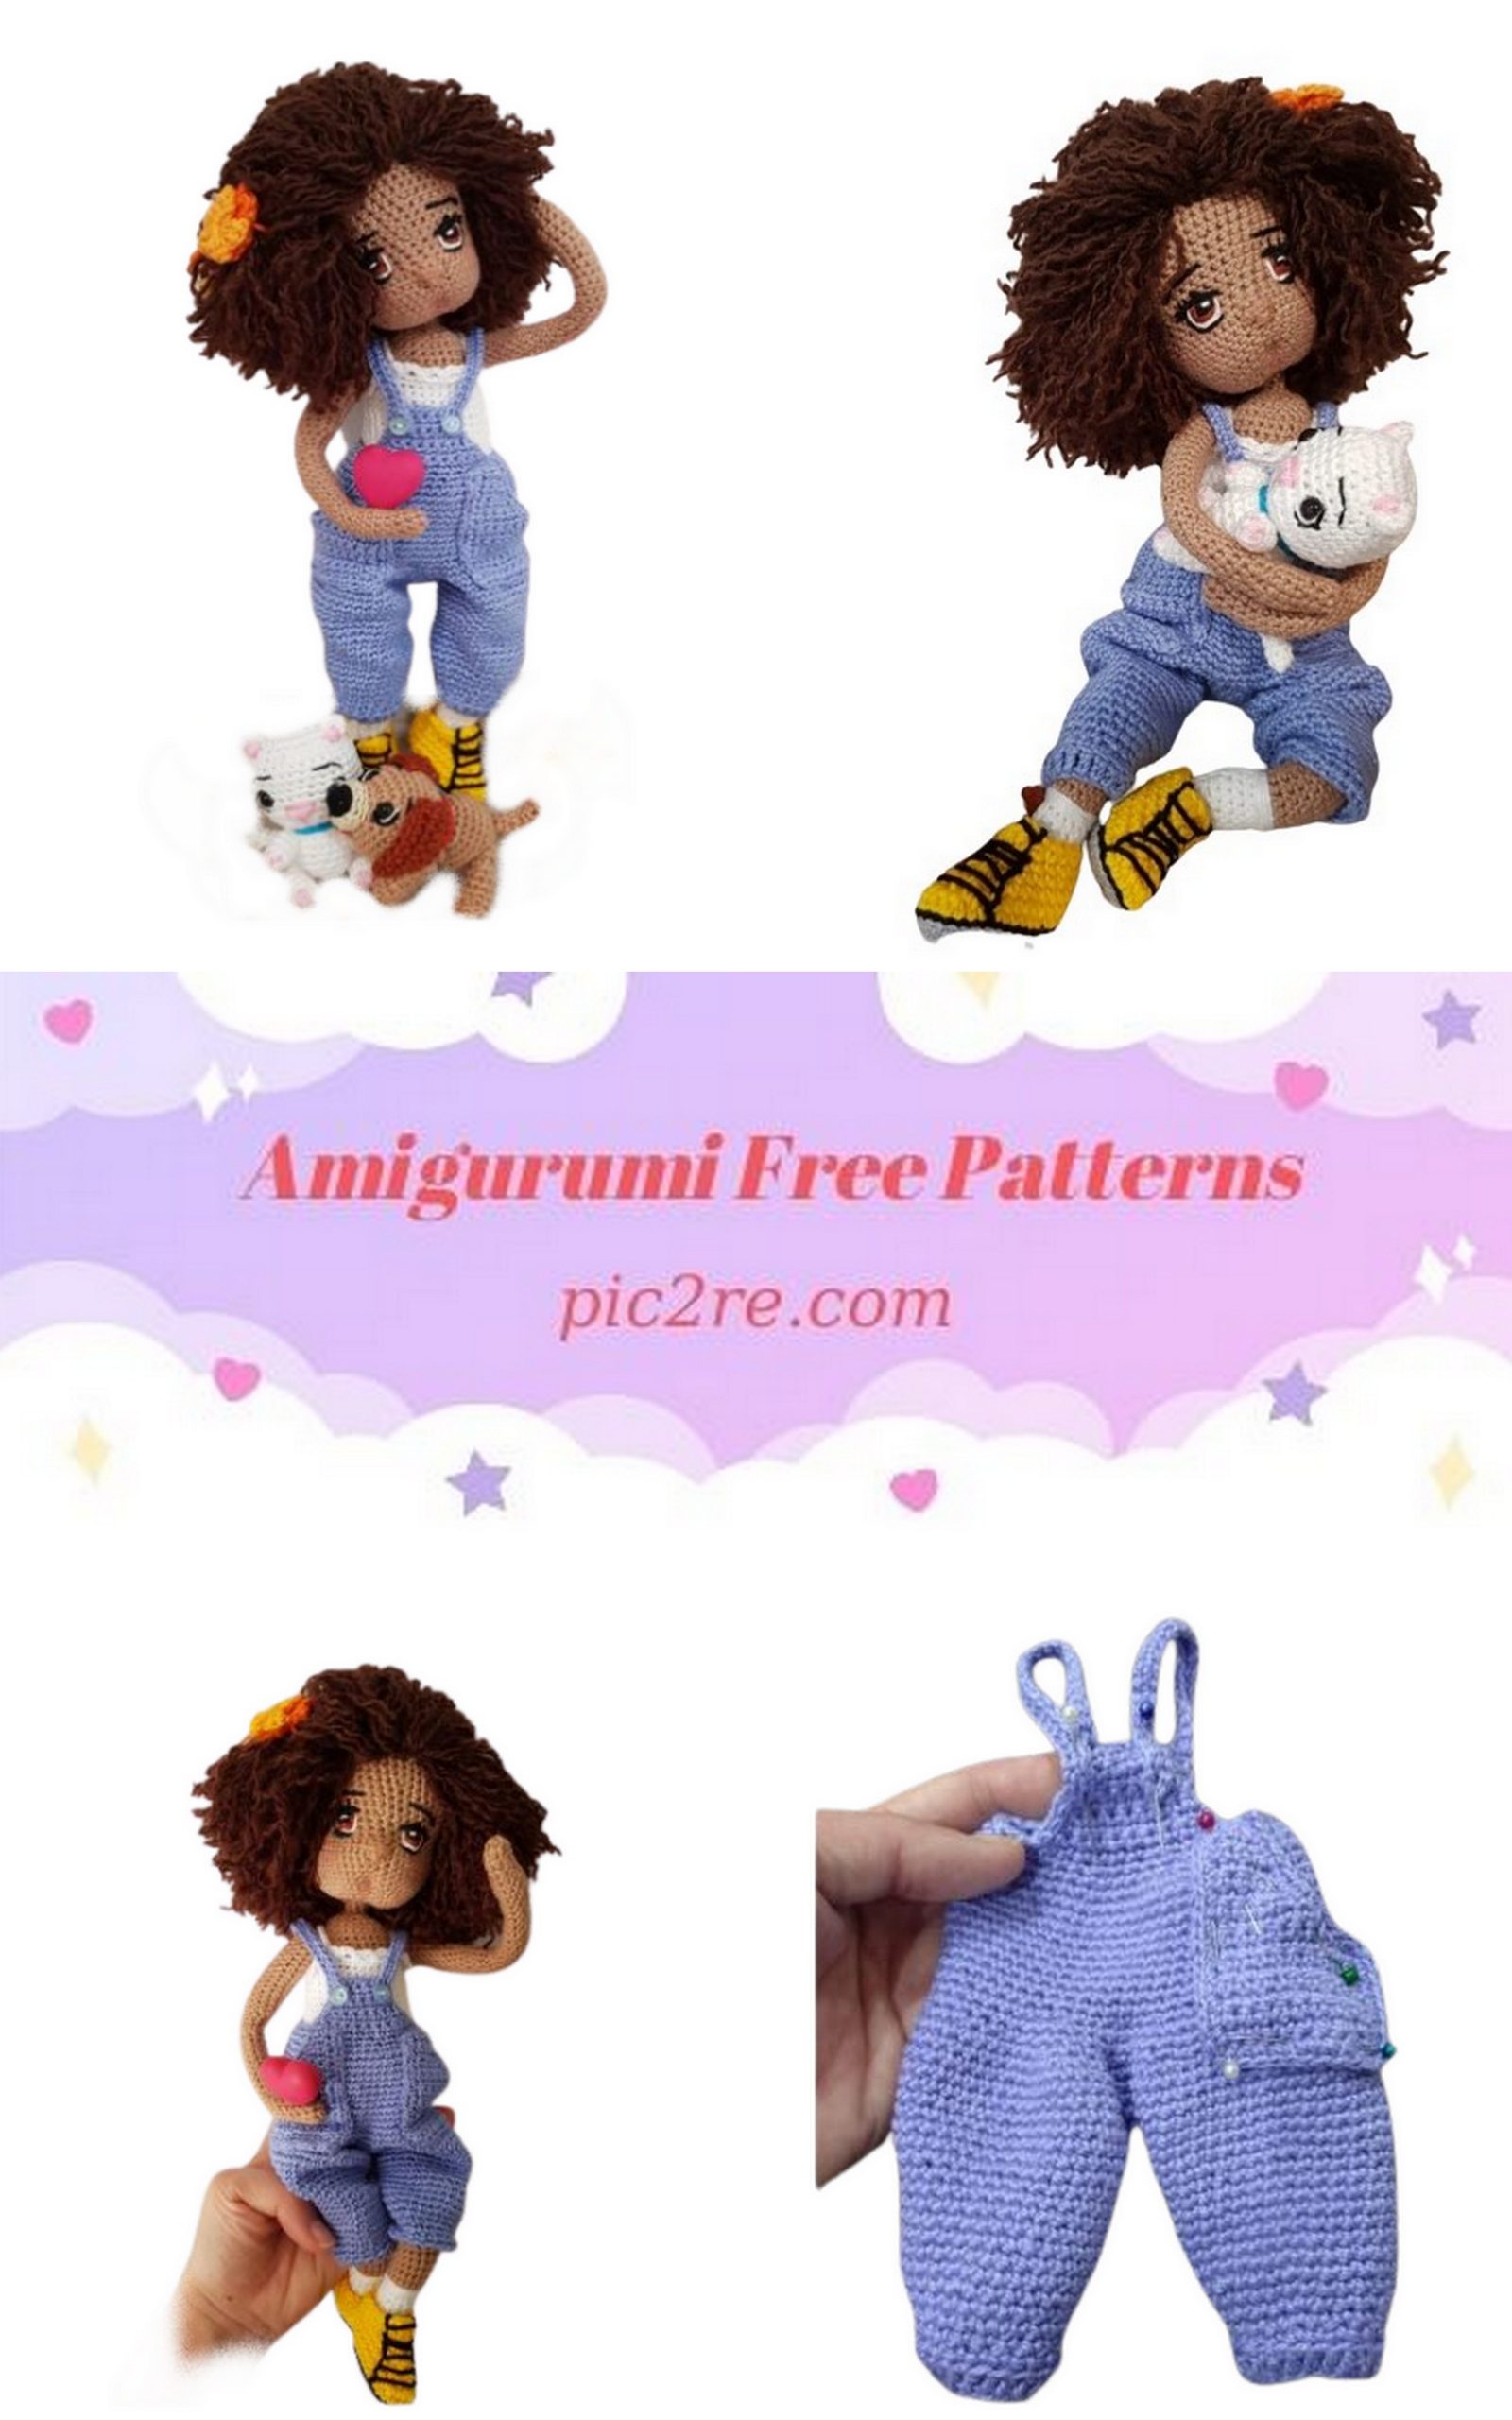
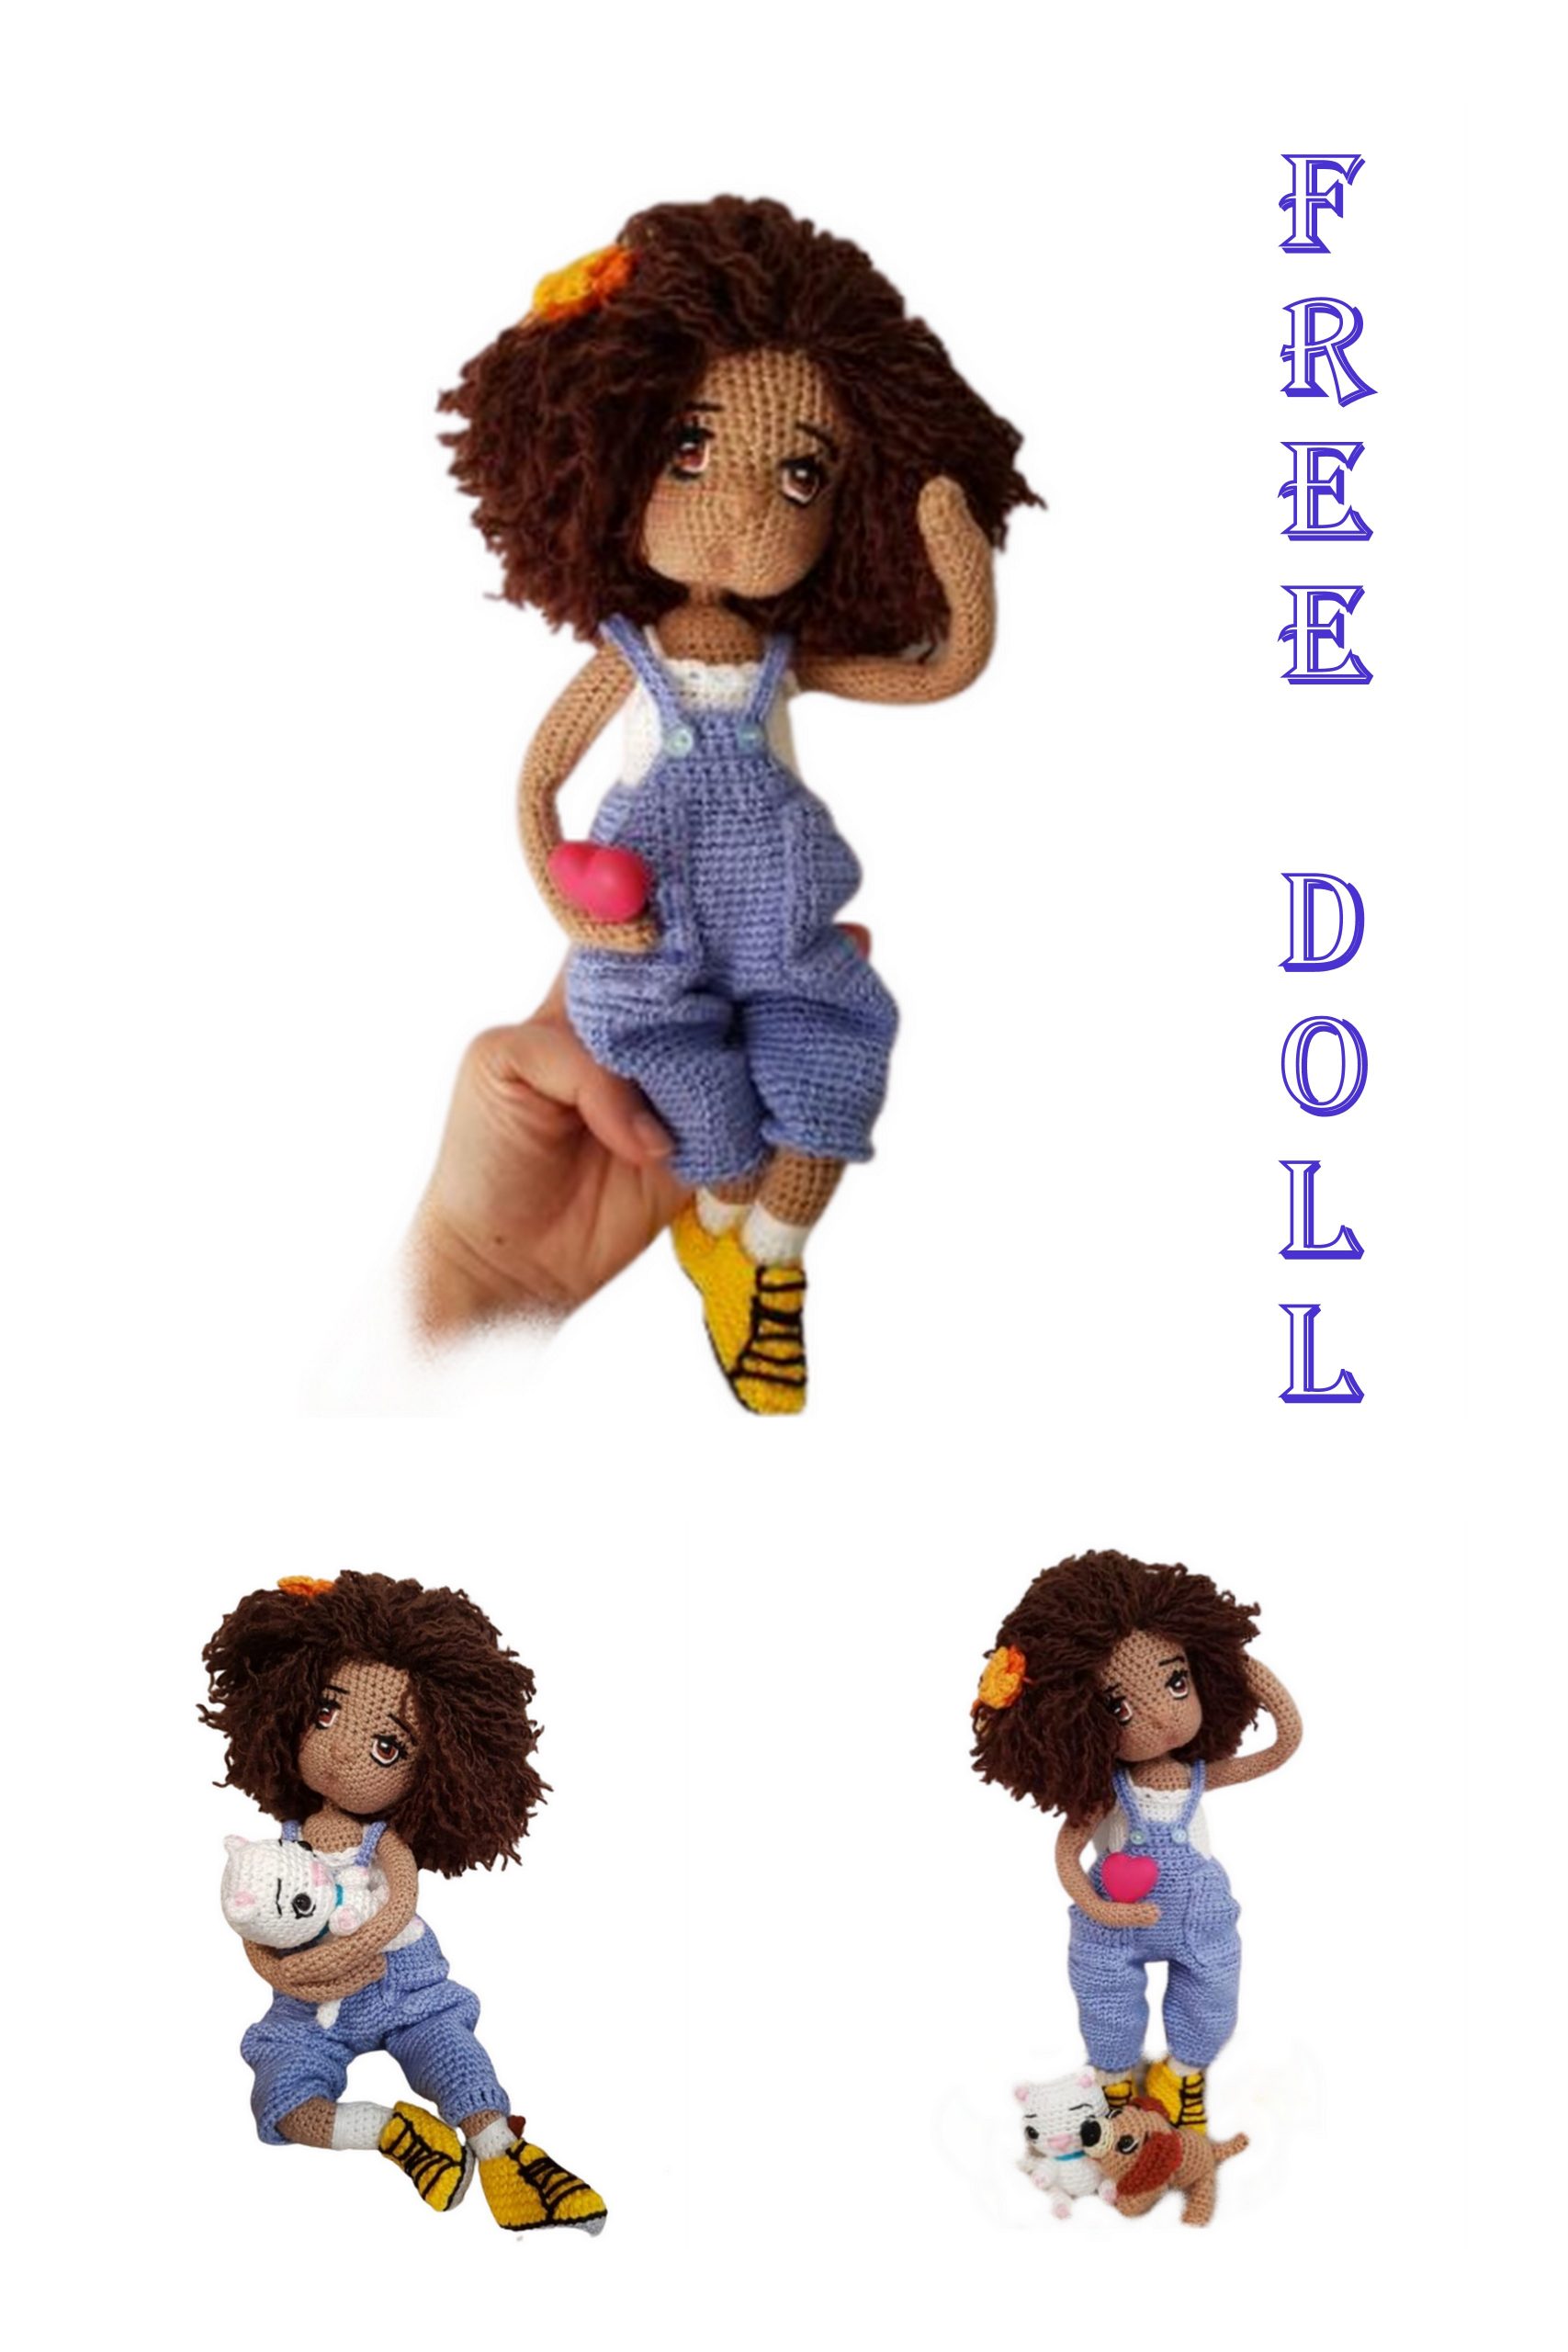
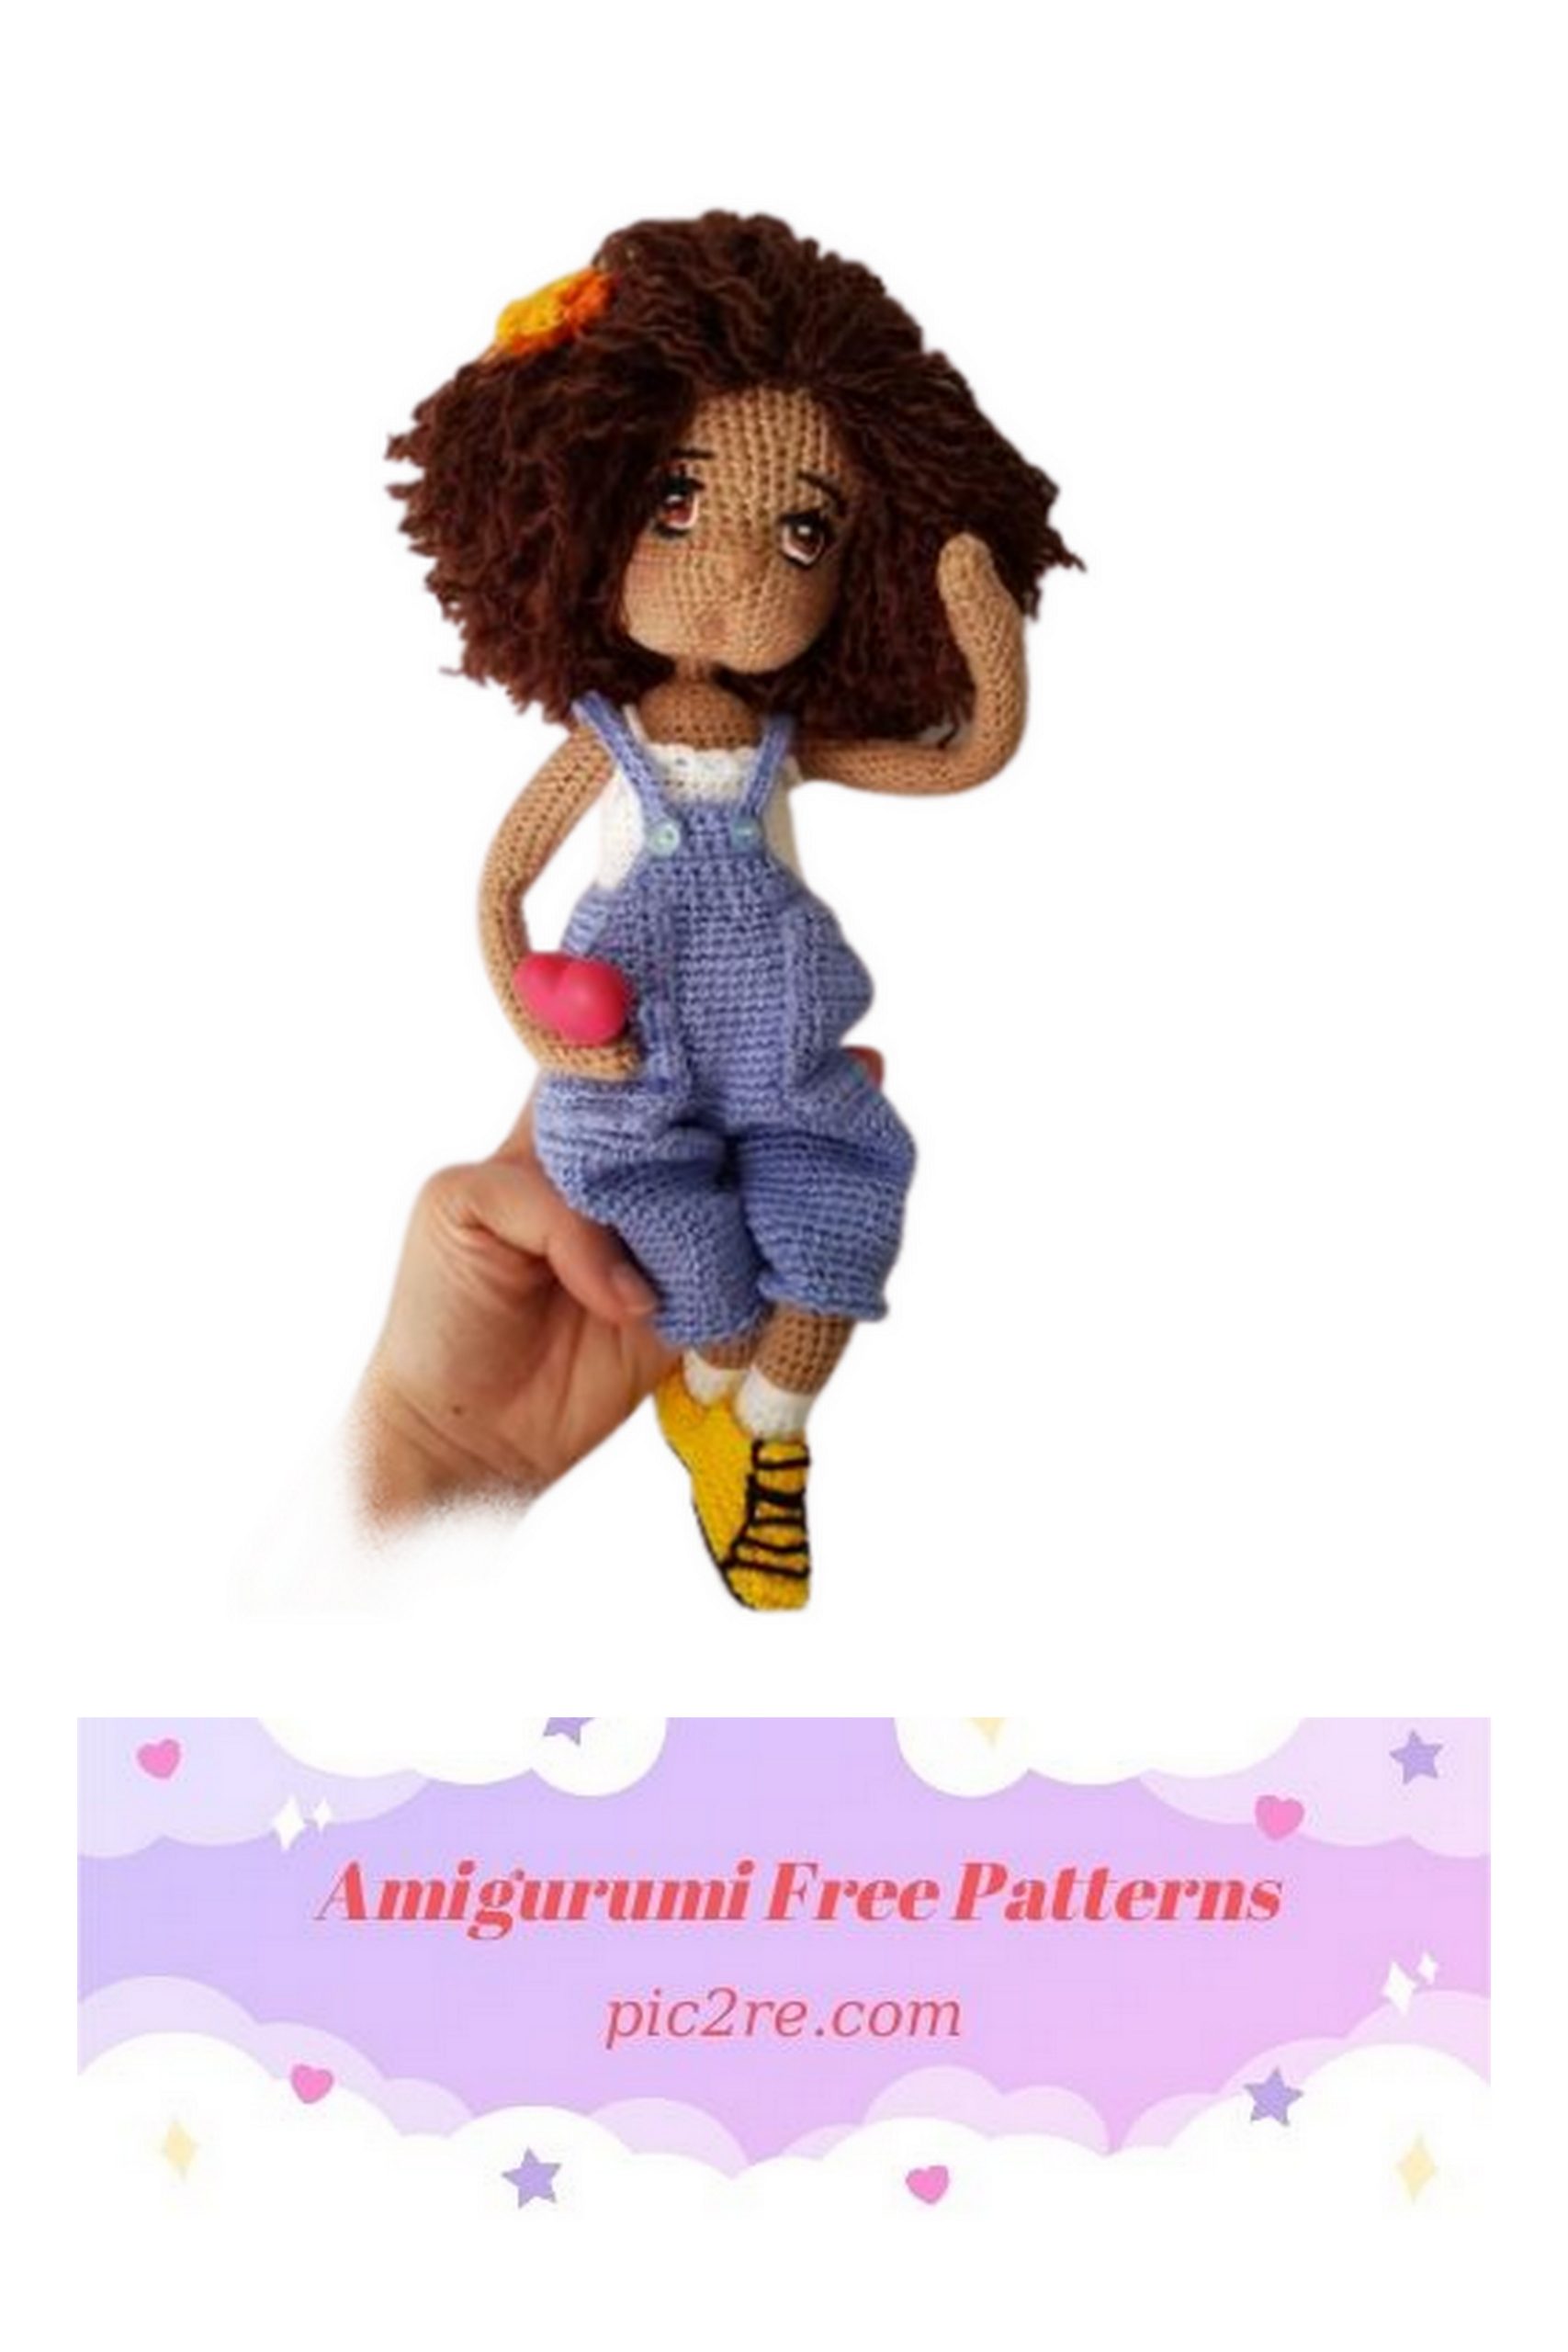
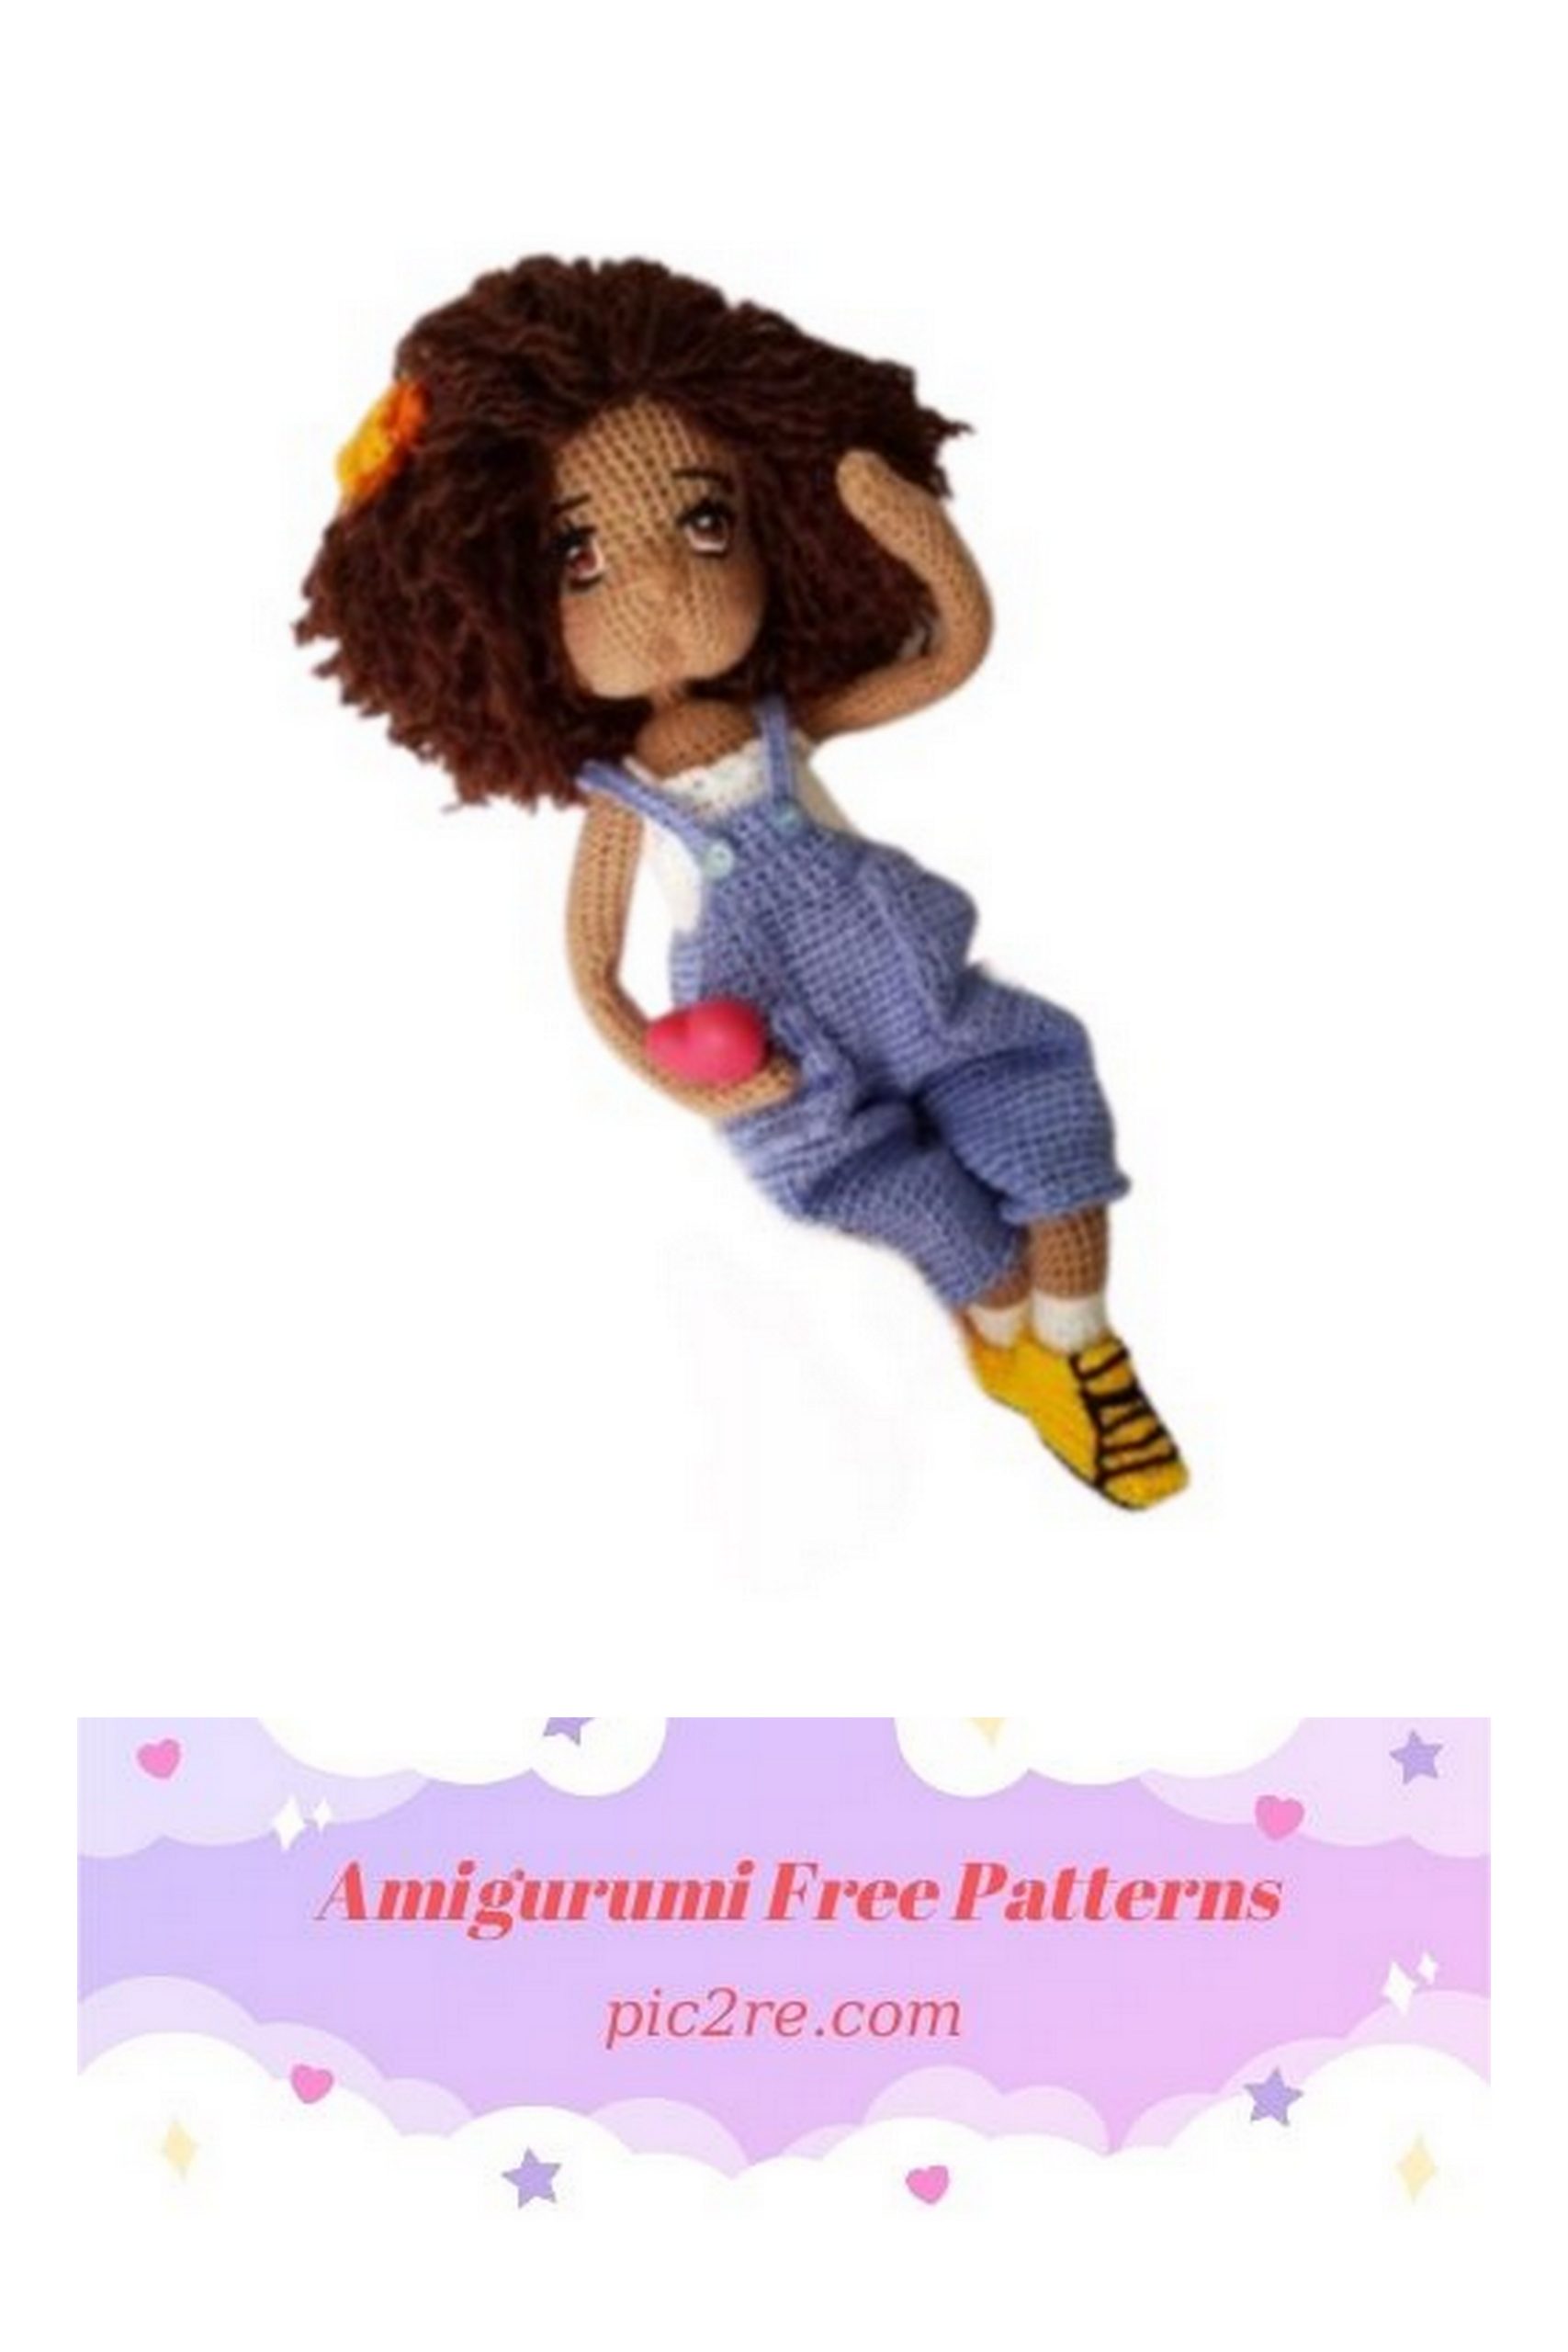
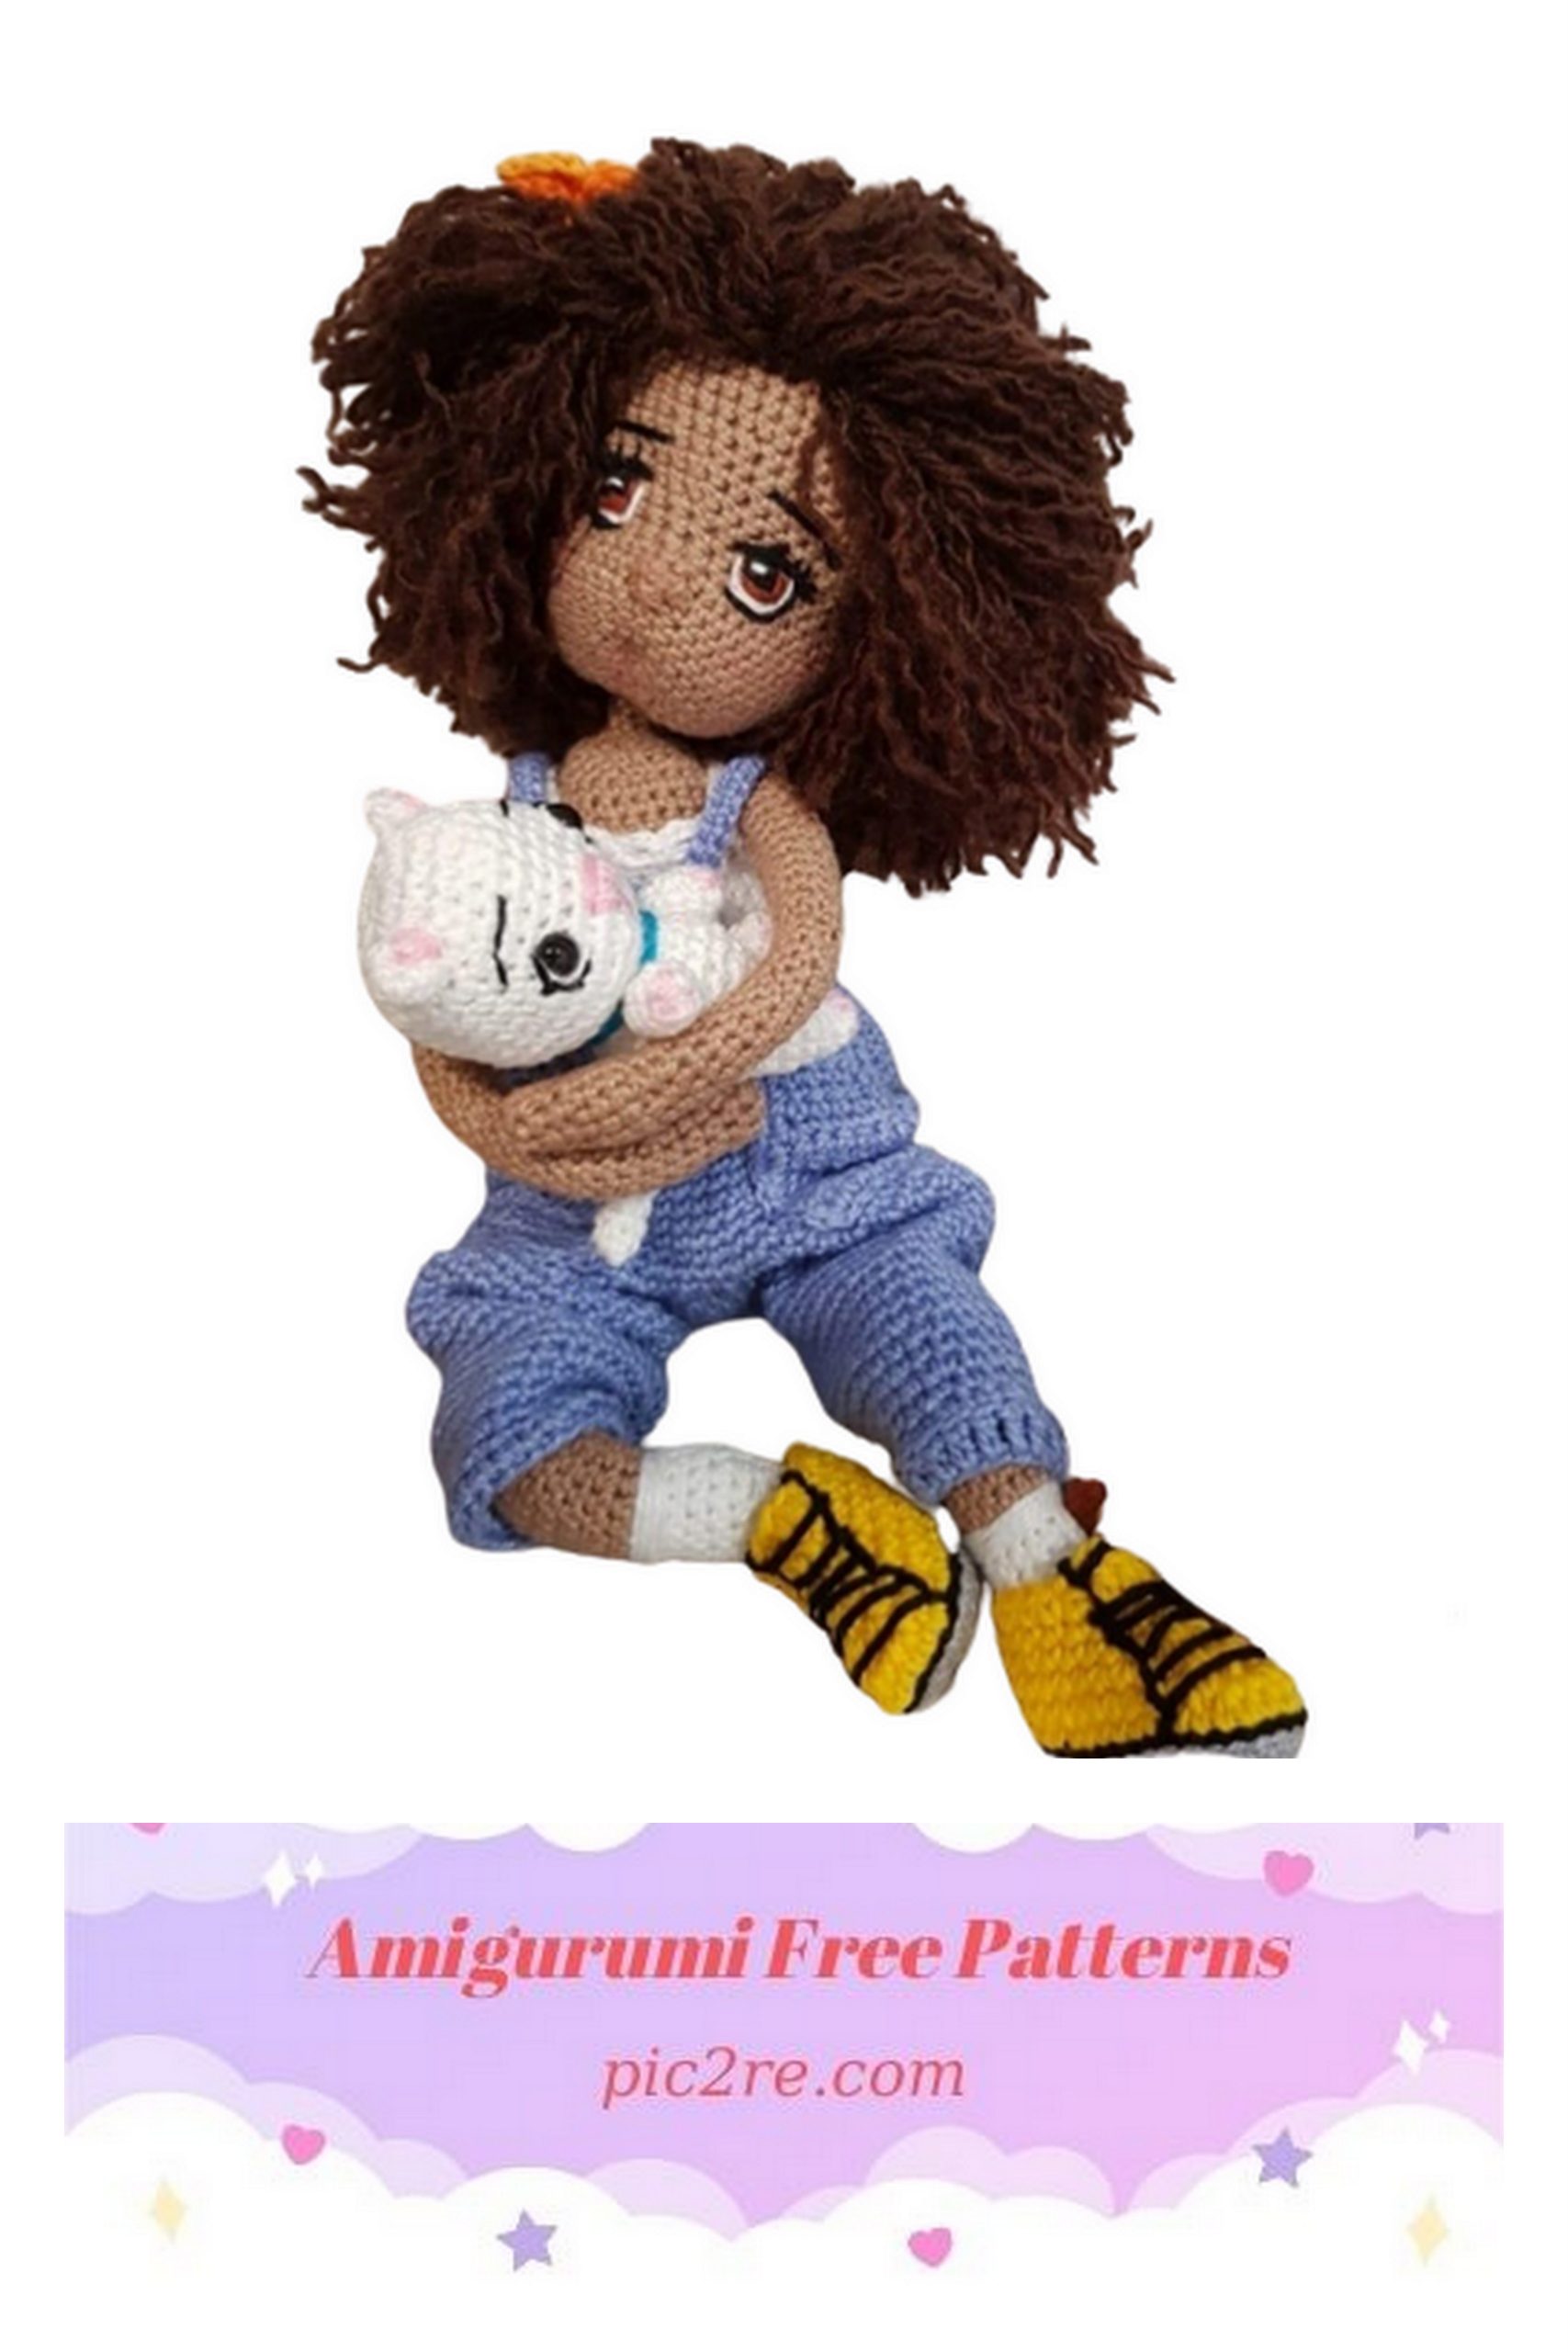
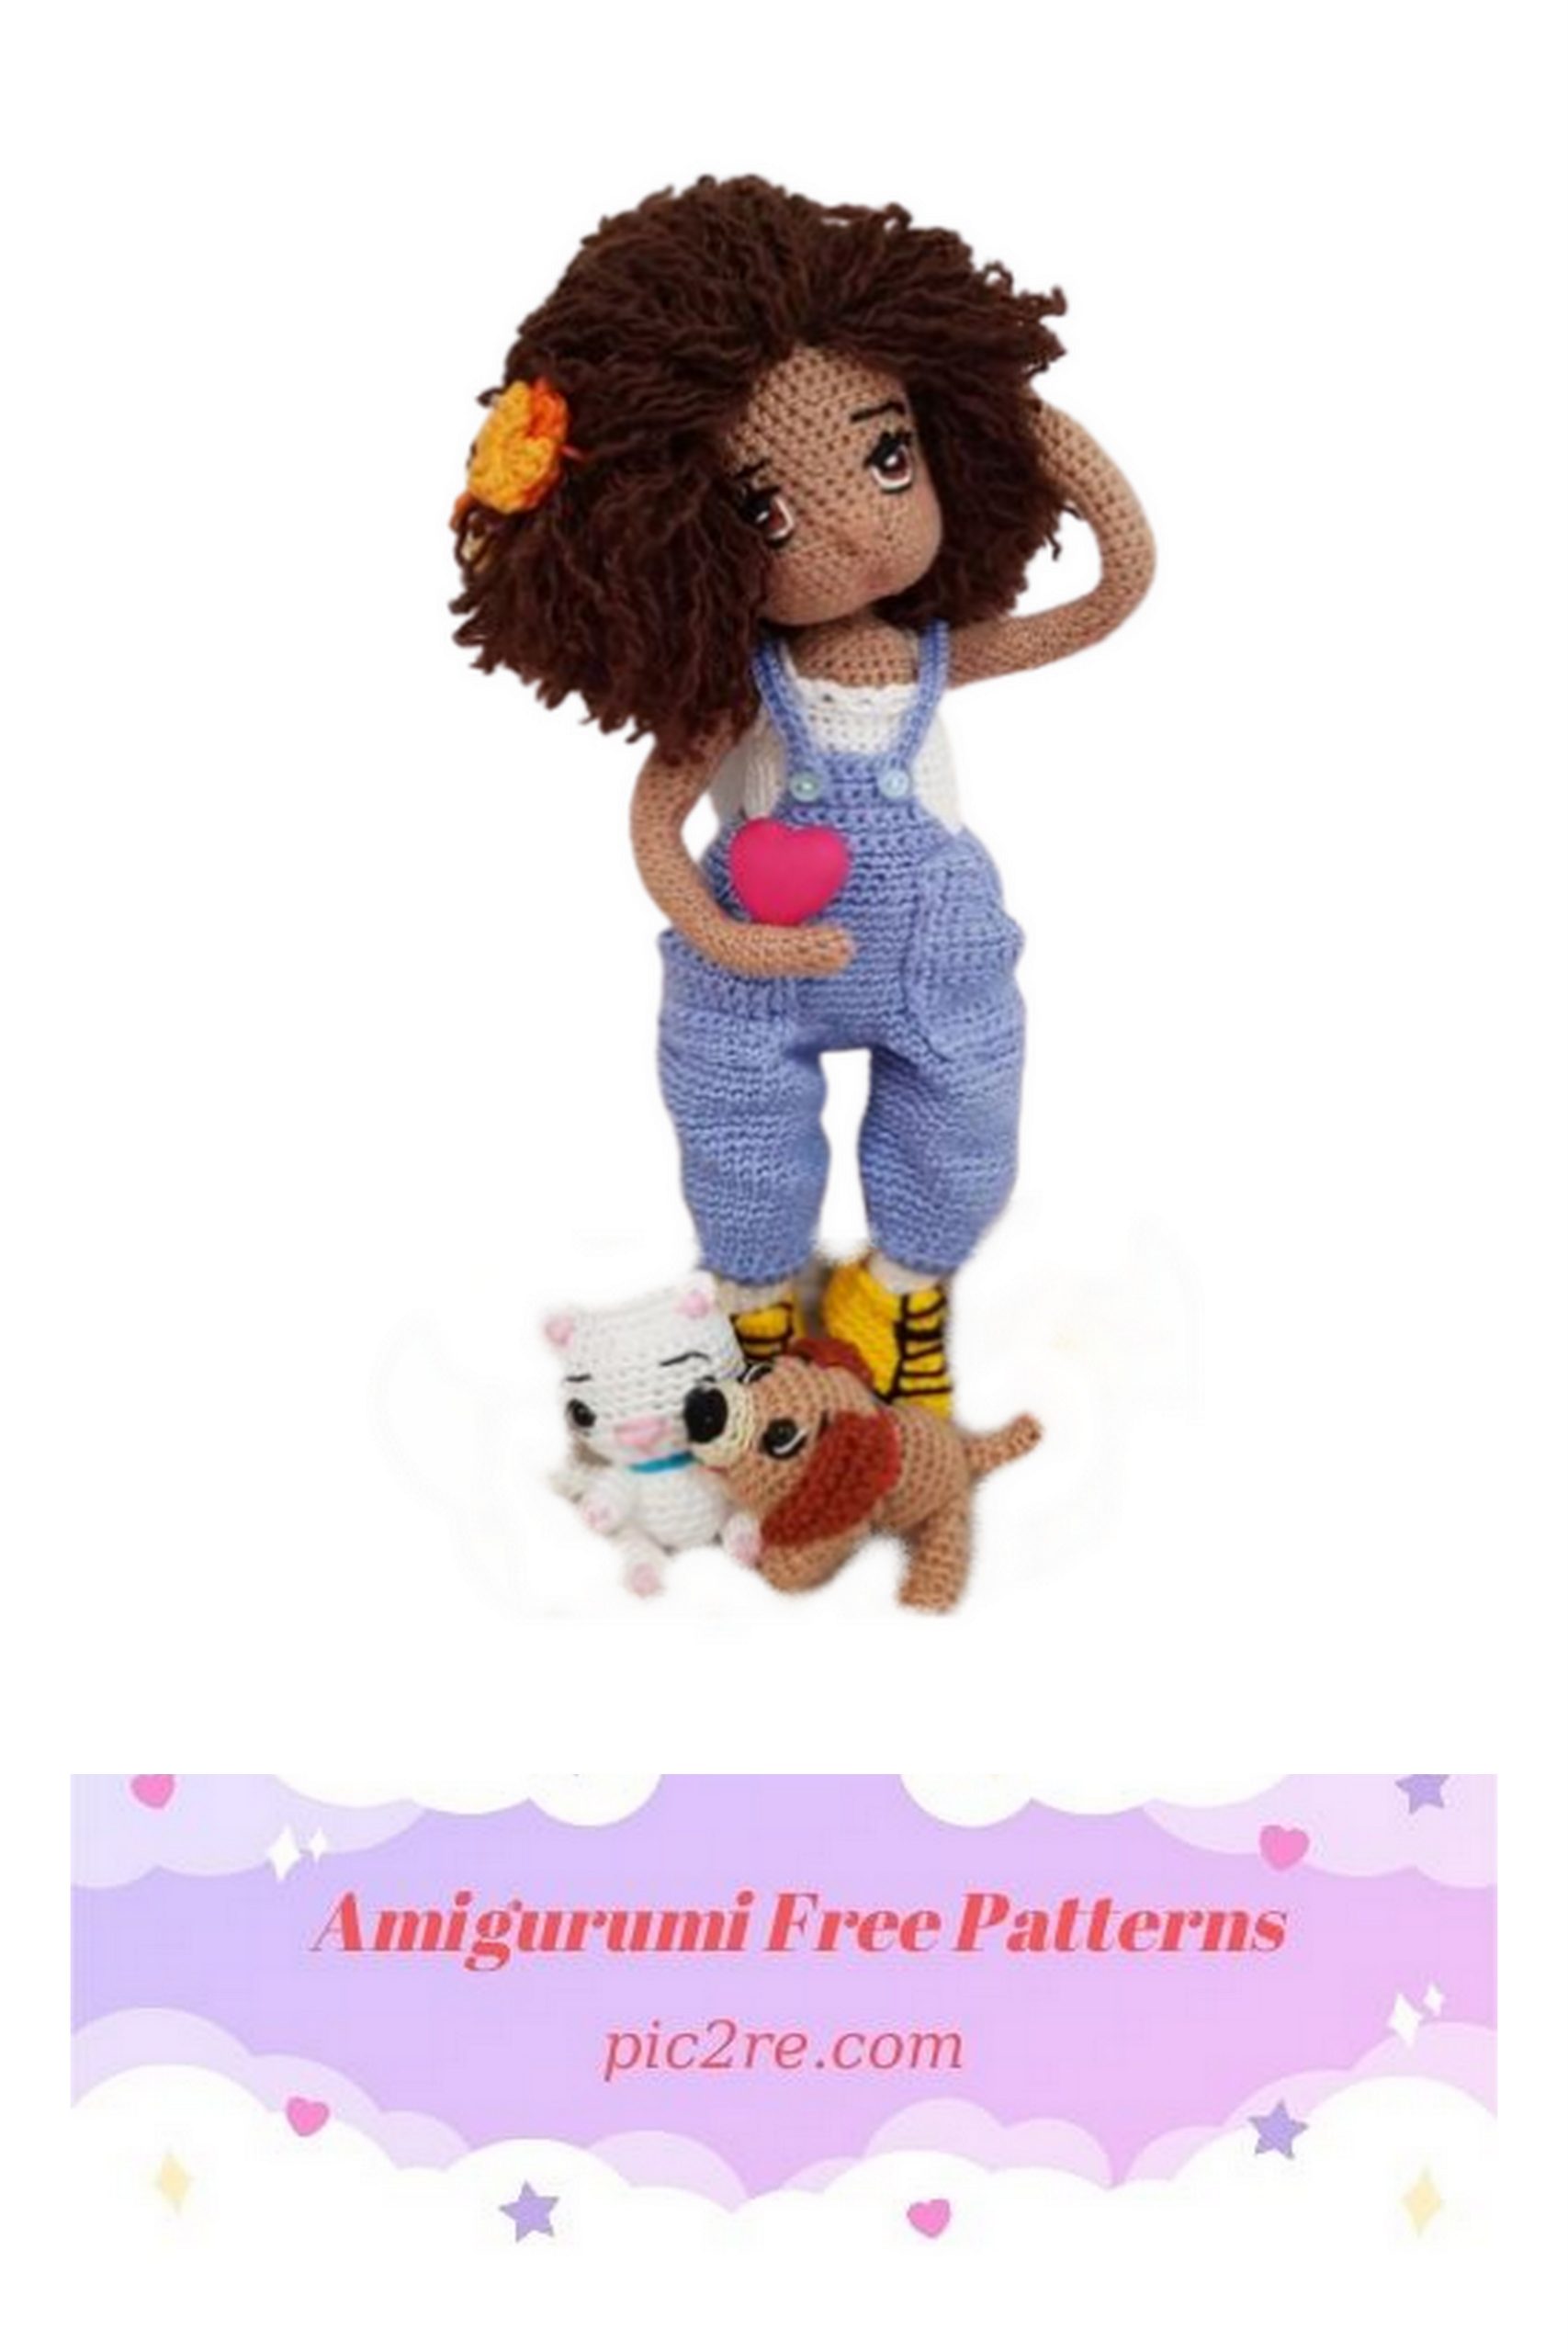
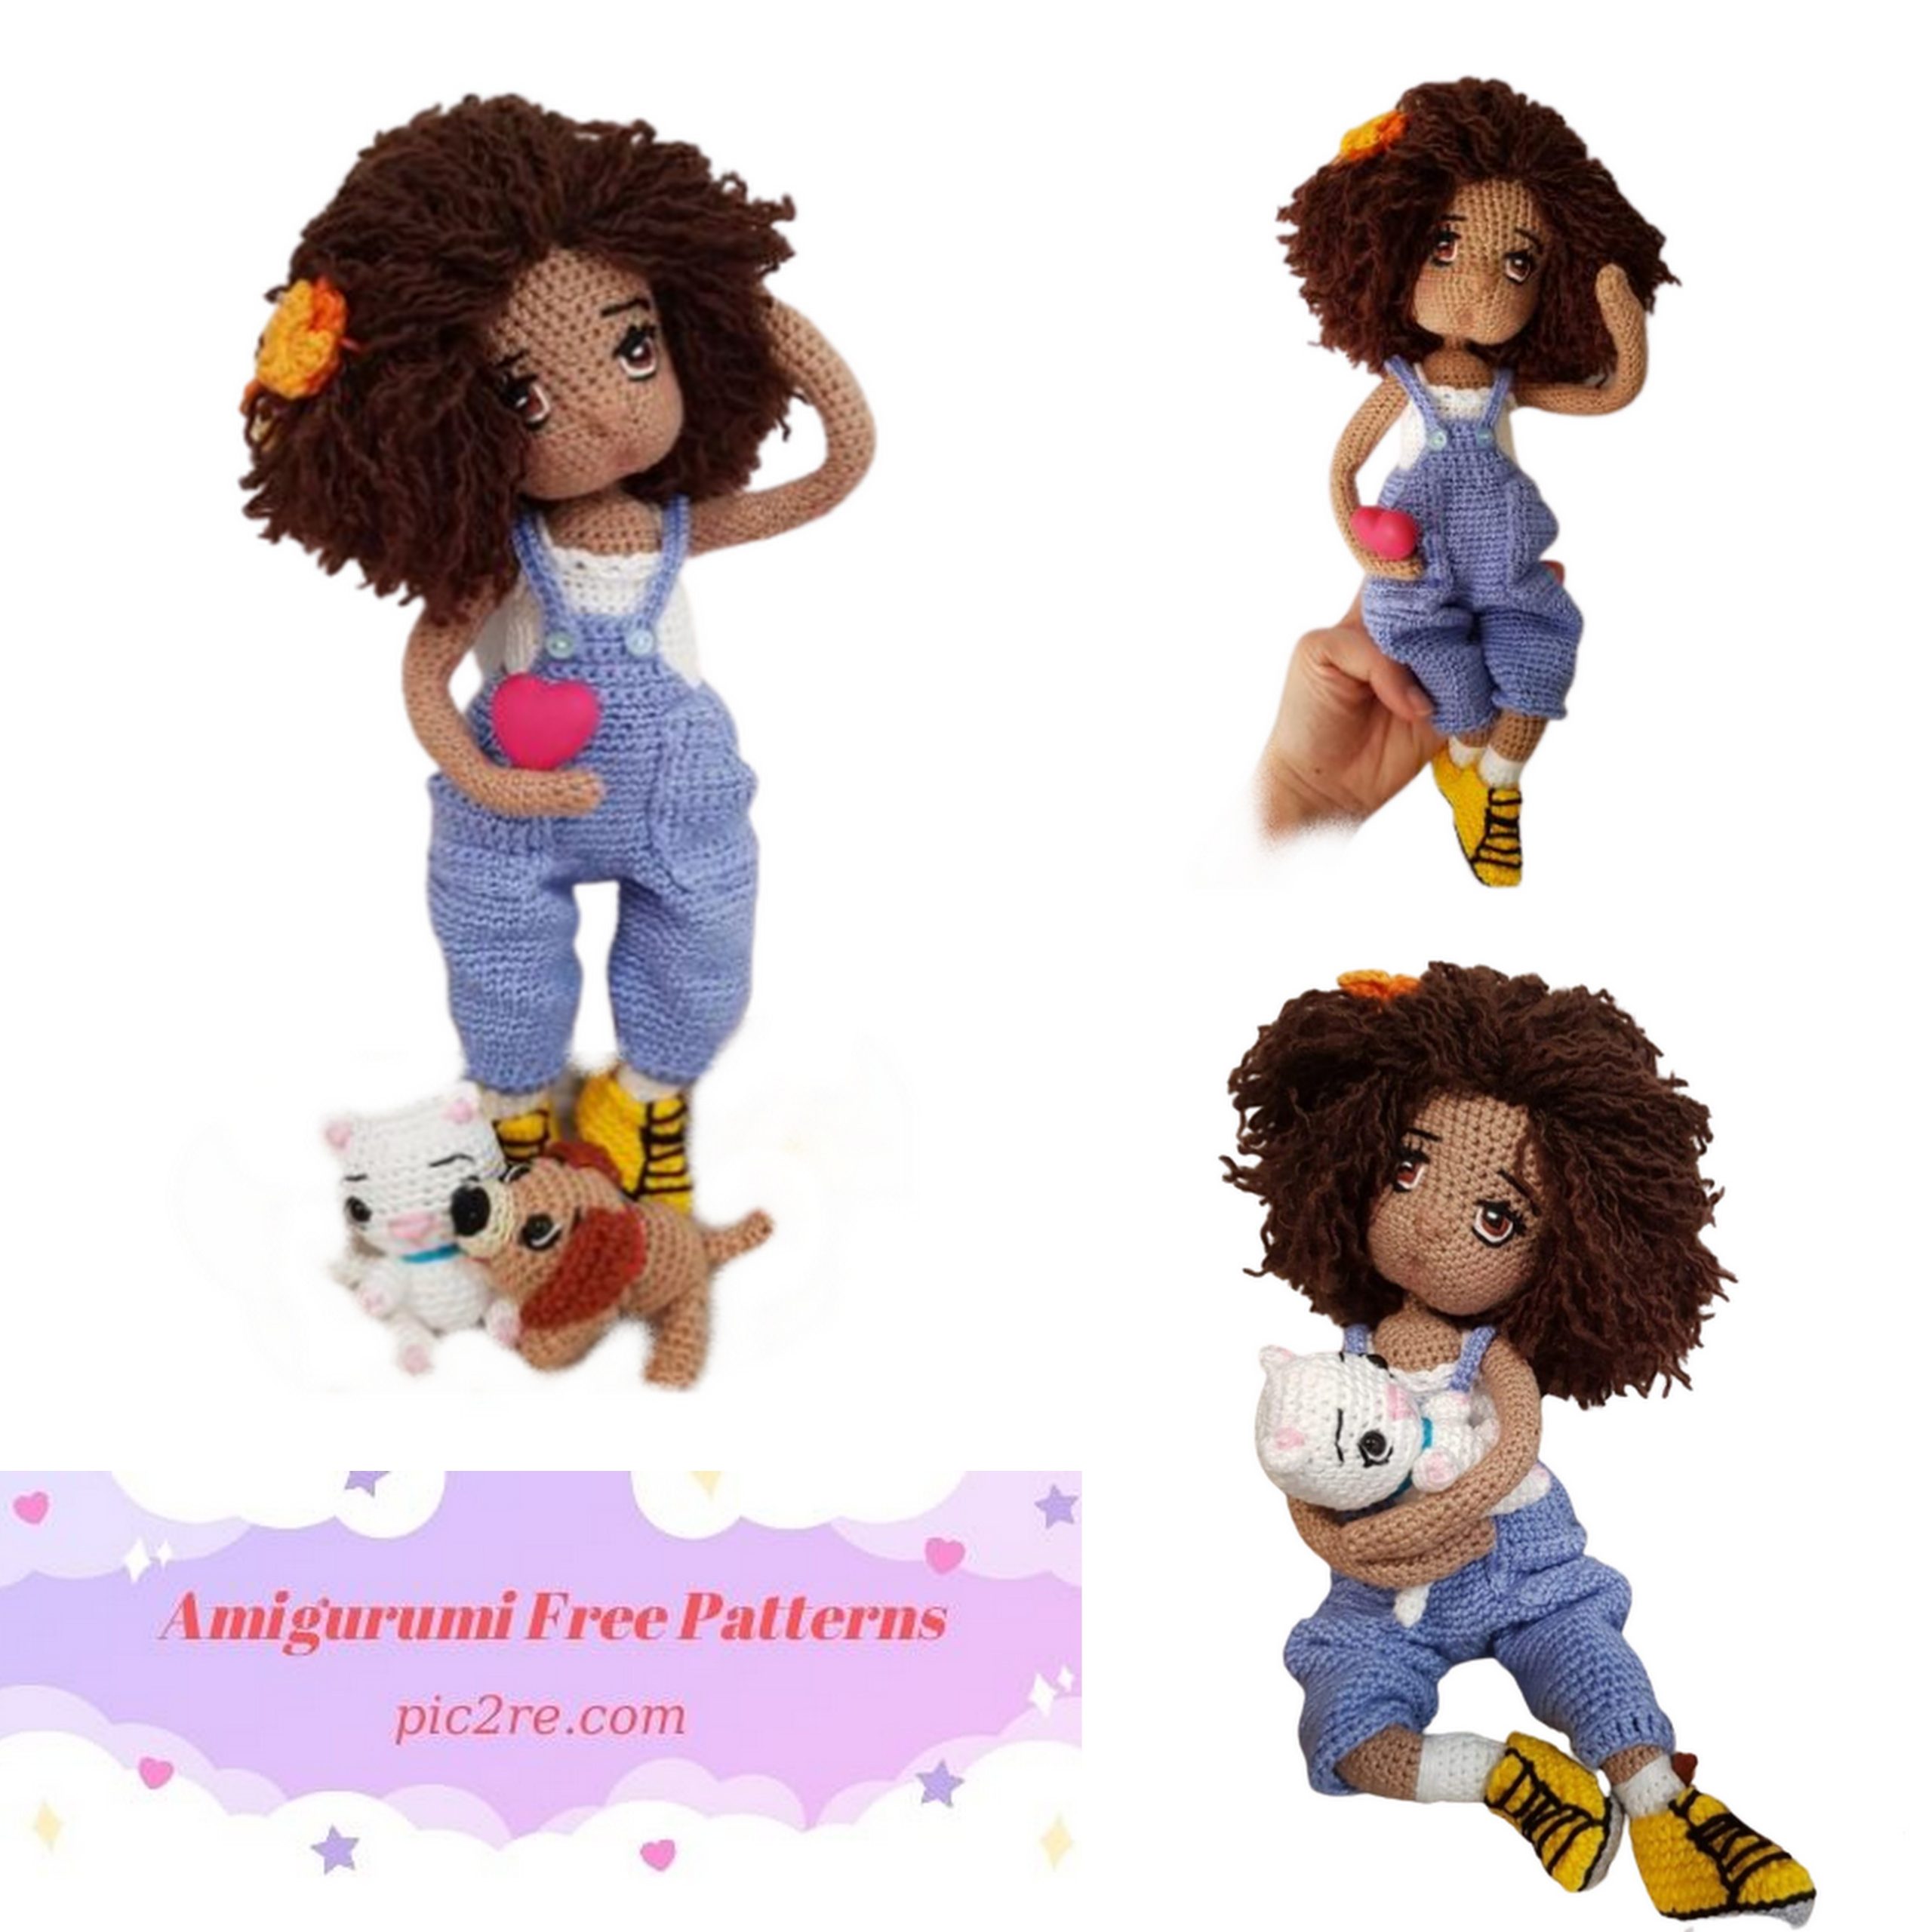
Amigurumi Yasmin Doll Free Pattern
We continue to share the most beautiful and free amigurumi patterns for you. You can visit our website for Amigurumi yasmin doll Free Pattern and more patterns.
Amigurumi doll base body Yasmin and her clothes
Necessary materials
White Anne thread and favorite skin color
No. 1.75 needle
coated wire
4 eyelets with 10mm lock (used in place of amigurumi joints)
shoemaker’s needle
Acrylic blanket for filling
Mollet wool for hair
Head
1- MR -8 sc
2- 8 inc = 16sc
3-(1, inc) x8 = 24 sc
4-(3, inc) x 6 = 30 sc
5- 4, inc, 6 chains, skip 5 stitches,(4, inc)x 4 = 36 sc (these chains will serve to leave an opening to help fill the head later)
6- (5, inc) x 6 = 42 sc (attention, make the indicated score, including the chains)
7-(6, inc) x 6 = 48 sc
8-(7, inc) x 6 = 54 sc
9/12 = 54 sc
13- (7, dec) x 6 = 48 sc
14/16 = 48 sc
17- (6, dec) x 6 = 42 sc
18/19 = 42 sc
20-11, (1, inc) x4, 1, 2inc, 1 (inc, 1) x 4, 11 = 52sc
21- 24, 4inc, 24 = 56 sc
22-24, decreases 6 stitches together, 25 = 50 sc
23/24= 50 sc
25-(1, dec) x 5, 20, (dec, 1) x 5 = 40 sc
26- dec, 2, dec, 28, dec, 2, dec = 36 sc
27-15, 3dec, 15 = 33 sc
28-13, dec, 3, dec, 13 = 31 sc
29- 2, (1, dec) x 4, 3, (dec, 1) x 4, 2 = 23 sc (fill your head a little)
30- (1, dec) x 7, 2 = 16sc
31- (2, dec) x 4 = 12sc
32/38 = 12 sc
At the end, turn the neck and introduce the head.

Ear
1-MR – 8sc- fasten off and leave sewing thread.
Attach the ear between rows 19 and 21, with a distance of approx.
24/25 points between them.
Eyes
Embroider eyes on row 20, or place eyes with lock with a distance of approximately 6/7 stitches between them.
Arm
1- MR-6sc
2- 2inc, 4 = 8sc
3- 8sc
4- 8sc
5- 3 inc, 5 = 11 sc
6/7 = 11 sc
8- 1, 2dec,3, dec, 1 = 8sc
9 = 8sc
10- 3, inc, 4 = 9sc
11- 4, inc, 4 = 10sc
12/15= 10 sc
16- 3, dec, 5 = 9 sc
17/18 – 9 sc
19- 3inc, 1, 2dec, 1 = 10sc
20- 10sc all through the front strap
21- 3, inc, 4, dec = 10sc
22- 4, inc, 5 = 11sc
23/35- 11sc (Note – if using joints or eyes with lock to join the parts, place between lines 33/34)
36- 3, dec, 3, dec,1 = 9sc (place filler and coated wire)
37- (1, dec) x 3 = 6sc
Finish off and close with a shoemaker’s needle.

Feet and legs
(we started with the white color for the socks)
1- MR-6sc
2- 6inc = 12sc
3/5= 12 sc
6- Dec, 5, dec, 2inc, 1 = 12sc
7- Dec, 3, dec, 2inc, 3 = 12sc
8-7, 2 inc, 3 = 14sc
9-14sc
10- 7, 2dec, 3 = 12sc
11-8, 2dec = 10sc
12- All this row through the outer strap – 5, inc, 1, inc, 1, inc = 13sc
13-8, 2inc, 3=15sc
14- 15sc
15- Change to skin color, work through the inner strap – 15sc, but don’t tie off the white thread yet, after making a few rows of fur, pass the white thread around the edge of the socks, tie and fasten.
16- 15sc
17-/22= 15sc
23- 4, 3inc,4, dec, 2 = 17sc
24-14, dec, 1 = 16sc
25-13, dec, 1= 15sc
26- 15sc
27-14, inc = 16sc
28-14, inc, 1 = 17sc
29-15, inc,1 = 18sc
30-15, inc, 2 = 19sc
31-16, inc, 2 = 20sc
32-16, inc, 3 = 21sc
33- 21sc
34-11, inc, 9 = 22sc
35/40- 22sc
41- (4, dec) x3, 4= 19sc
42- (3, dec) x 3, 4 = 16 sc
43- (2, dec) x 4 = 12sc – place filler and coated wire
44- (1, dec) x 4 = 8sc
45- (2, dec) x 2 = 6sc
Finish off and close with a shoemaker’s needle.
Body
– we will start with the white line to make the body
1- MR-6
2- 6 inc = 12 sc
3-(1, inc) x 6 =18 sc
4-(2, inc) x 6 = 24 sc
5- 24 sc
6- (3,inc) x 6 = 30 sc (if you are going to put articulation in the legs, put the legs on this row, fix the legs after doing row 24, so there is no mistake in the location of the legs)
7- 30 sc
8-(2, inc) x 10 = 40 sc
9-(3, inc) x 10 = 50 sc
10/18 = 50 sc
19- 3, dec, 25, (3, dec) x 4 = 45 sc
20-45 sc
21- 3, dec, 25, (3, dec) x 3 = 41 sc
22/23- 41 sc
24-(4, dec) x 2, 10, (dec, 4) x2, 7 = 37 sc
25/ 30 = 37 sc
31- change to the skin color, do not finish off the white, leave the yarn and start with the desired skin color, making this whole row on the inside rake- 5, dec, 15, dec, 13 = 35 sc , now go back to the white thread and make a row of picot stitches, to make the ruffle of the bodysuit.
32/ 33= 35sc
34- (5, dec) x 6 = 30 sc
35/36 = 30sc – if you are going to use the joints, this is when you will place your arms on the first line of the body, right after the body finish.
37- (3, dec) x 6 = 24 sc – place the stuffing and the covered wire, so that there is plenty of wire out of the body, to the end of the neck.
38- (2, dec) x 6 = 18 sc
39- (1, dec) x 6 = 12 sc
40- (2, dec) x 3 = 9 sc
41/ 55 = 9 sc
Fasten off and leave a thread to tie
Attach the head to the body as follows: use the neck thread, introduce the neck inside the head and bring the thread to the top of the head with the help of a shoemaker’s needle and secure it so that it is tight and does not come out.
Yasmim’s clothes
Sneakers
1- 8 chains, skip the first, 6sc, 4 in the same stitch, 6sc = 16sc
2- 2inc, 6sc, 2inc, 5sc, inc = 21sc
3- 3inc, 7sc, 4 inc, 6sc, inc = 29sc
4- 15sc, 3 inc, 11sc = 32sc
5- Change color – 32sc in back stitch
6- 14sc, dec, 3sc, dec, 11sc= 30sc
7- 13sc, 4 dec, 9sc =26sc
8- 11sc, 4 dec, 7sc= 22sc
9- 9sc, 4 dec, 5sc= 18sc
10- 9sc, 4DC, 1HDC, 4sc= 18sts, finish off and make details with thread in another color according to your preference.
planter
18 chains, close in a circle.
1- 3 chains to start, 18DC
2/3- 18sc
4-(2, inc)x6 = 24sc
5/6- 24sc
7-(3, inc)x6 = 30sc
8/13- 30sc
14-(4, inc)x6 = 36sc
15/16- 36sc (finish off first leg of overalls)
Do the second leg and don’t finish off, continue from there.
17- 4 chains, fasten on the first leg and make 36 sc in the first leg, 4 sc in the chains, 36 sc in the second leg. = 76
18- 4sc on the other side of the chain, 76 = 80sc
19/21- 80sc
22- 40, 2dec, 36= 78sc
23-30, (3, dec)x 5, 23= 73sc
24-32, (1, dec)x3, 32= 70sc
25-18, (1, dec)x3, 12, (dec, 1)x3, 22 = 64sc
26-(3, inc)x3, 12, (2, dec)x4, 12, (3, inc) x 2 = 61sc
30/36= 61sc
37- (5, dec) x 8, 5= 53
38- (4, dec)x 8, 5= 45
39-(3,dec) x 9= 36
From now on we will make the back of the planter, and this part should be centered behind the planter.
40- 8sc, turn
41- 1 chain to go up, 8sc
42- 1 chain to go up, 8sc
43- 1 chain to go up, 8sc
44- 1 chain to go up, 8sc
45- 1 chain to go up, 8sc
46- 30 chainrings, loops in chains, skips 5 chains, 25sc, secures in overalls, 5sc in back of overalls, 30 chaines, goes back in chains, skips 5, 25scs, secures in back of overalls.
47- continue making slip stitches on the side of the back of the dungaree and around the waist, for a total of 16 stitches, now continue with 12sc (this part should be centered in the front of the dungaree).
48- Go back, skip the first stitch and do 11sc
49, go back, skip the first stitch and do 10sc
50- go back, skip the first stitch and do 9sc
51- go back, skip the first stitch and make 8sc
52- go back, skip the first stitch and make 7sc
53- go back, skip the first stitch and make 6sc
54- go back, skip the first stitch and make 5sc
55- go back, skip the first stitch and make 4sc
From this point, go down the side of the front of the dungaree making slip stitches, and continue at the waist and finish off when you reach the back of the dungaree.
Attach buttons to the front. And make two pockets with the following score
1- 10 chain, 1 chain to start, 10sc
2- 10sc
3- 10sc
4- 10sc
5- 10sc
6- 10sc
7- 10sc
8-10sc
9- 7sc, back
10- Skip the first stitch, 6sc, back
11- 6sc
12- Skip the first stitch, 5sc, back
13- 5sc
14- Skip the first stitch, 4sc, return
15- 4sc
16- Skip the first stitch, 3sc, back
17- 3sc
18- Skip the first stitch, 2sc
19- Make a row of low crochets around the entire pocket and then attach the pocket to the front of the overalls.
Embroider the eyes, eyebrows and place the hair according to your preference.