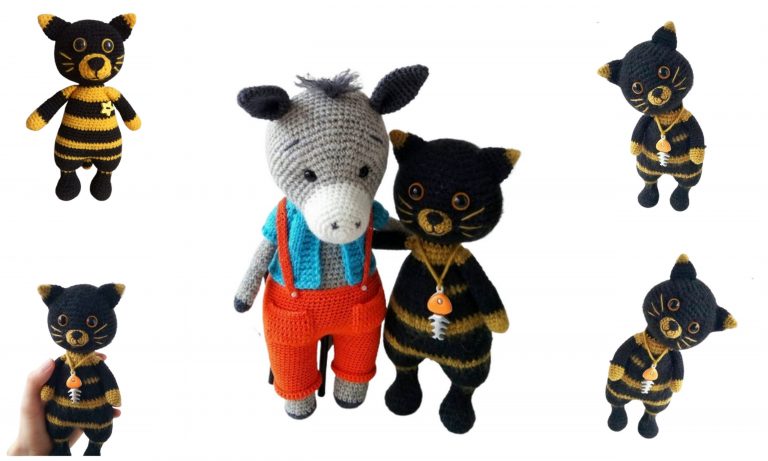
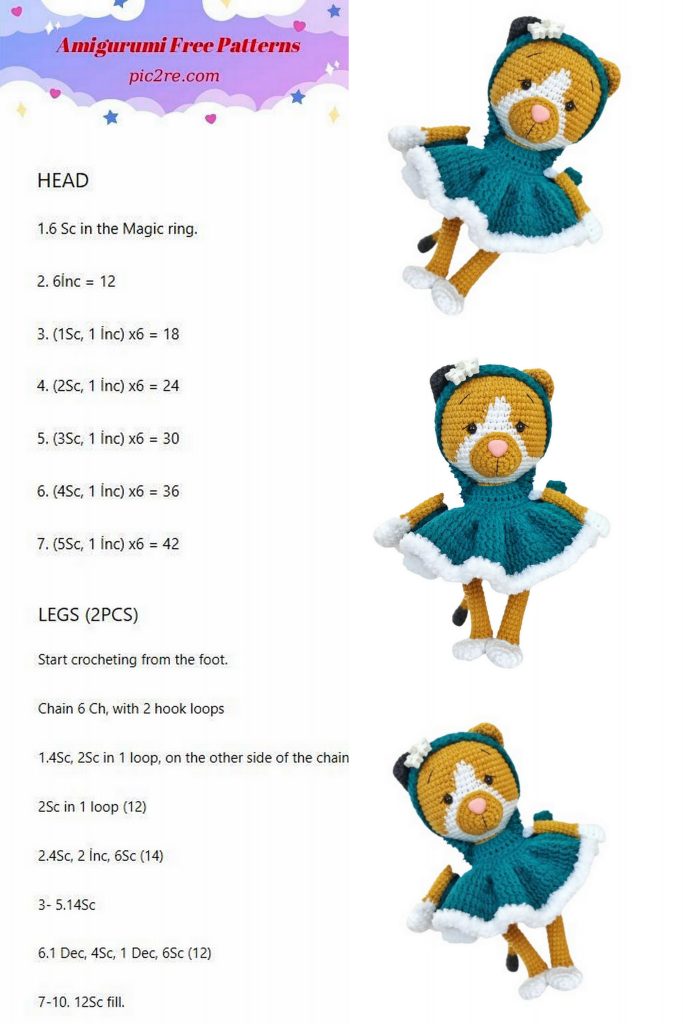
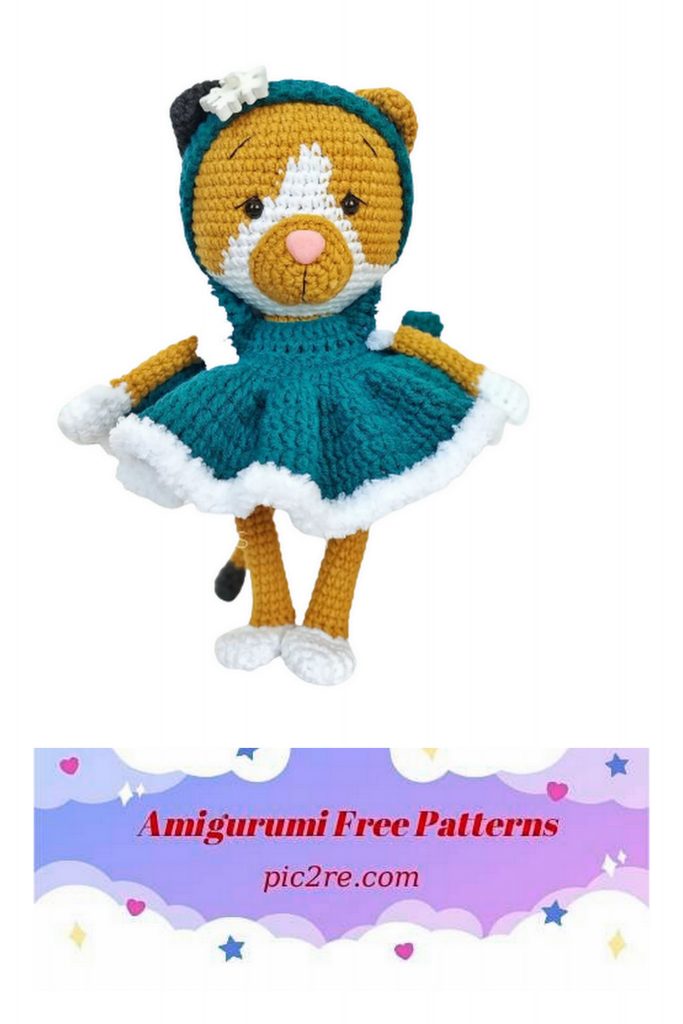
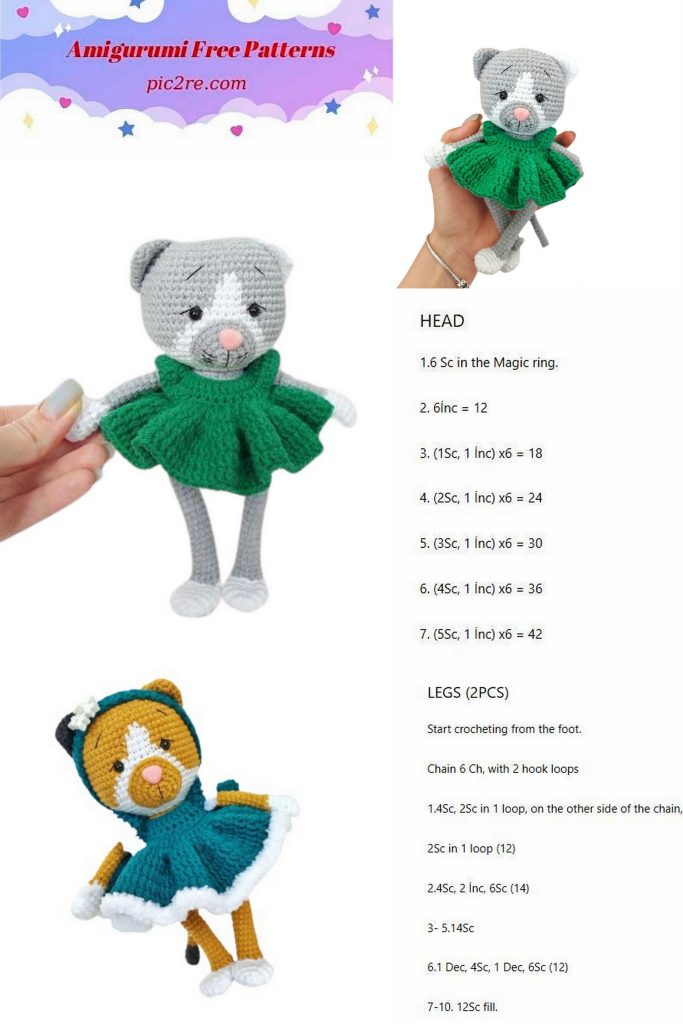
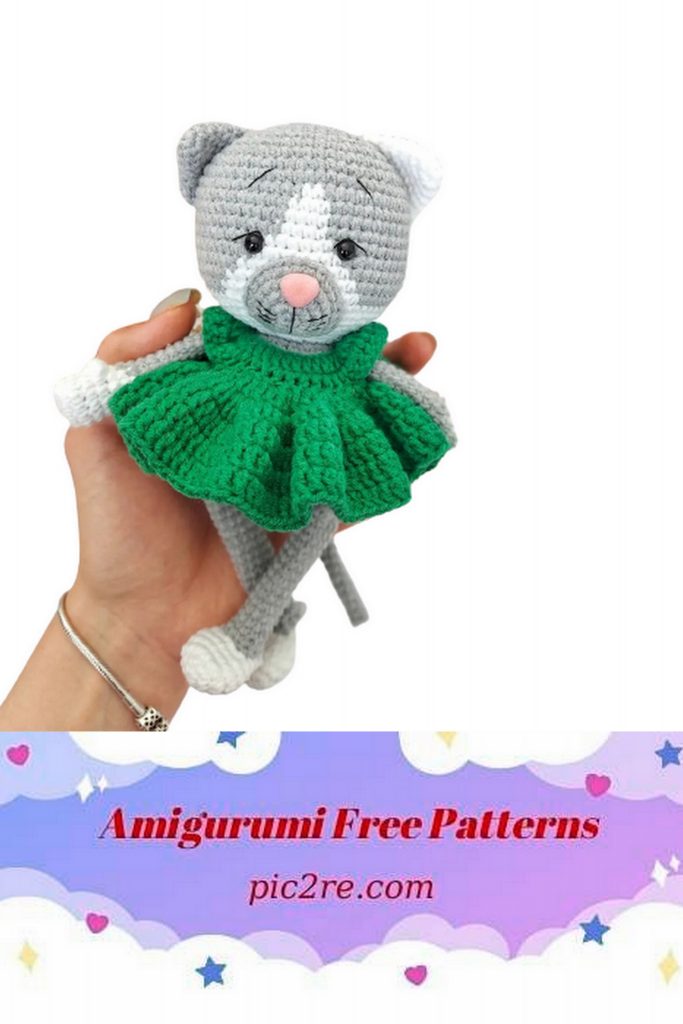
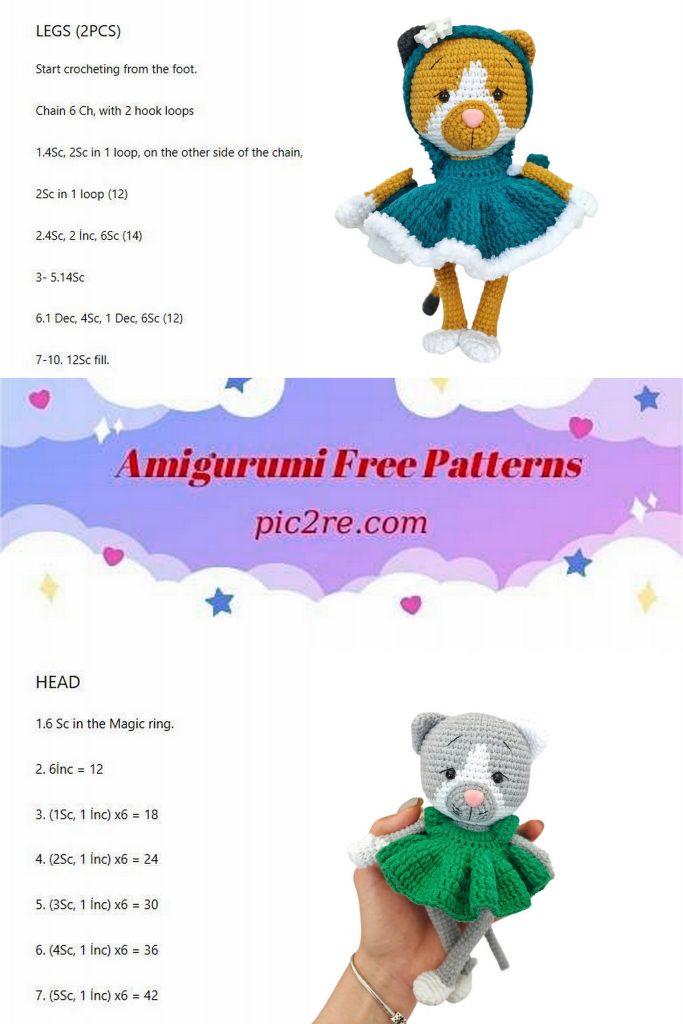
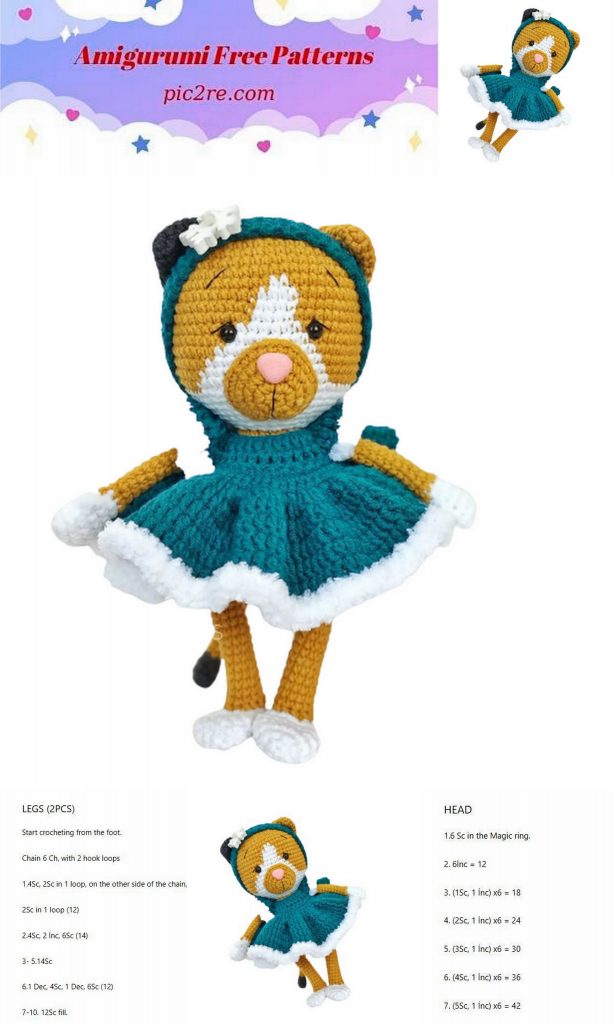
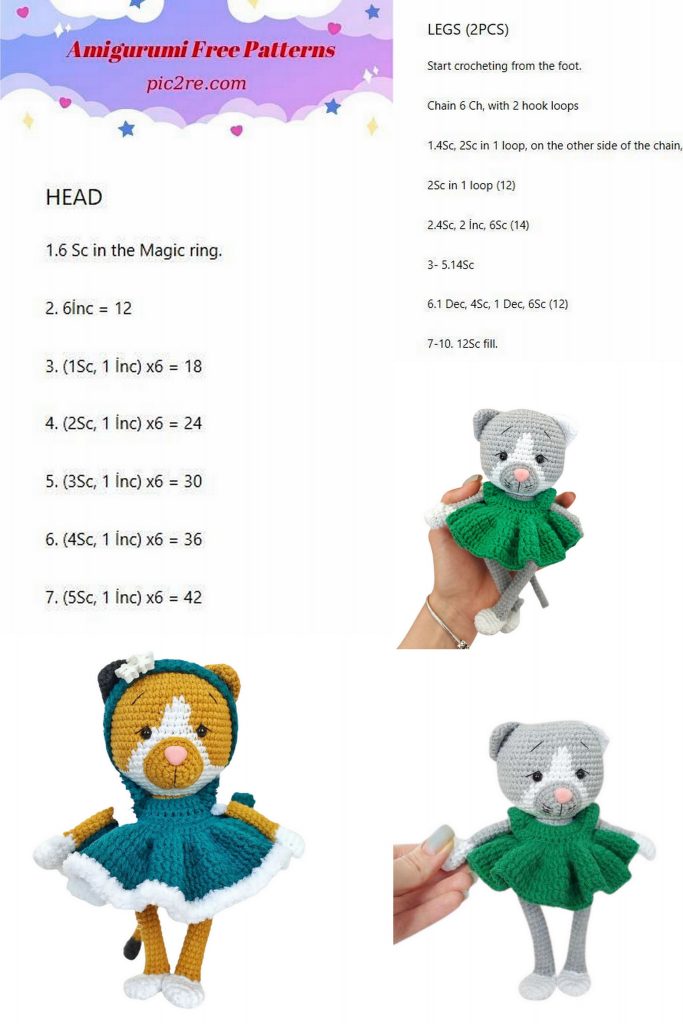
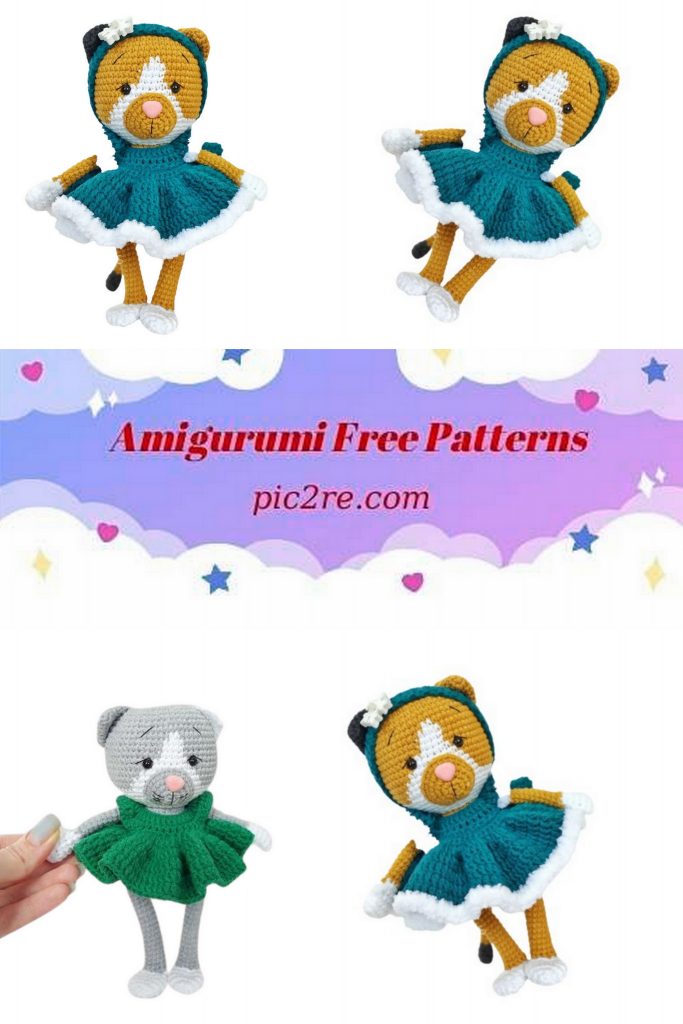
Amigurumi Kitty Free Pattern
Necessary materials:
1. YarnArt Jeans:
a) Emerald (color 63)
b) Mustard (color 84)
c) Snow white (color 62)
d) Dark gray melange (color 28)
2. Yarn Alize Softy plus
a) White (color 55)
3. Eyes 5-6mm
4. Spout 12*10mm (I have pink)
5. Filler
6. Hook 2.0
7. Thin black thread for face decoration
8. Sewing needle
9. Scissors
10. Button “Snowflake” to decorate the headband
11. Dress button (10-12mm)
When using these materials, the size of the toy is approx.
20 cm.
Abbreviations
MR – amigurumi ring
CH – air loop
SC – single crochet
İNC – increase (2 columns in one loop)
DEC – Decrease (knit 2 stitches together)
DC – double crochet
HDC – half-column with one crochet
BLO – behind the back wall of the half-loop
FLO – behind the front wall of the half loop
SL-ST – connecting post
(…) – the number of bars in a row
Head:
We knit with mustard color:
1.8SC in MR
2. (1SC,3İNC)*2 (14)
3. 2SC, 3NC, 4SC, 3NC, 2SC (20)
4. 2SC, (1SC,İNC)*3, 4SC, (1SC,İNC)*3, 2SC (26)
5. 2SC, (İNC,2SC)*3, 4SC, (İNC,2SC)*3, 2SC (32)
6. 2SC, (3SC,İNC)*3, 4SC, (3SC,İNC)* 3, 2SC (38)
7. 2SC, (İNC,4SC)*3, 4SC, (İNC,4SC)*3, 2SC (44)
8. 10SC, 2NC, 20SC, 2NC, 10SC (48)
9. (7SC,İNC)*6 (54)
10. 4SC, İNC, (8SC,İNC)*5, 4SC (60)
11. 29SC, 2SC white, 29SC (60)
12-14. 28SC, 4SC white, 28SC (60) (3 rows)
15. 27SC, 6SC white, 27SC (60)
16. 26SC, 8SC white, 26SC (60)
17. 25SC, 10SC White, 25SC (60)
18. 24SC, 12SC white, 24SC (60)
19. 23SC, 14SC white, 23SC (60)
20. 22SC, 16SC white, 22SC(60)
Change to white:
21. 4SC, DEC, (8SC,DEC)*5, 4SC (54)
22. (7SC,DEC)*6 (48)
If you are using the eyes on a safety mount, then set them between 15 and 16 side by side at a distance of 8-9SC.
23. 3SC, DEC, (6SC,DEC)*5, 3SC (42)
24. (5SC,DEC)*6 (36)
25. 2SC, DEC, (4SC,DEC)*5, 2SC (30)
26. (3SC,DEC)*6 (24)
We start to fill the detail
27. 1SC, DEC, (2SC,DEC)*5, 1SC (18)
We fasten the thread, cut it, leaving a long tip for sewing.
Legs:
We do not fill.
We knit in white:
1.6SC to MR
2. 6’NC (12)
3. (1SC,İNC)*6 (18)
4-5. 18SC (2 rows)
6. (1SC,DEC)*6 (12)
7-9. 12SC (3 rows)
10.6DEC
We tighten the hole, fix it, cut it off and hide the tip of the thread inside the part.
We attach the mustard-colored thread to the foot (as shown in the photo)
We knit clockwise (in a circle):
1-20. 12SC (20 rows)
21. If necessary, make bias loops so that when adding this row
was parallel to the length of the foot. (I finished +3SC). Fold the two sides of the piece together and knit 6SC together.
We knit the second foot in the same way.
Tail:
We fill up to the 10th row.
We knit in dark gray:
1.6SC to MR
2. (2SC,İNC)*2 (8)
3-4. 8SC (2 rows)
5. (2SC,DEC)*2 (6)
Change to mustard color:
6-26. 6SC (21 row)
Fold the edges of the part and knit through the two walls of the 3SC loops. We fasten the thread, cut it. We will tie the tail.
Pens:
We start knitting in white:
We fill only to the middle of the part!
We collect a chain of 5 CH, from the 2nd loop from the hook, we knit:
1. İNC, 2SC, 4SC in one, 2SC, İNC (12)
2-4. 12SC (3 rows)
5. 3DC in one loop with a common top, 11SC (12)
6. (DEC,4SC)*2 (10)
Change to mustard color:
7.10SC
8. (DEC,3SC)*2 (8)
9.8SC
10-19. 8SC (10 rows)
Fold the two walls of the loops and knit 4SC together. If necessary, make a loop / shift before this so that this row is parallel to the original chain from CH (I finished + 2SC)
We knit the second handle in the same way. We will tie the hands.
Torso:
We knit with mustard color:
1.6SC to MR
2. 6’NC (12)
3. (1SC,İNC)*6 (18)
4. 1SC, İNC, (2SC,İNC)*5, 1SC (24)
5. (3SC,İNC)*6 (30)
6. 2SC, İNC, (4SC,İNC)*5, 2SC (36)
7. (5SC,İNC)*6 (42)
8. 3SC, İNC, (6SC,İNC)*5, 3SC (48)
9. (7SC,İNC)*6 (54)
10. 10SC, 6SC with left leg, 22SC, 6SC with right leg,
8SC, 2SC with ponytail (54)
11. 1SC with ponytail, 53SC (54)
12-14. 54SC (3 rows)
15. (7SC,DEC)*6 (48)
16. 3SC, DEC, (6SC,DEC)*5, 3SC (42)
17.42SC
18. (5SC,DEC)*6 (36)
19. 2SC, DEC, (4SC,DEC)*5, 2SC (30)
20. Align the marker to the middle of the back (I did +1SC):
5SC, 4SC with left handle, 12SC, 4SC with right handle, 5SC (30)
21. (3SC,DEC)*6 (24)
22. 1SC, DEC, (2SC,DEC)*5, 1SC (18)
23.18SC
We fill the body.
We fix the thread, cut it and hide it inside the part.
Muzzle:
We do not fill.
We knit in white:
1.6SC to MR
2. 6’NC (12)
3. (1SC,İNC)*6 (18)
4. (2SC,İNC)*6 (24)
5.24SC
We fasten the thread, cut it, leaving a long tip for sewing.
Sew in the middle between 16-25 next to the head.
Ears:
We knit one ear in mustard color, the second in dark gray:
1.6SC to MR
2. (1SC,İNC)*3 (9)
3. (2SC,İNC)*3 (12)
4. (3SC,İNC)*3 (15)
5. (4SC,İNC)*3 (18)
6. (5SC,İNC)*3 (21)
Fold the two walls of the loops and knit 10SC. Sew back
from the amigurumi ring to the right and left in 4-5 rows.
Dress and headband:
We leave the tip of the thread about 30 cm (at the end we will make a buttonhole)
We collect 34CH + 3CH lifting, from the 4th loop from the hook we knit:
1. 6DC, (İNC from 3DC)*5, 12DC, (İNC from 3DC)*5, 6DC, turn (54)
2.3CH, 54DC (54)
3. 1CH, 6’NC from SC, 4CH, skip 15 sts, 12’NC from SC, 4CH, skip
15 sts, 6’NC from SC (56)
4. 1CH, 56SC, turn
We connect knitting in a circle using a connecting post, turn
5. 3CH, 3DC in each loop. (168)
6-9. 3CH, 168DC,SL-ST. (168) (4 rows)
Change yarn to Alize Softy + and knit 168SC. We fasten the thread, cut and hide.
With the thread left at the beginning of knitting, we make a loop under the button.
We dial 8CH, skip 1 loop over the part and fasten it with a connecting post in the next loop. Sew on a button on the opposite side.
We attach the yarn Alize Softy + to the sleeves “flashlights” and make
tying with single crochets, only along the upper part.
Bandage:
1. Cast on 2CH, work 3SC in first st, turn (3)
2. CH, 3SC, turn (5)
3. CH, İNC, 1SC, İNC, turn (5)
4. CH, 5SC, turn (5)
5. CH, İNC, 3SC, İNC, turn (7)
6. CH, 7SC, turn (7)
7. CH, DEC, 3SC, DEC, turn (5)
8. CH, 5SC, turn (5)
9. CH, DEC, 1SC, DEC, turn (3)
10-75.CH, 3SC, turn (3) (66 rows is about 30cm)
76. CH, İNC, 1SC, İNC, turn (5)
77. CH, 5SC, turn (5)
78. CH, İNC, 3SC, İNC, turn (7)
79. CH, 7SC, turn (7)
80. CH, DEC, 3SC, DEC, turn (5)
81. CH, 5SC, turn (5)
82. CH, DEC, 1SC, DEC, turn (3)
We attach the Alize Softy + yarn and make the binding of only two “ears” of the bandage.
Decor:
1. Embroider with a thin black thread the eyebrows, the eyelash line and the vertical line from the nose to the end of the muzzle
2. Sew the head to the body.
3. We sew a button to the bandage (I have a snowflake button) and a button for the loop.
Your toy is ready
