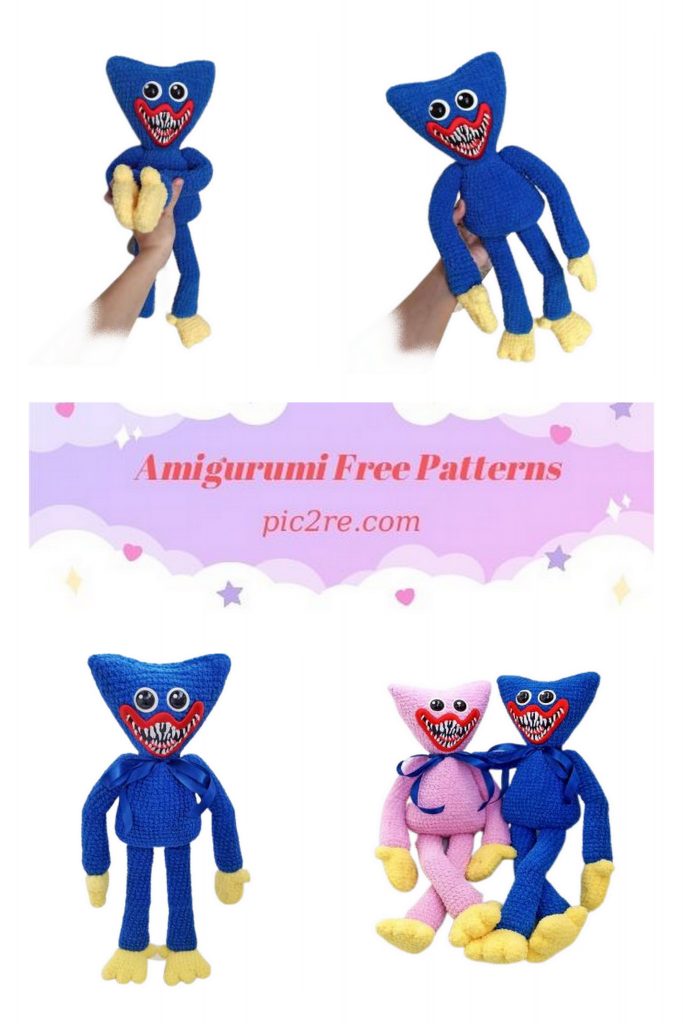
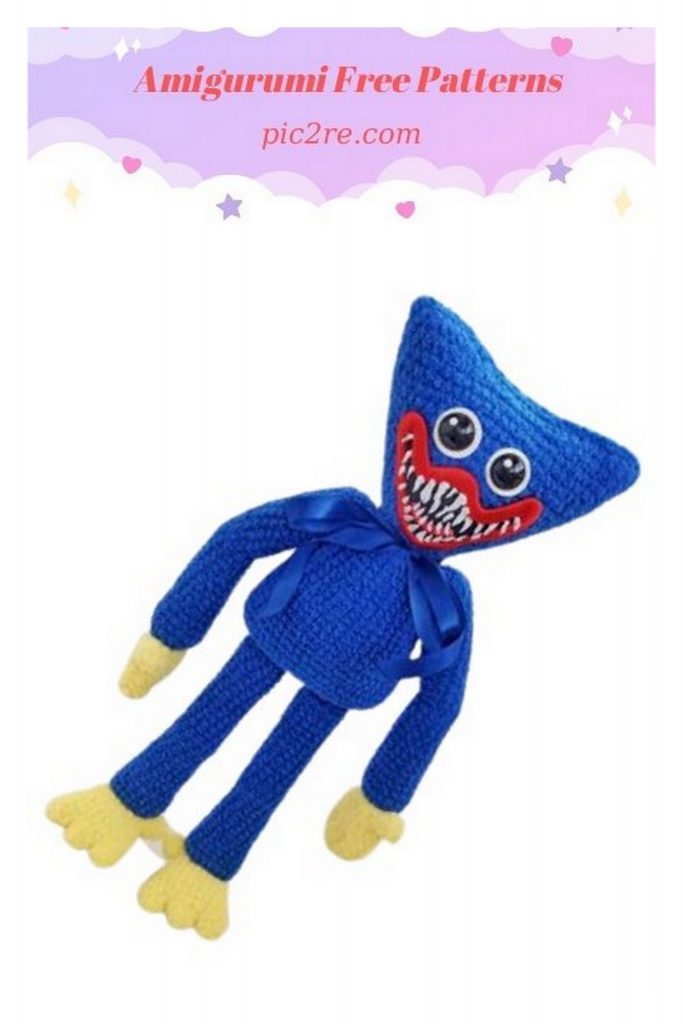
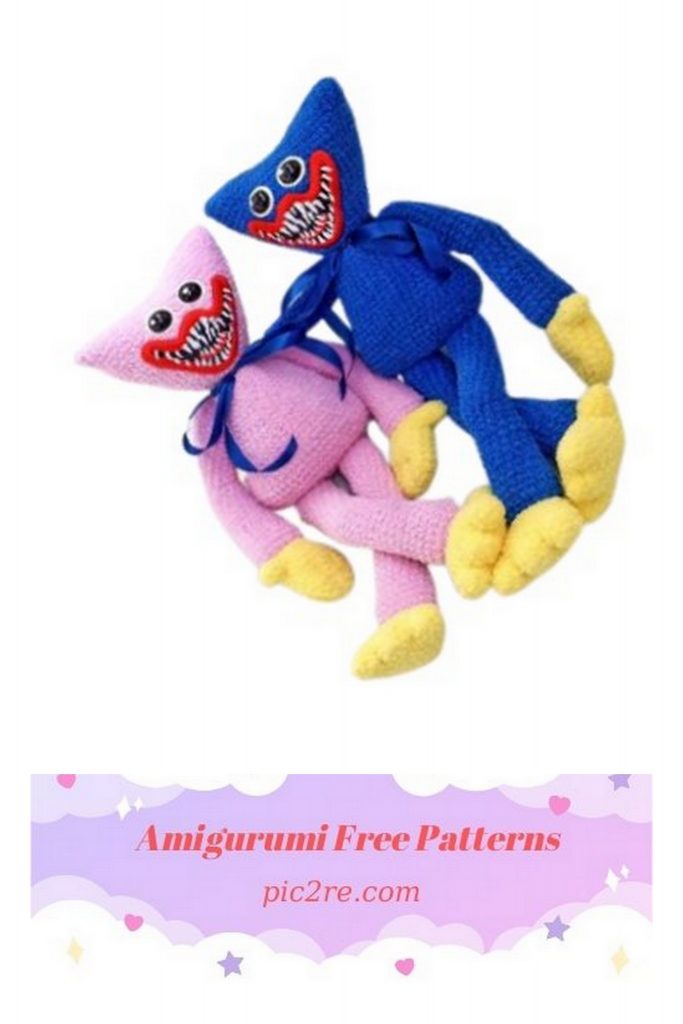
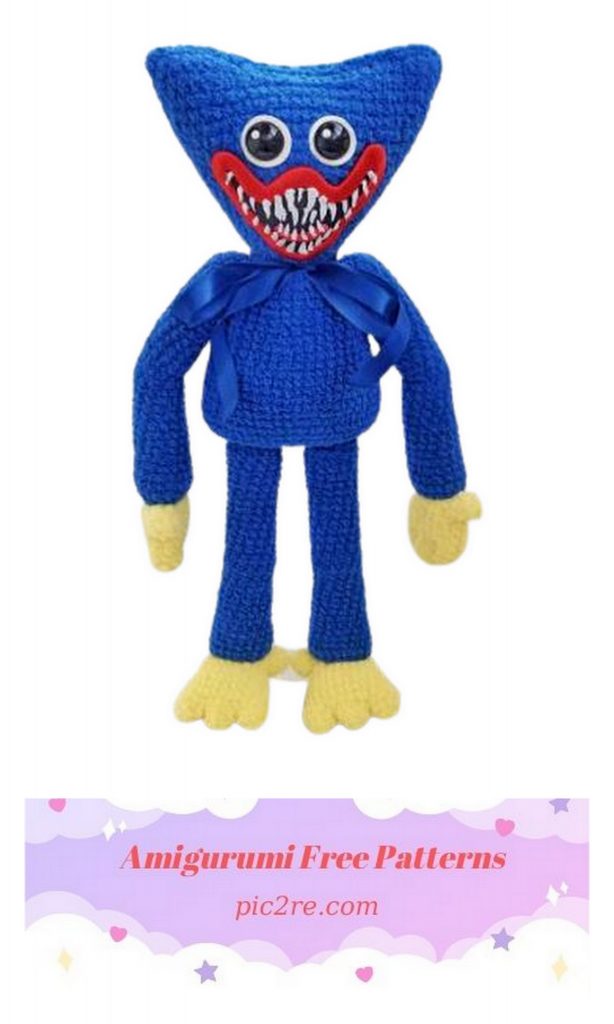
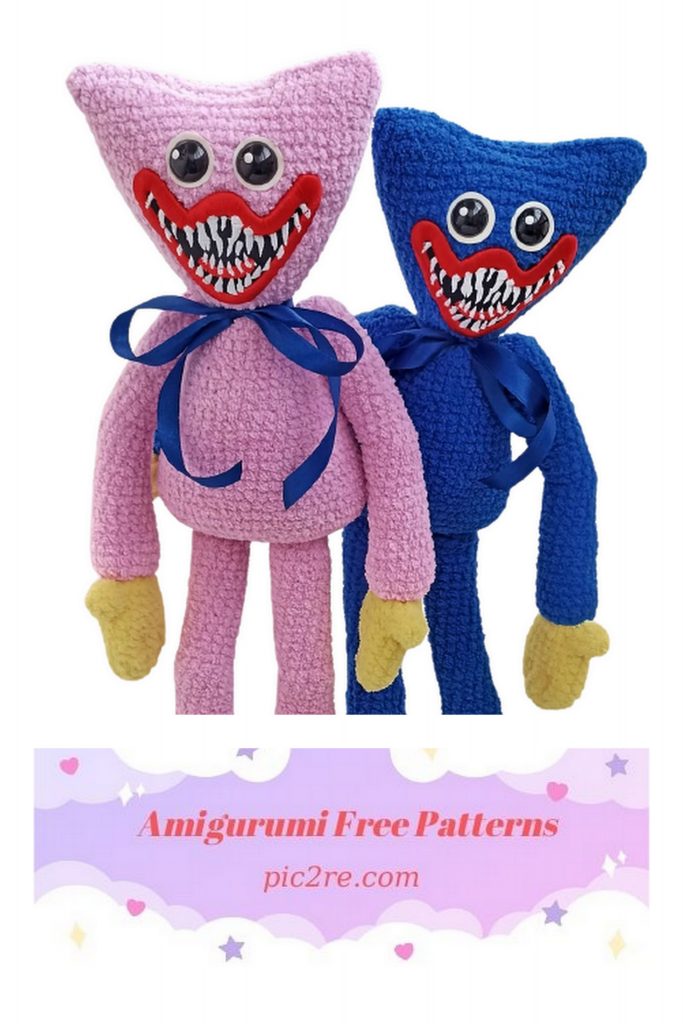
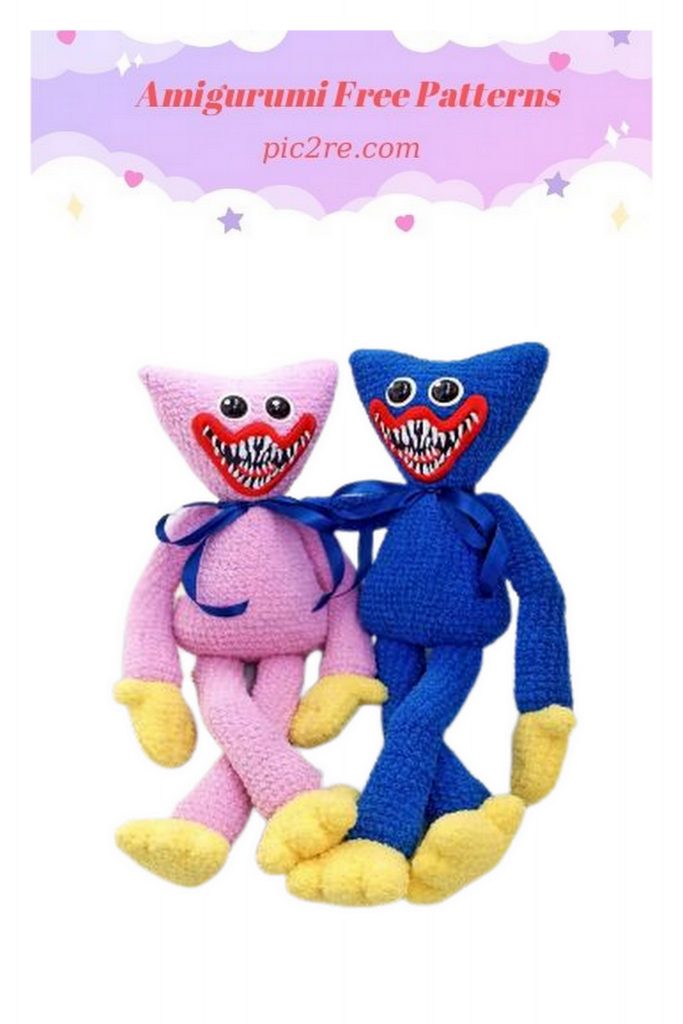
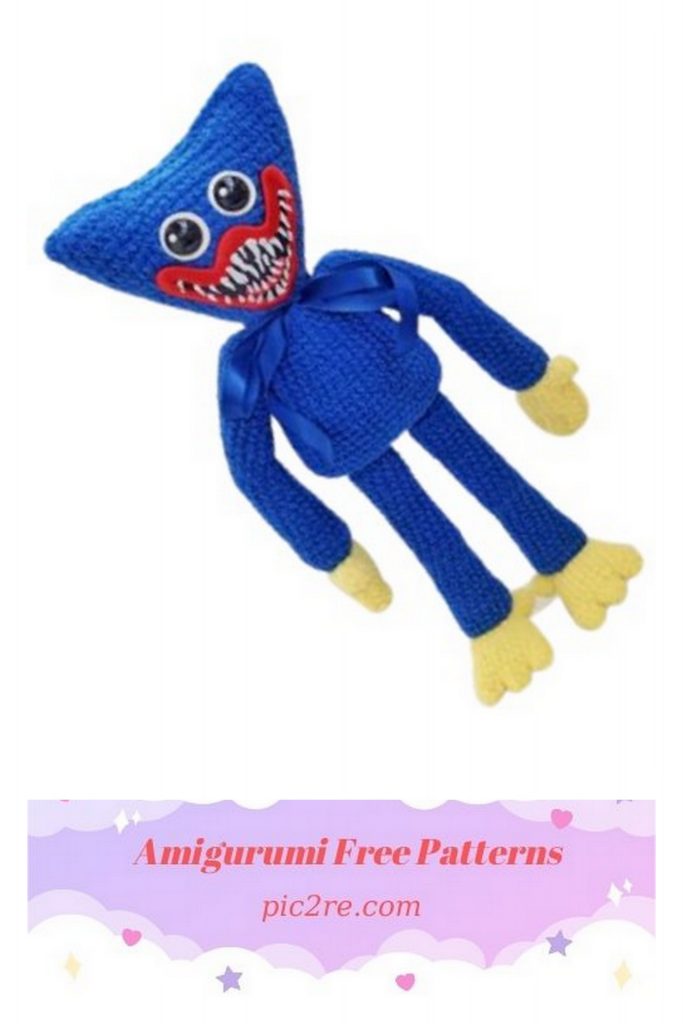
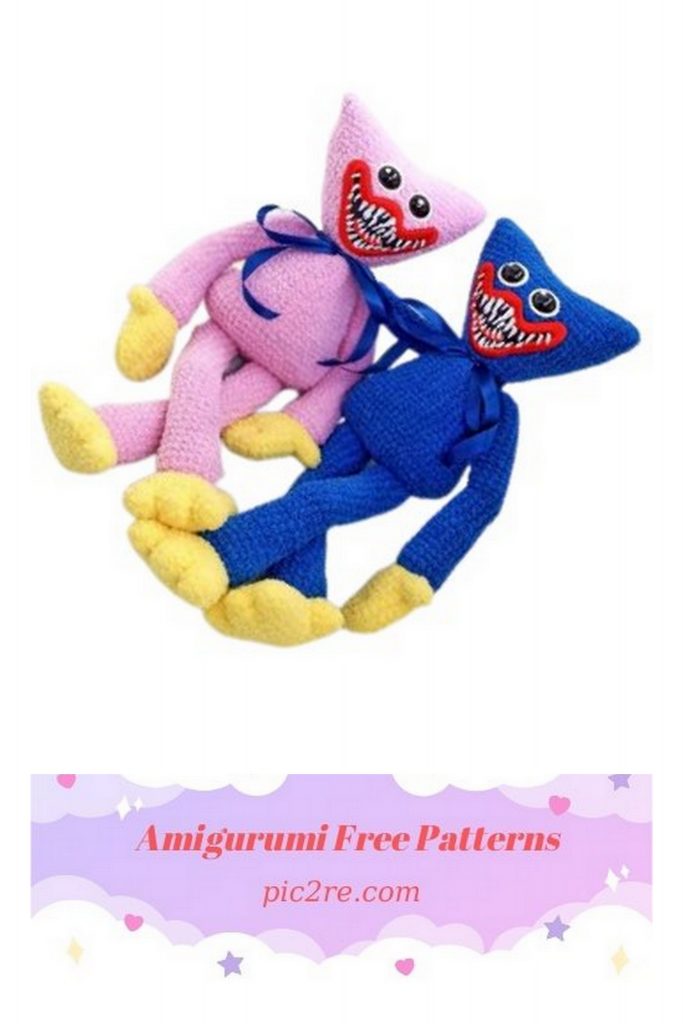
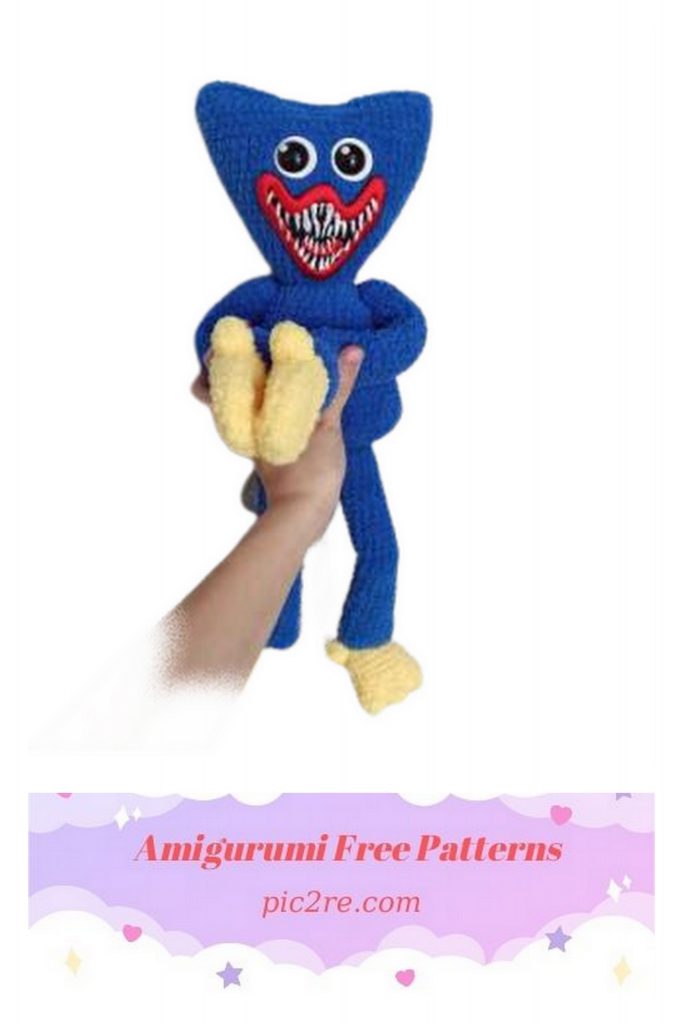
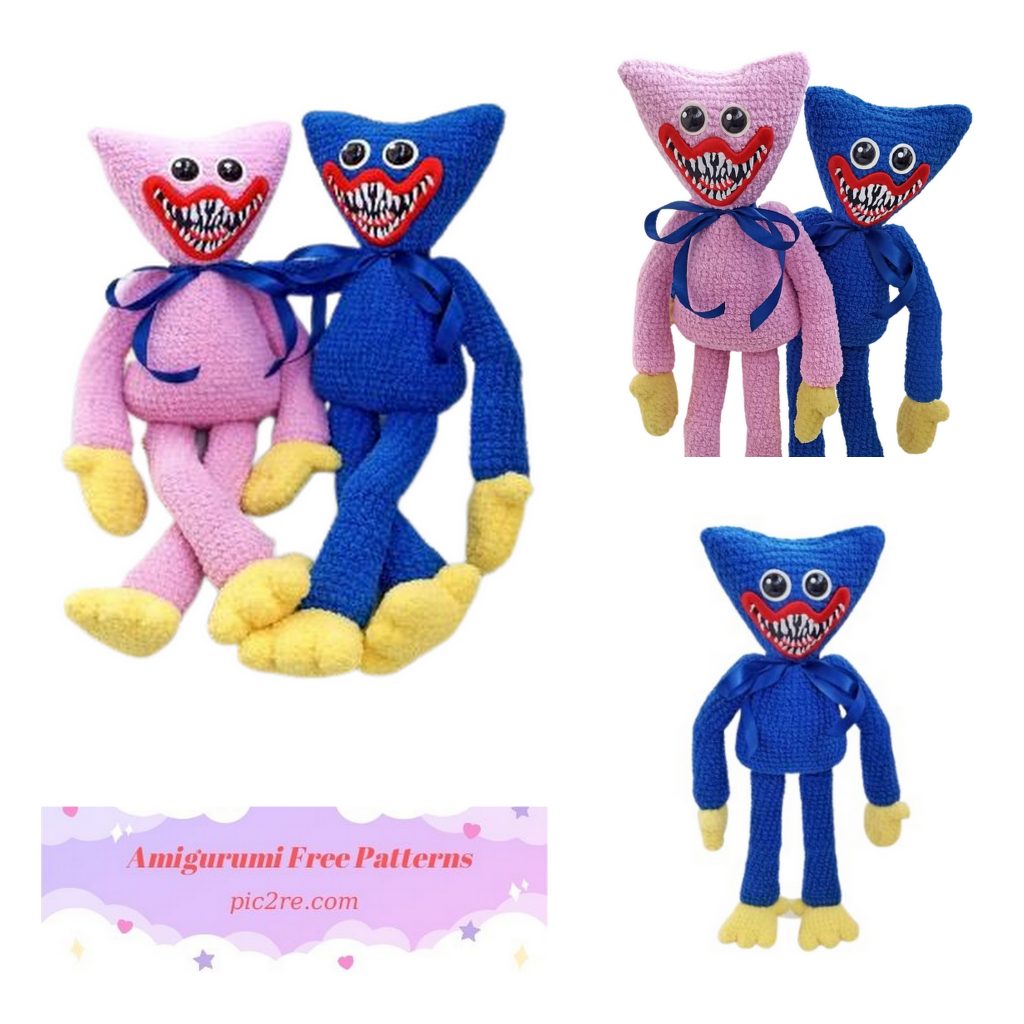
Amigurumi Huggy Waggie Free Pattern
We continue to share the most beautiful and free amigurumi patterns for you. You can visit our website for Amigurumi huggy waggie and more patterns.
“Huggy Waggie”
Necessary materials:
– Yarn Alize softy (50 g / 115 m) (can be replaced with Himalaya Baby soft).
color blue 141 for the body (Consumption 4.5 skeins);
color yellow 187 for feet and hands (consumption 1.5 skeins)
– hook No. 4.0;
hook No. 3.5 (for feet and hands);
eyes on a safe mount 20 mm;
polymer clay for the whites of the eyes (you can use white felt or foamiran);
– scissors;
Moment Crystal glue;
– sewing thread in the color of the yarn;
– holofiber.
ATTENTION!!!
I draw your attention to the fact that the appearance of the toy, as well as the size, depend on your skills, the chosen tool, yarn and knitting density.
When using the above materials, the size of the toy turned out to be ~ 44 cm.
We knit in a spiral, without lifting loops, with Alize softy yarn in 2 threads.
Legend:
mr – amigurumi ring;
ch – air loop;
sc – single crochet;
inc – increase (2 sc. knit in one loop);
dec – decrease (2 sc. knit together behind the front walls);
hdc – double crochet (double crochet and knit together in three loops);
sl-st – connecting column;
(…)*n times – repeat the action in parentheses the specified number of times;
(…) at the end of each row, the number of columns in the row is indicated.
BODY:
Yarn Alize softy (color blue 141), hook number 4.
Row 1: Cast on a chain of 9 ch, in the second loop from the hook, knit: inc, 6 sc, 4 sc in one loop, 6 sc, inc (20)
2nd row: 2 inc, 6 sc, 4 inc, 6 sc, 2 inc (28)
3rd row: (1 sc, inc)*2, 6 sc, (1 sc, inc)*4, 6 sc, (1 sc, inc)*2 (36)
4th row: (2 sc, inc)*2, 6 sc, (2 sc, inc)*4, 6 sc, (2 sc, inc)*2 (44)
5th row: (3 sc, inc)*2, (1 sc, inc)*3, (3 sc, inc)*4, (1 sc, inc)*3, (3 sc, inc)*2 (58)
6 – 8 row: 58 sc (3 rows)
9th row: (3 sc, dec)*2, 4 sc, inc, 4 sc, (3 sc, dec)*4, 4 sc, inc, 4 sc, (3 sc, dec)*2 (52)
10-12 row: 52 sc (3 rows)
13th row: (dec, 3 sc), 16 sc, (dec, 3 sc)*2, 16 sc, (dec, 3 sc) (48)
14 row: 48 sc (48)
15 row: (6 sc, dec) * 6 (42)
16-18 row: 42 sc (3 rows)
19 row: (5 sc, dec) * 6 (36)
20-21 row: 36 sc (2 rows)
22 row: (4 sc, dec) * 6 (30)
23-24 row: 30 sc (2 rows)
Stuff your body with holofiber
(we fill tightly, but not stone).
25 row: (3 sc, dec) * 6 (24)
26 row: 24 sc.
Cut the thread and hide the end.
HEAD:
Yarn Alize softy (color blue 141), hook number 4.
Make sure that the marker is strictly on the side of the head, so at the end of the row the number of offset stitches may vary!!!
1 row: Cast on a chain of 6 ch, in the second loop from the hook, knit: inc, 3 sc, 4 sc in one loop, 3 sc, inc (14)
2nd row: 2 inc, (1 sc, inc, 1 sc), 4 inc, (1 sc, inc, 1 sc), 2 inc (24)
3 row: 24 sc behind the back wall of the loop (24)
4 row: (inc, 11 sc) * 2 (26) + 1 p. Offset
5 row: (inc, 12 sc) * 2 (28) + 1 p. Offset
6 row: (inc, 13 sc) * 2 (30) + 1 offset p.
7 row: (inc, 14 sc) * 2 (32)
8 row: (inc, 15 sc) * 2 (34) + 1 offset p.
9 row: (inc, 16 sc) * 2 (36)
10 row: (8 sc, inc) * 4 (40)
11 row: (9 sc, inc) * 4 (44)
12 row: (10 sc, inc) * 4 (48) + 2 p. Offset
13 row: (11 sc, inc) * 4 (52)
14 row: (inc, 25 sc) * 2 (54)
15 row: (inc, 26 sc) * 2 (56)
16 row: (inc, 27 sc) * 2 (58) + 1 p. Offset
17-20 row: 58 sc (4 rows)
We insert the eyes at a distance of 6-7 columns between the 16th and 17th rows.
For the whites of the eyes, I baked polymer clay and made circles of 25 mm. You can also cut out circles with a diameter of 25 mm from white felt or foamiran. In the middle, do not forget to make a hole for the leg of the eye.
I glued the eye to the white of the eye with Moment Crystal glue. And I also glued ready-made eyes to the knitted fabric of the head.
Stuff your head with holofiber (we fill it tightly, but not stoney).
Important!!! So that the marker after the 20th row is exactly in the middle on the side, in order to symmetrically connect the 2 halves of the head.
21 row: 9 hdc, 11 sl-st, 18 hdc, 11 sl-st, 9 hdc (58)
22 row: 9 hdc, 11 sc in the back wall of the loop, 18 hdc, 11 sc in the back wall of the loop, 9 hdc (58)
Next, we connect the 2 halves of the head, we knit very tightly. We hook on both walls of the loop of the 1st column of the 22nd row and the last column of the 22nd row as follows:
23 row: 9 sc, 11 sl-st, 9 sc (29)
Cut the thread and hide the end.
LEGS (2 DETAILS):
Yarn Alize softy (color blue 141), hook number 4.
1 row: 7 sc in MR (7)
2nd row: 7 inc (14)
3-16 row: 14 sc (14) -14 rows
17-18 row: 7 sl-st, 7 hdc (14) – 2 rows
19-22 row: 14 sc (14) – 4 rows + 1 offset p.
23 row: (inc, 6 sc) * 2 (16)
24-27 row: 16 sc (16) – 4 rows + 1 offset p.
28 row: (inc, 7 sc) * 2 (18)
29 row: 18 sc (18)
30 row: (5 sc, inc) * 3 (21)
31-32 row: 21 sc (21) – 2 rows + 4 offset stitches
Stuff your legs with holofiber as you knit, not tightly, especially around the knees, so that the legs bend easily.
Cut the thread and hide the end.
HANDS (2 DETAILS):
Yarn Alize softy (color blue 141), hook number 4.
We knit according to the pattern of the legs, but we skip only the 17th row.
Stuff your hands with holofiber as you knit, not tightly, especially in the elbow area, so that the handles bend easily.
HANDS (2 DETAILS):
Yarn Alize softy (color yellow 187), hook No. 3.5.
First we knit 2 parts of the brush:
1 row: 6 sc in MR (6)
2nd row: 6 inc (12)
3 row: (1 sc, inc) * 6 (18)
4-9 row: 18 sc (18) – 6 rows
We fix the thread, cut the thread
Next, we knit a finger:
1 row: 5 sc in MR (5)
2 row: (1 sc, inc)*2, 1 sc (7)
3 row: 7 sc (7) + 3 sc
We do not cut the thread. We turn the finger in the opposite direction and attach it to the hand, knitting the loops of the finger and hand together.
4 row: 3 sc we knit together a finger and a brush, (7 sc, dec, 6 sc) – along the brush, 4 sc along the remaining loops of the finger (18)
5 row: 14 hdc on the brush, 4 sl-st on the finger (18)
6 row: (1 sc, dec) * 6 (12)
7 row: 6 dec (6)
We do not stuff tightly. Cut the thread, hide the thread
We sew imitation fingers with yellow threads.
FEET (2 DETAILS):
Yarn Alize softy (color yellow 187), hook No. 3.5.
First we knit fingers 3 pieces:
1 row: 5 sc in MR (5)
2 row: (1 sc, inc) * 2, inc (8),
On 2 fingers we fix the thread, cut it off
We do not cut the thread on the 3rd finger and continue to knit, connecting the fingers into one part of the foot:
3rd row: 4 sc on the 3rd finger, 4 sc on the 2nd finger, 8 sc on the 1st finger, 4 sc on the 2nd finger, 4 sc on the 3rd finger (24)
We put a marker
4-8 row: 24 sc (5 rows)
9 row: (4 sc, dec) * 4 (20) We fix the thread, cut it.
Next, we knit the 4th side finger:
1 row: 6 sc in MR (6)
2 row: (1 sc, inc) * 3 (9)
3 row: 9 sc (9)
We do not cut the thread. We unfold the finger, knit in the opposite direction and attach to the foot of the foot, knitting the loops of the finger and foot together.
4 row: 3 sc knit together the finger and foot, (8 hdc, inc from hdc, 8 hdc) – on the foot, 6 sc on the remaining loops of the finger (24)
We put a marker.
5 row: (2 sc, dec) * 6 (18)
6 row: (1 sc, dec) * 6 (12)
7 row: 6 dec (6)
We do not stuff tightly. We cut the thread, hide the thread.
ASSEMBLY:
• We take a thread to match the yarn and a sewing needle: We sew the hands to the handles, the feet to the legs.
Sew the head (for the loops of the 3rd row) to the body.
Sew the handles to the body, going down 2 rows
We sew the legs (for the loops of the 2nd row) to the body.
• For the design of the mouth, you can use foamiran, felt and do your own embroidery of the jaw. But then the appearance of the toy will be significantly different from my version. I used machine embroidery of the mouth, it seems more realistic to me. And the kids will definitely love it!
• You can tie a blue satin ribbon 1-1.5 cm wide around your neck.
Congratulations!!! Your Huggy Waggi is ready!
I wish you creative success!
