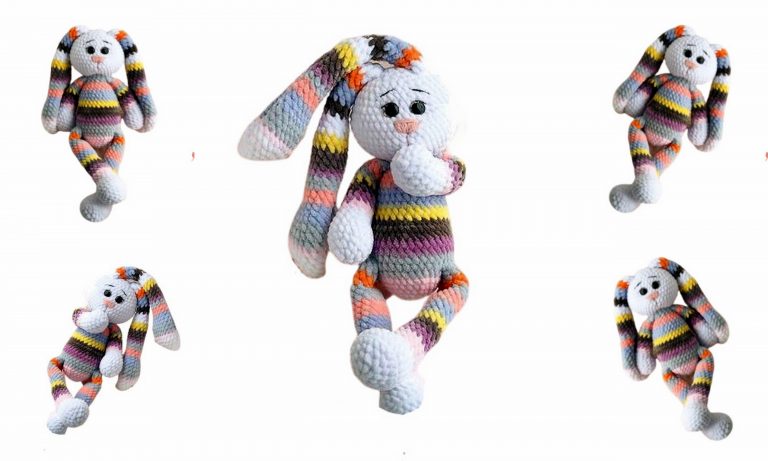
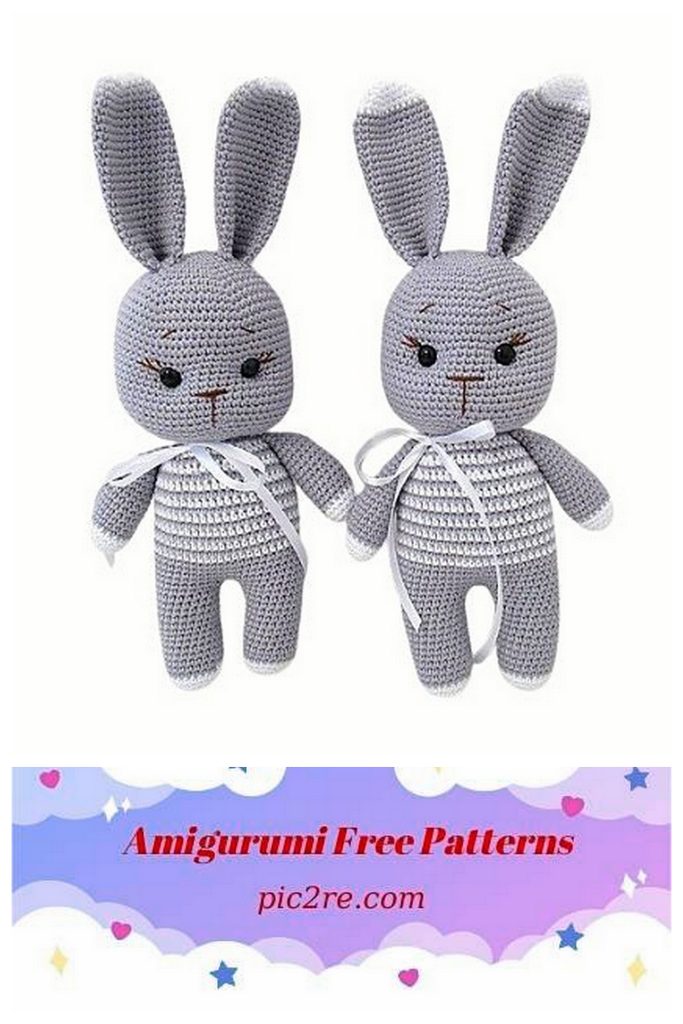
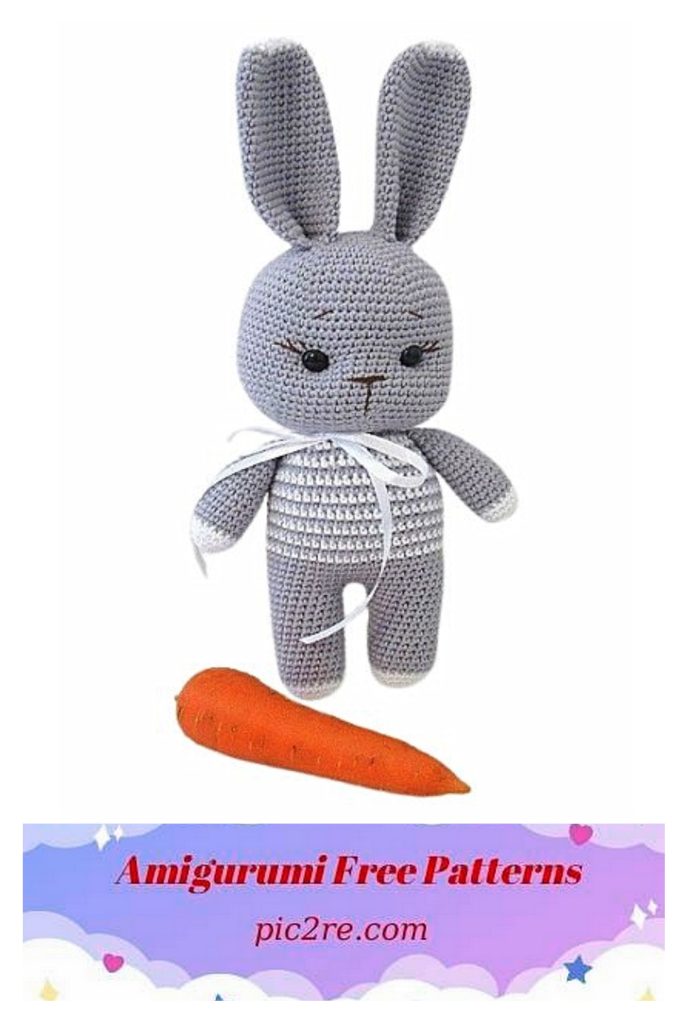
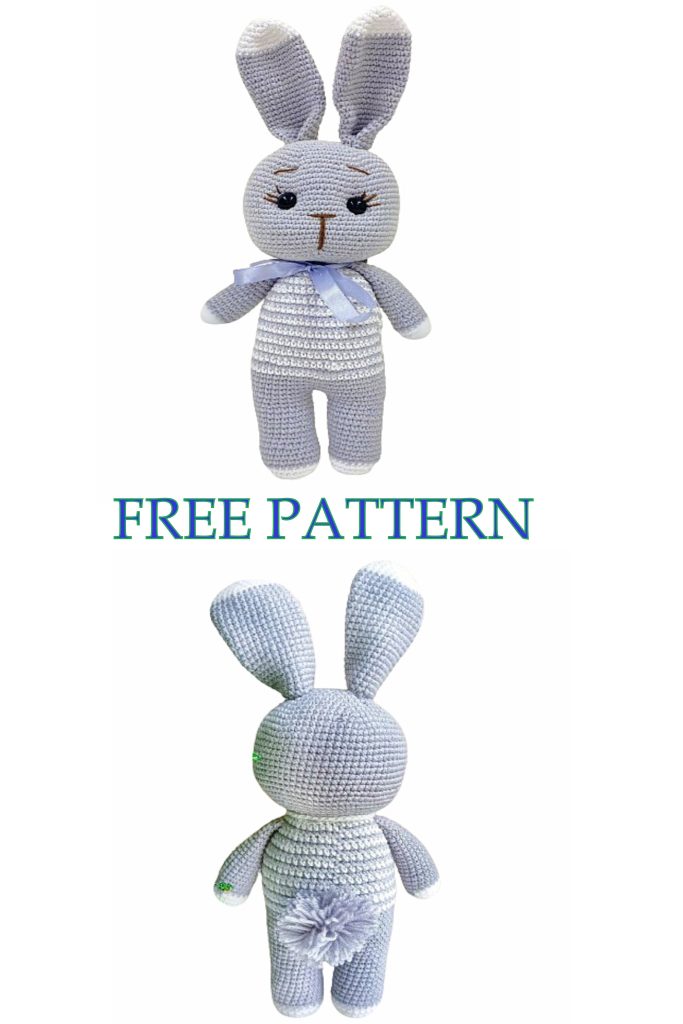
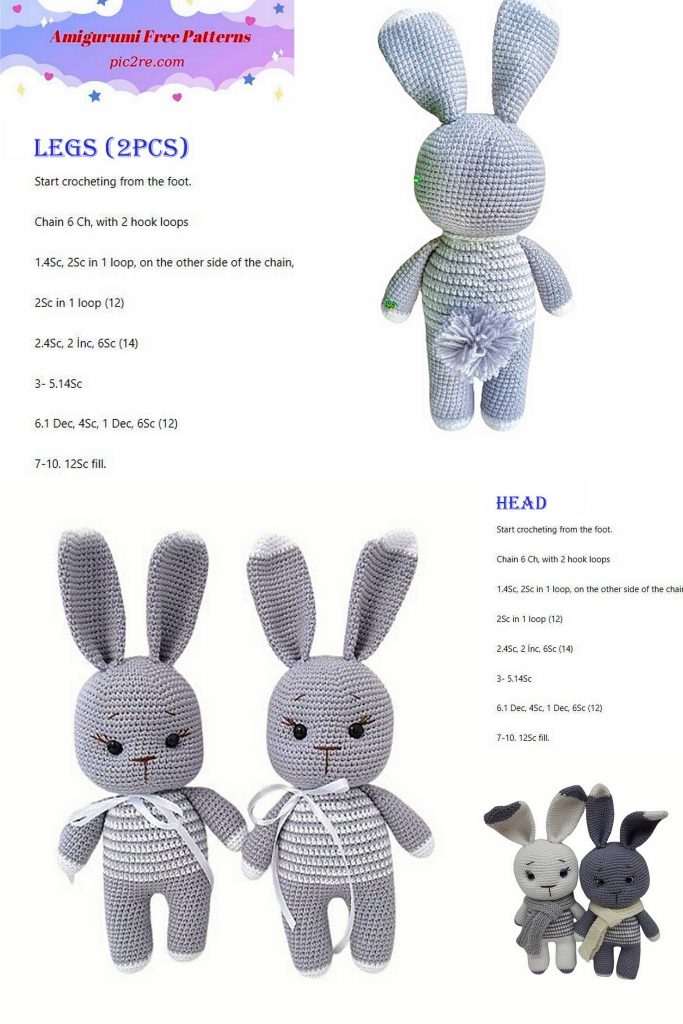
Crochet Striped bunny Free Pattern
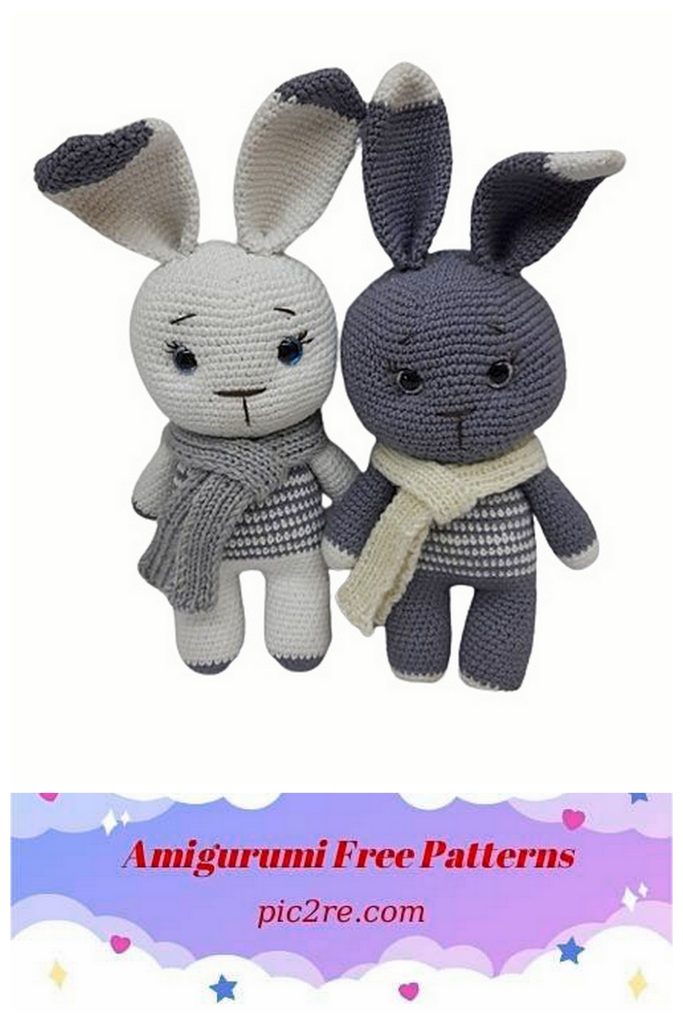
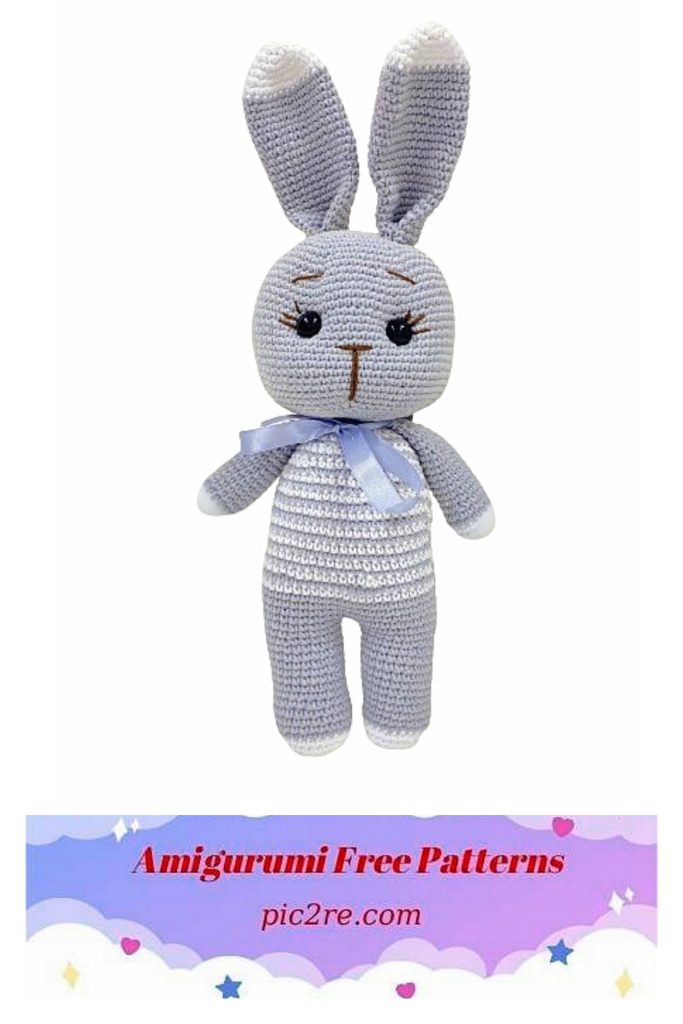
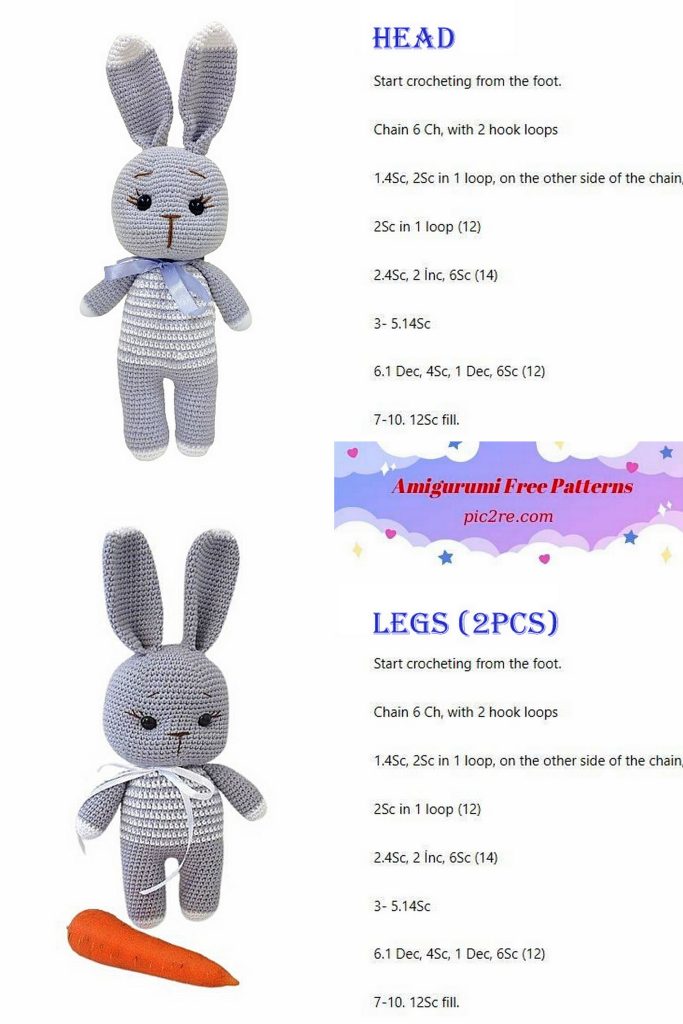
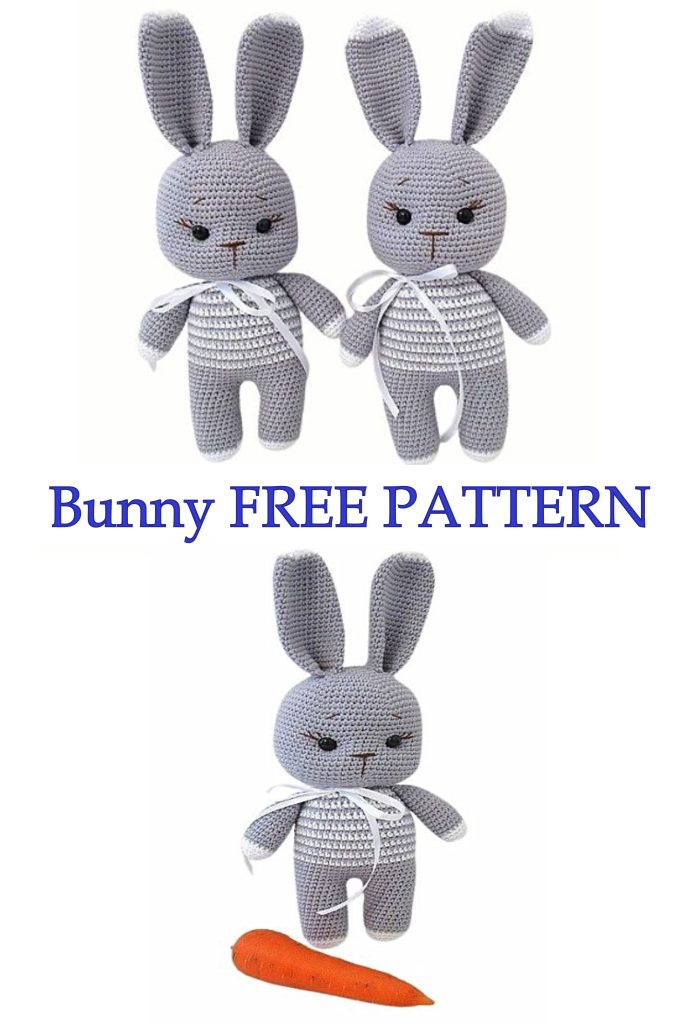
If you’re looking for a beginner knitting project, this free striped rabbit knitting pattern is for you! This cute bunny pattern is a great option for beginners and experienced knitters alike. Decorated with colorful stripes, this sweet bunny would make a great toy or decorative item that will liven up any baby’s room or nursery.
This original design comes with a detailed set of instructions that clearly explains each step and covers basic knitting techniques. You can also feel creative and personalize the colors or patterns.
Required materials and tools:
- Yarn Alize Cotton Gold / YarnArt Jeans / Alize Cotton Gold Hobby / Gazzal Baby Cotton: in 50 g -165 / 170 m.
- Thread for embroidery of the nose, eyelashes, eyebrows (I have Alize Forever simli).
- Hook – 1.75 / 2 mm.
- Eyes – 12 mm.
- Ribbon for decoration – 25 cm.
- Filler.
- Needle, scissors, marker.
Leg (2 pcs.)
White color
1. İNTO MAGİC RİNG 2 ch + 6 sc = 6 sc.
2.6 inc = 12 sc.
3. (1 sc + inc) * 6 = 18 sc.
4. (2 sc + inc) * 6 = 24 sc.
5.24 sc.
grey colour
6-17. 24 sc. (12 rows)
- we tie sc in a row so that the “clove” transition from white to gray is flush with the loop
- cut the thread on the first leg, not on the second
Body
connect the legs:
18.2 sts, attach the second leg and knit sc in a circle = about 54 sc: 24 sc one leg at a time, 3 sc between the legs (so that there are no holes, we knit not 2 sc out of 2 ch, but one more on the side), 24 sc along the second leg, 3 sc between the legs.
19-23. 54 sc. (5 rows)
fill the legs with holofiber
white color_1
24.54 sc.
grey colour
25.54 sc.
white color_2
26.54 sc.
grey colour
27.54 sc.
white color_3
28.54 sc.
grey colour
29.54 sc.
white_4
30.54 sc.
grey colour
31.54 sc.
white color_5
32.54 sc.
grey colour
33.54 sc.
white color_6
34.54 sc.
grey colour
35.54 sc.
white_7
36.54 sc.
grey colour
37. (7 sc + dec) * 6 = 48 sc.
White color
38.48 sc.
grey colour
39. (6 sc + dec) * 6 = 42 sc.
White color
40.42 sc.
grey colour
41. (5 sc + dec) * 6 = 36 sc.
42. (4 sc + dec) * 6 = 30 sc.
43. (3 sc + dec) * 6 = 24 sc.
1 ch, cut the thread, fill the body with holofiber
A pen
White color
1. İNTO MAGİC RİNG 2 ch + 6 sc = 6 sc.
2.6 inc = 12 sc.
3. (1 sc + inc) * 6 = 18 sc.
4-5. 18 sc.
grey colour
6-19. 18 sc. (14 rows)
20. (1 sc + dec) * 6 = 12 sc.
21-23. 12 sc (3 rows).
fill with holofiber not to the end
fold in half, tie together with single crochet
Head
1. İNTO MAGİC RİNG 2 ch + 6 sc = 6 sc.
2.6 inc = 12 sc.
3. (1 sc + inc) * 6 = 18 sc.
4. (2 sc + inc) * 6 = 24 sc.
5. (3 sc + inc) * 6 = 30 sc.
6. (4 sc + inc) * 6 = 36 sc.
7. (5 sc + inc) * 6 = 42 sc.
8. (6 sc + inc) * 6 = 48 sc.
9. (7 sc + inc) * 6 = 54 sc.
10. (8 sc + inc) * 6 = 60 sc.
11. (9 sc + inc) * 6 = 66 sc.
12. (10 sc + inc) * 6 = 72 sc.
13 – 26.72 sc. (14 rows)
insert eyes (12 mm) between 18 and 19 row at a distance of 9 or 10 visible columns
27. (10 sc + dec) * 6 = 66 sc.
28. (9 sc + dec) * 6 = 60 sc.
29. (8 sc + dec) * 6 = 54 sc.
30. (7 sc + dec) * 6 = 48 sc.
31. (6 sc + dec) * 6 = 42 sc.
32. (5 sc + dec) * 6 = 36 sc.
33. (4 sc + dec) * 6 = 30 sc.
34. (3 sc + dec) * 6 = 24 sc.
35-36. 24 sc (2 rows).
! We do cheek tightening, otherwise the head will look too big!
Eyelet (2 pcs.)
White color
1. İNTO MAGİC RİNG 2 ch + 4 sc = 4 sc.
2.4 inc = 8 sc.
3. (1 sc + inc) * 4 = 12 sc.
4. (2 sc + inc) * 4 = 16 sc.
5. (3 sc + inc) * 4 = 20 sc.
6. (4 sc + inc) * 4 = 24 sc.
7. (5 sc + inc) * 4 = 28 sc.
grey colour
8-27. 28 sc. (20 rows),
finish the eyelet so that the color transition, “clove”, is on the side of the ear;
fold in half, tie both halves together with single crochet;
fold the eyelet in half again, sew the halves with a needle;
we sew an eyelet between 5 and 6 near the center of the head (it is possible between 4 and 5 row) in a circle
We embroider the face
Tail
1. In the ring 2 ch + 6 sc.
2.6 inc = 12 sc.
3. (1 sc + inc) * 6 = 18 sc.
4. (2 sc + inc) * 6 = 24 sc.
5-6. 24 sc.
sew, fill, sew.
decorate the bunny with a ribbon
enjoy the result!
