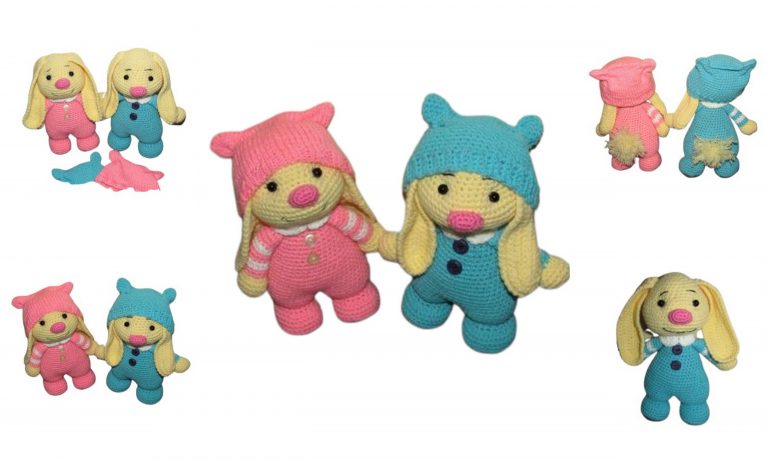
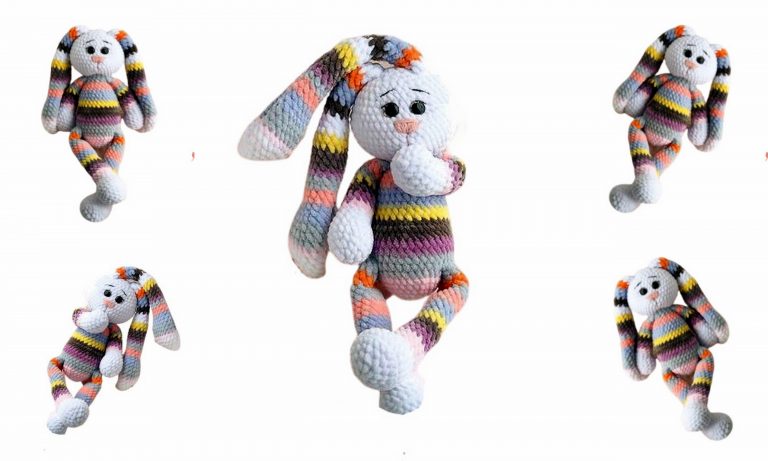
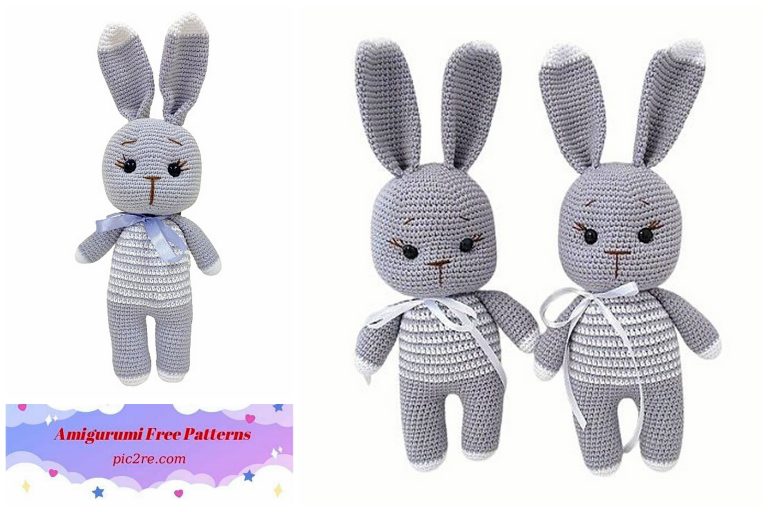
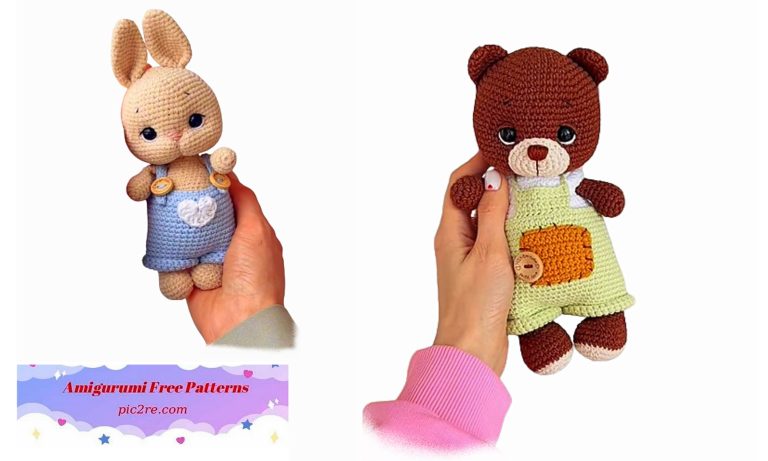
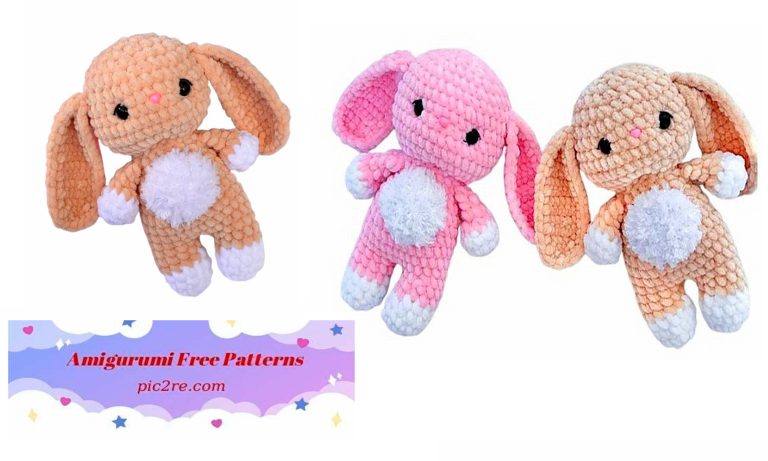
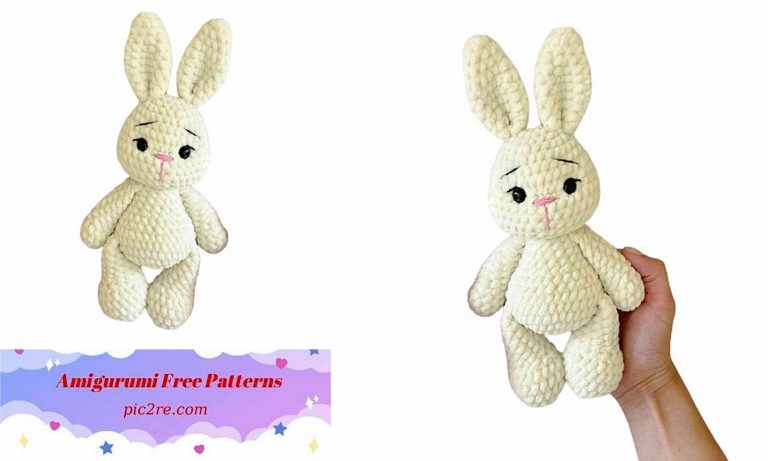
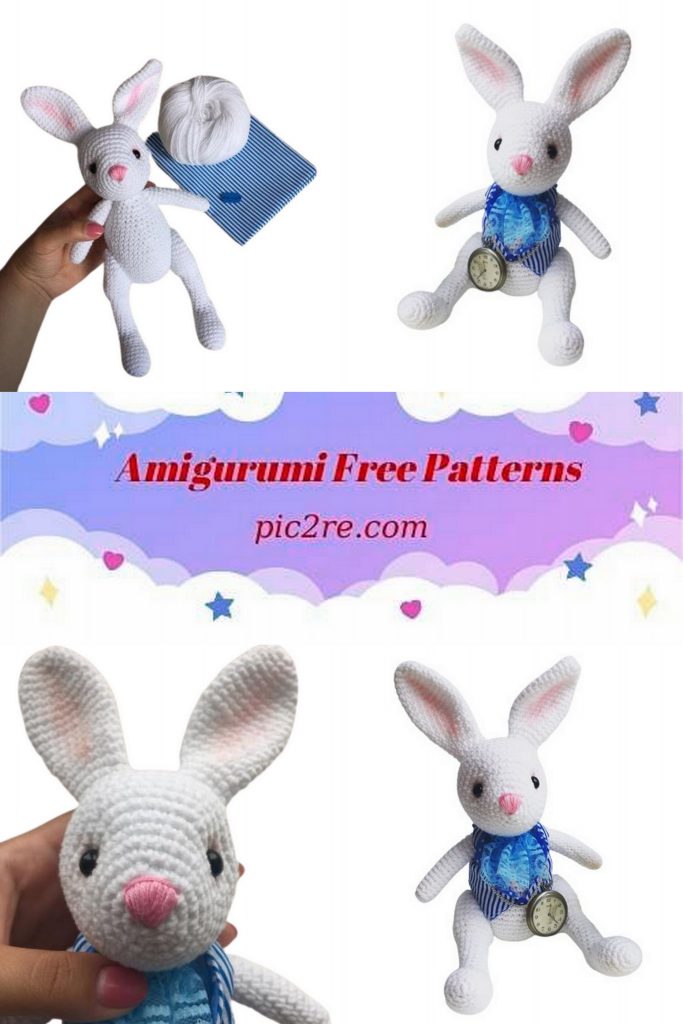
Amigurumi Cute Rabbit Free Pattern
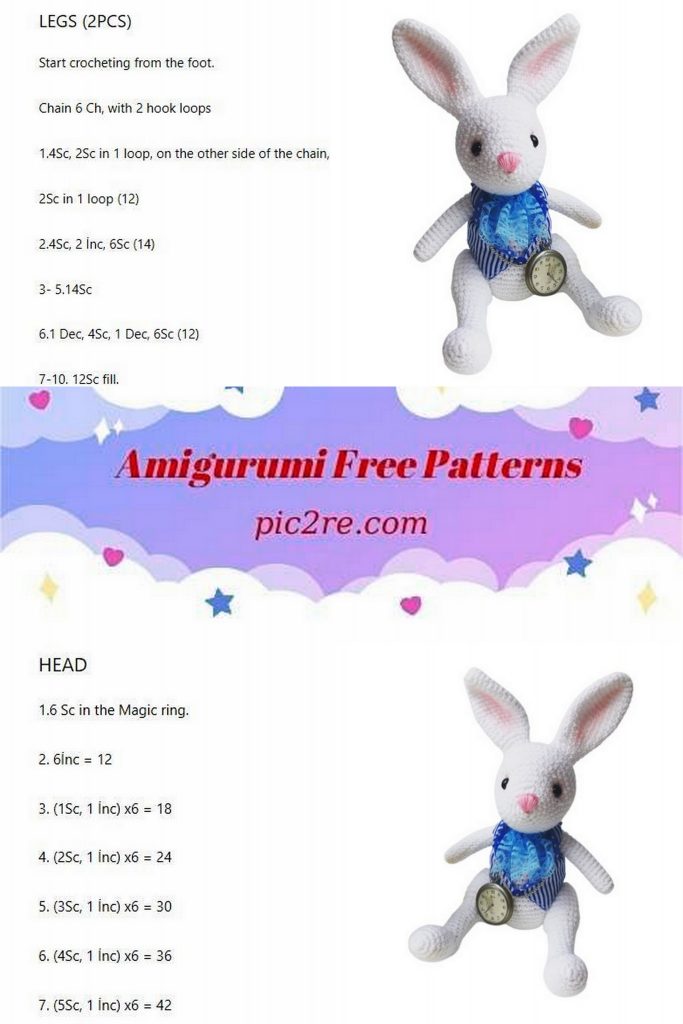
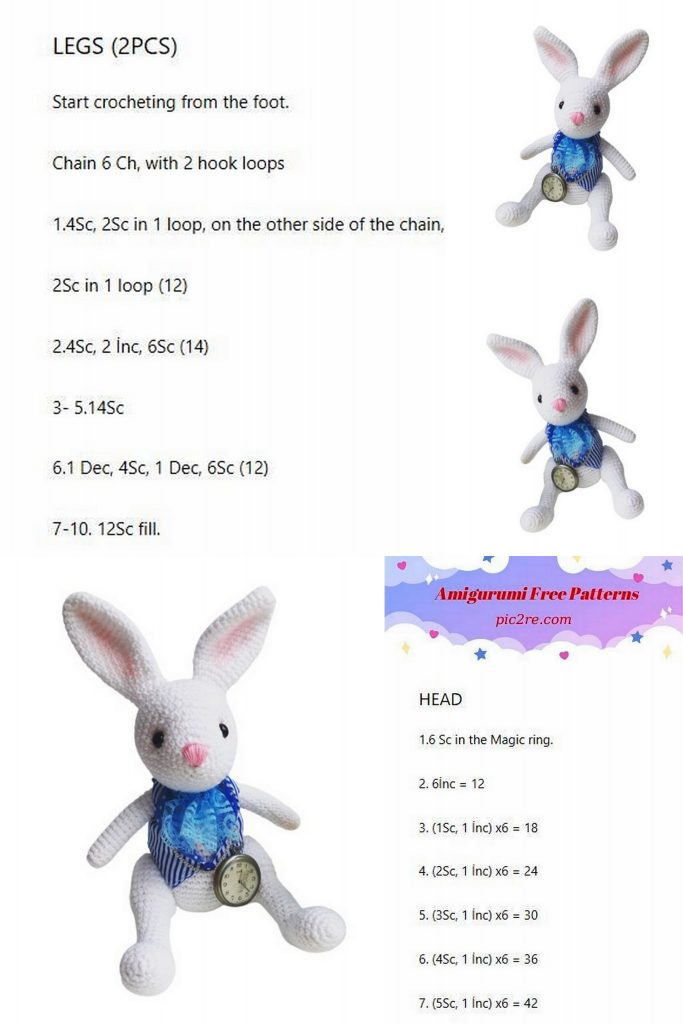
Rabbit (Alice in Wonderland)
NOTE
Work in continuous spiral rows, do not join at the end of the row with connecting posts and do not turn the work unless indicated.
At the beginning of the row, use a marker or thread of a different color to help mark the first loop of each new row.
Fill the toy with filler more tightly so that it does not lose its shape
Necessary materials
YarnArt JEANS, color 001 (white)
Pale pink floss thread for embroidering the spout
Filler (synthetic winterizer, holofiber, etc.)
Hook number 2
Button for decoration; 2 buttons with a diameter of 20mm for fastening the legs
Stitching needle
Cotton fabric (cut 25*25)
Dry pastel (soft pink pencil or blush)
Safety eyes 8mm
Decorative ribbon 0.5 cm wide, 15 cm long
Guipure tape 5 cm wide, 10-12 cm long
When using this yarn, the size of the toy is 20cm without ears, 25 with ears
Abbrevations
ch.-chain
sc-single crochet
sl-st-slip stitch
dec-decrease
inc-increase
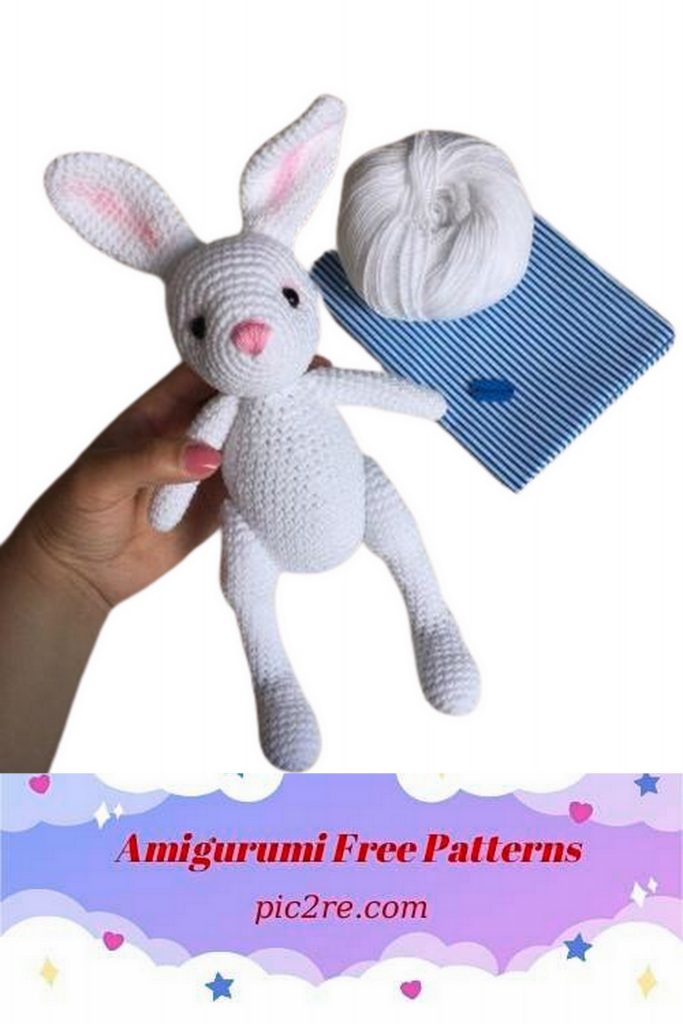
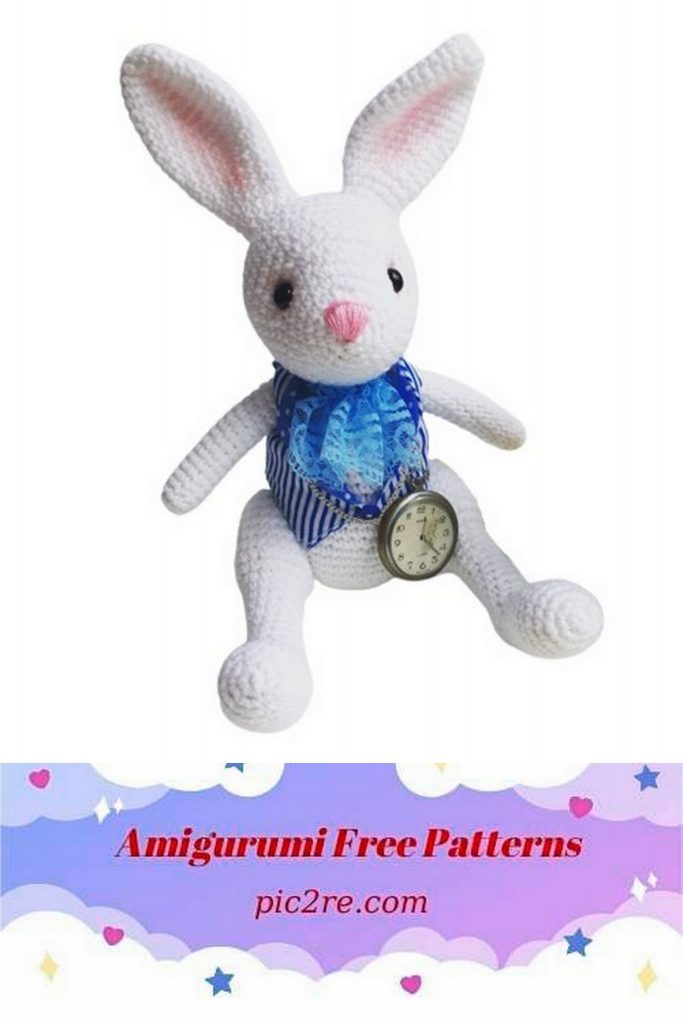
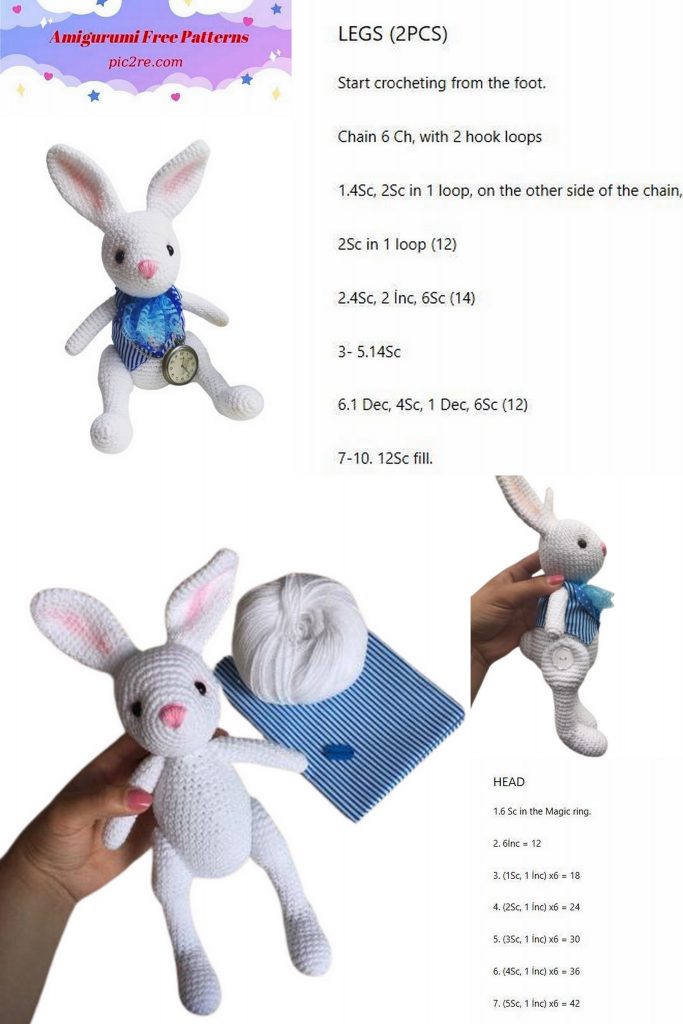
Head
1. 6sc in amigurumi ring
2. İnc in each loop (12)
3. (1sc, inc) * 6 times (18)
4. (2sc,inc)* 6 times (24)
5.24 sc
6. (3 sc, inc) * 6 times (30)
7.30sc
8. (4 sc, inc) * 6 times (36)
9.36sc
10. (5 sc, inc) * 6 times (42)
11.42sc
12. (6 sc, inc) * 6 times (48)
13.-15 48sc
Next, we place the safe eyes between the 9th and 10th rows at a distance of 15sc (counting from the 9th row).
!Preliminarily, the location of the eyes must be treated with dry pastel (rouge or an ordinary soft pink pencil).
16. (6 sc, dec) * 6 times (42)
17.42 sc
18. (5 sc, dec) * 6 times (36)
19.36 sc
We begin to fill the head. Pay special attention to the eye area.
20. (4 sc, dec) * 6 times (30)
21. (3 sc, dec) * 6 times (24)
22.24 sc
Filling the head to the end
23. (2 sc, dec) * 6 times (18)
24.(1sc,dec)* 6 times (12)
25.dec*6 times (6)
Pull the hinges, close the hole.
Cut the thread, hide the end inside the head.
!DO NOT forget to make a tightening in the eye area.
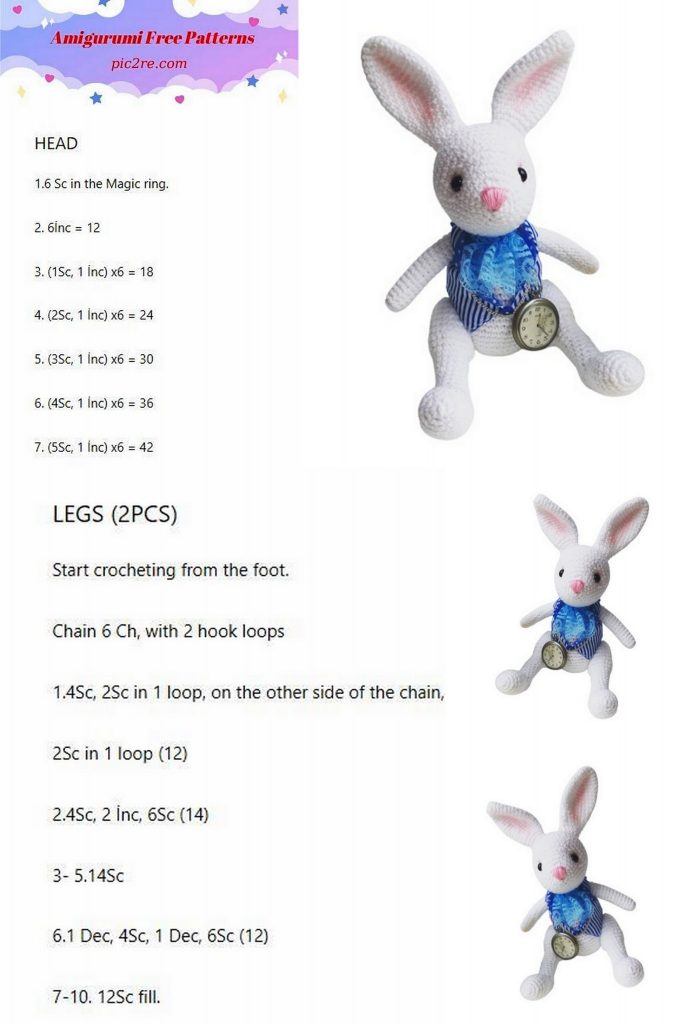
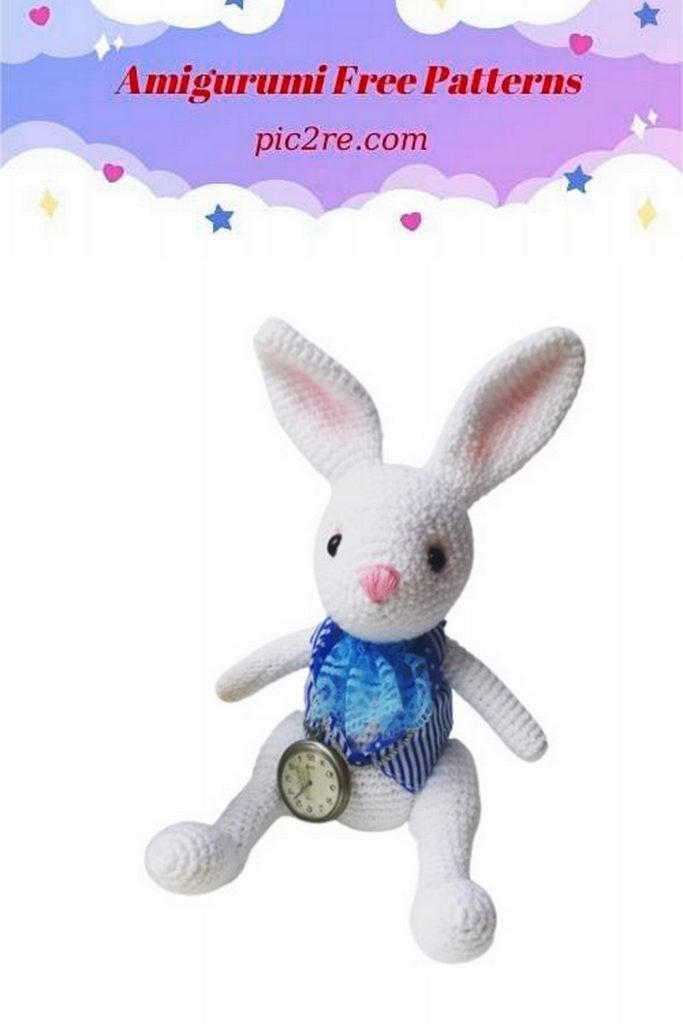
Ears 2 parts
! DO NOT fill
1. 6 sc in amigurumi ring
2. İnc in each loop (12)
3. (3sc, inc)*3 times (15)
4.15sc
5. (4sc,inc)* 3 times (18)
6. -7 row 18 sc
8 (5 sc, inc)* 3 times (21)
9.-11 row 21 sc
12. (5 sc, dec)* 3 times (18)
13-14 row 18 sc
15 (4sc,dec)* 3 times (15)
16-17 row 15sc
18. (3sc, dec)*3 times (12)
19-20 12sc
Do not fold ears!
We make a muzzle.
We embroider a spout with floss thread.
Sew the ears at a distance of 3 sc to the 16-17th row. We tint the middle of the ears with pink pastel (pencil, blush).
Body
1. 6sc in amigurumi ring
2. İnc in every heat (12)
3. (1sc, inc)*6 times (18)
4. (2sc, inc)*6 times (24)
5. (3sc, inc)*6 times (30)
6. (4sc, inc)*6 times (36)
7. (5sc, inc)*6 times (42)
8. (6sc, inc)*6 times (48)
9. -15 row 48sc
16. ( 6sc, dec) * 6 times (42)
17-18 row 42sc
19. ( 5sc, dec) * 6 times (36)
20-21. 36 sc
22. ( 4sc, dec) * 6 times (30)
23-25 row 30 sc
26. ( 3sc, dec)*6 times (24)
27.24 sc
28. ( 2sc, dec) * 6 times (18)
29-30 row 18 sc
We cut the thread, leaving the end for sewing. We fill the body tightly!
We sew the body to the head between 12-18 rows.
Handles 2 parts
1. 5 sc in amigurumi ring
2. İnc in each loop (10)
3. -18 row 10 sc
19.6 Dec
Pull the hinges, close the hole.
Cut the thread, hide the end inside the handle.
In fastening of handles thread fastening is used. Sew between
27-28 side by side.
Legs 2 parts
1. 6 sc in amigurumi ring
2. İnc in each (12)
3. (1sc, inc)* 6 times (18)
4-8. 18sc
9.(4 sc, dec)*3 times (15)
10-11. 15sc
12.(3 sc,dec)*3 times (12)
13. 6 sc, ch, turn 6 sc, 7th knit SL-ST in row 12, ch, turn
14. 7sc, , 8th knit SL-ST in the 12th row, ch, turn
15. 8 sc, 9th knit SL-ST in the 12th row, ch, turn
16. 9sc, 3 sc from row 12
17-22 row 12 sc
23. (3 sc, inc)*3 times (15)
24-26. 15 sc
27. (4sc, inc)*3 times (18)
28. (2sc, inc)*6 times (24)
29. (3 sc, inc) * 6 times (30)
30 – 35.30 sc
36. (3 sc, dec) * 6 times (24)
37. (2 sc, dec) * 6 times (18)
38. (1 sc, dec) * 6 times (12)
39.6dec
Pull the hinges, close the hole. Cut the thread, hide the end inside the legs.
Button fastening is used in fastening the legs. Sew between 12-13 nearby.
Tail
1. 6 sc in amigurumi ring
2. İnc in each loop (12)
3. (1 sc, inc) * 6 times (18)
4. (2 sc, inc)* 6 times (24)
5.-6 24 sc
Cut the thread leaving the end for sewing.
The tail is sewn between 8-16 rows. Don’t forget to fill up!
