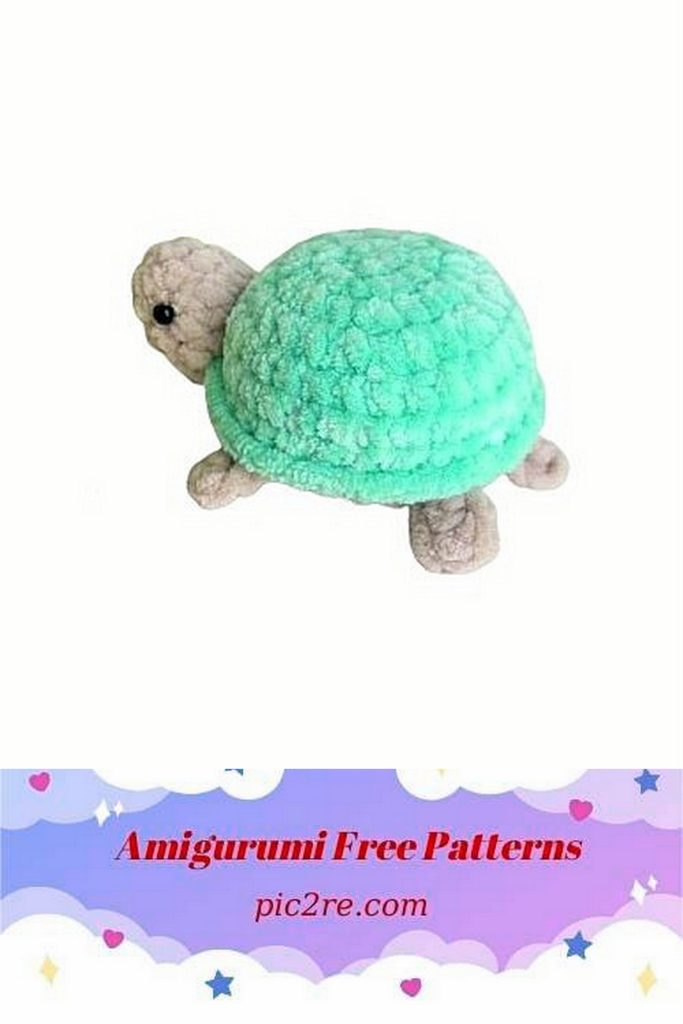
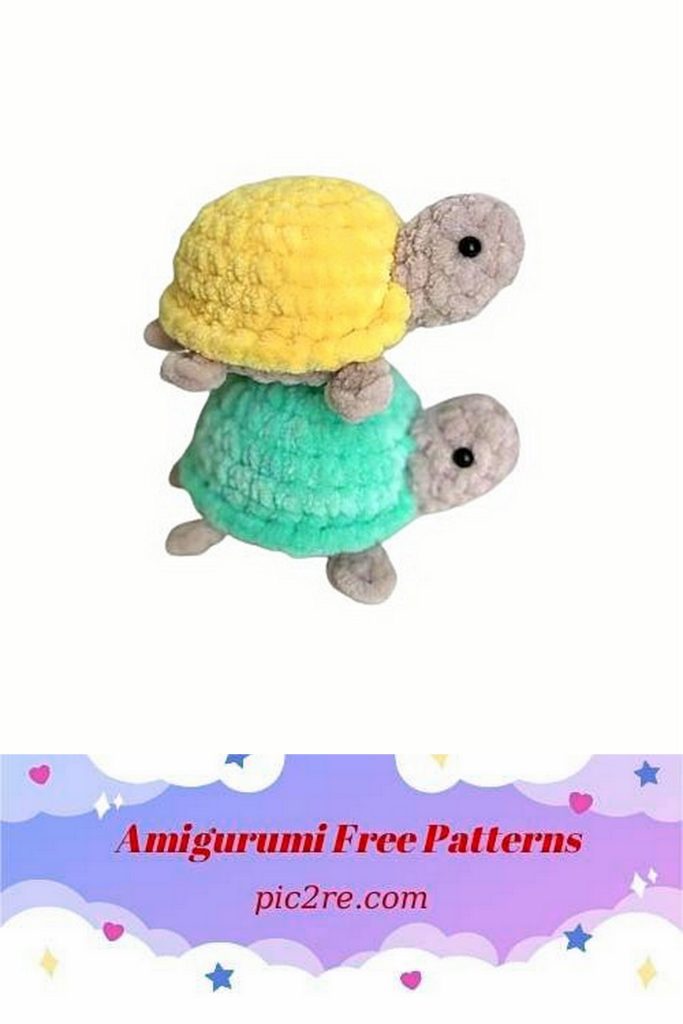
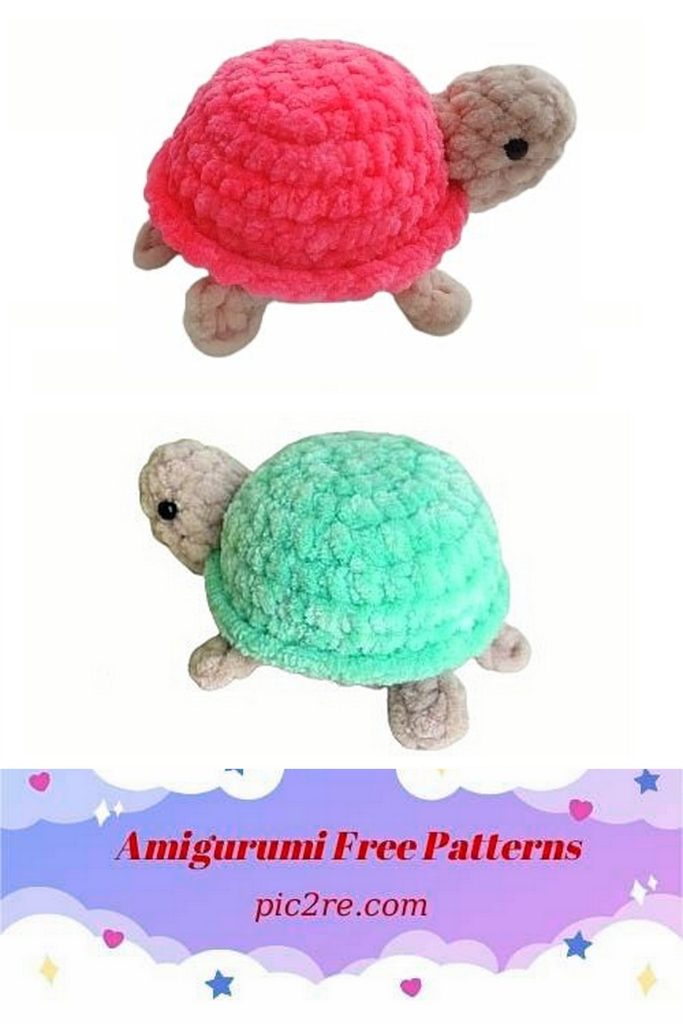
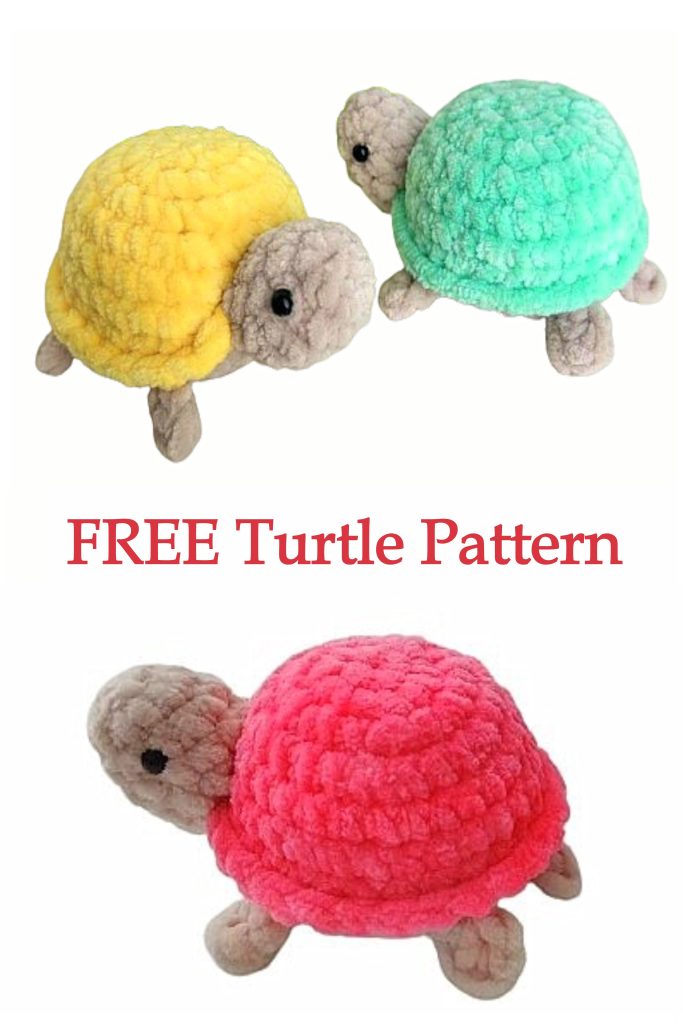
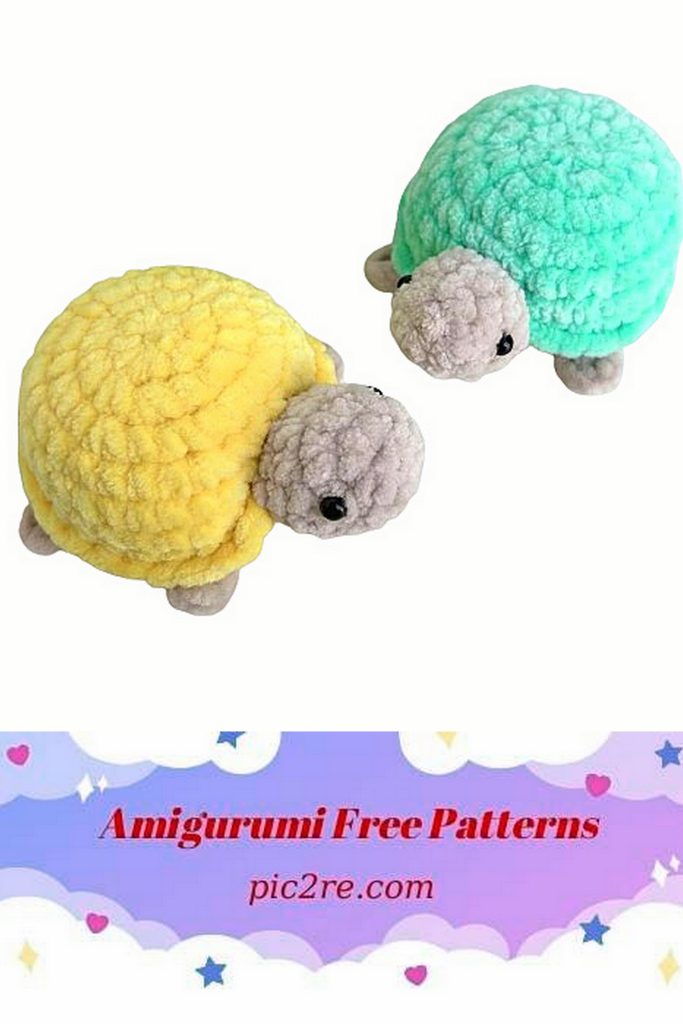
Cute Turtle Free Amigurumi Pattern
Turtle will be your favorite. Looking to add a touch of charm to your crochet collection? Dive into the delightful world of amigurumi with our free turtle pattern! This whimsical design promises hours of crafting fun as you create your very own cuddly companion.
Whether you’re a seasoned crocheter or just starting out, this pattern is perfect for all skill levels. With clear, step-by-step instructions and helpful tips along the way, you’ll soon have a cute turtle friend to adorn your shelves or gift to a fellow craft enthusiast.
So grab your hook and yarn, and let’s get stitching! Join us on a creative journey as we bring this adorable amigurumi turtle to life, one stitch at a time.
Materials:
This toy can be knitted from leftover yarn, because… The consumption is very small, we put in all the details. The size of the finished toy is 11 cm. This MK contains a text description, photo and video of the process. This toy can be used as a keychain.
– plush yarn Himalaya DolpHip babu (80342), (80324)
– hook 4 (choose a hook to suit your knitting density)
– eyes 6 mm
– Moment Crystal glue (I glued in the eyes)
– filler
Amigurumi Designations:
MR – amigurumi ring
CH – air loop
SC – single crochet
İNC – increase
Dec – decrease
SL-ST – connecting post,
HDC – half double crochet
(….) – number of loops in a row
– repetitions

Head:
1. 6 Sc 8 MR
2.6 inc (12)
3-5. 12 Sc (3 rows)
6. (2 Sc, Dec) * 3 (9), do not cut the thread, fill the head with filler. I glue the eyes at the level of the 3rd row at the end of the work, when the toy is completely knitted.
Shell – body:
1.8 in MR
2.8 inc (16)
3. (1 Sc, inc) * 8 (24) 4. (3 Sc, inc) * 6 (30) 5-7. 30 Sc (3 rows)
Then we connect the head and the shell together, knit the paws and tail, bring the thread from the shell out, do not cut it. We knit by the rear half loops of the shell.
8. 4 Sc (knit the head and shell together, watch the video tip in the carousel), 3 Sc, knit a foot (3 Ch, from the 2nd loop from the hook 2 hdc, Sl-st), 6 Sc foot, 4 Sc tail ( 3 Ch, from the 2nd loop from hook 2 Sl-st, Sl-st in the same loop), 4 Sc, foot, 6 Sc, foot, 3 Sc (30)
9. We knit loops on both sides in a circle, (3 Sc, Dec) * 6 (24)
10. (2 Sc, Dec) * 6 (18) – fill with filler
11. (1 Sc, Dec) * 6 (12) – fill the toy to the end
12. 4 Dec, cut the thread and tighten the ring, use the same thread to tighten the turtle’s tummy so that it is flat.
We tie the turtle shell with the remaining thread, 30 Sc for the front half-loops.
We pull the head towards the shell so that the head does not hang.
Glue in the eyes at the level of the 3rd row of the head.
Congratulations, your Turtle is ready!
Give free rein to your imagination and the result will definitely please you!