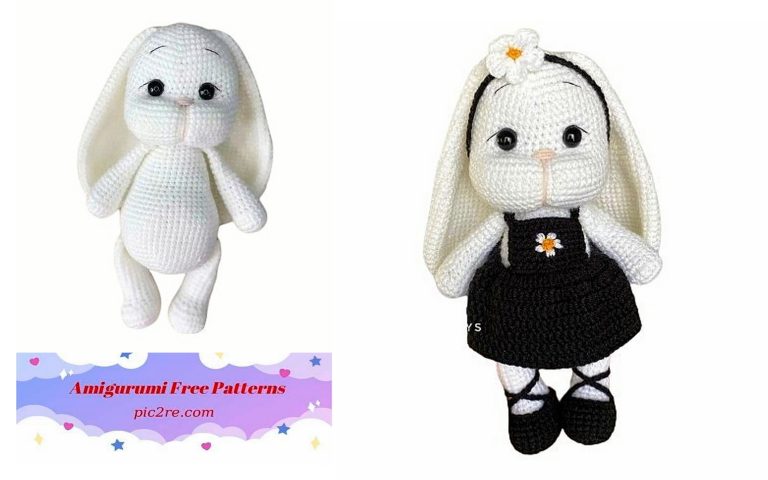
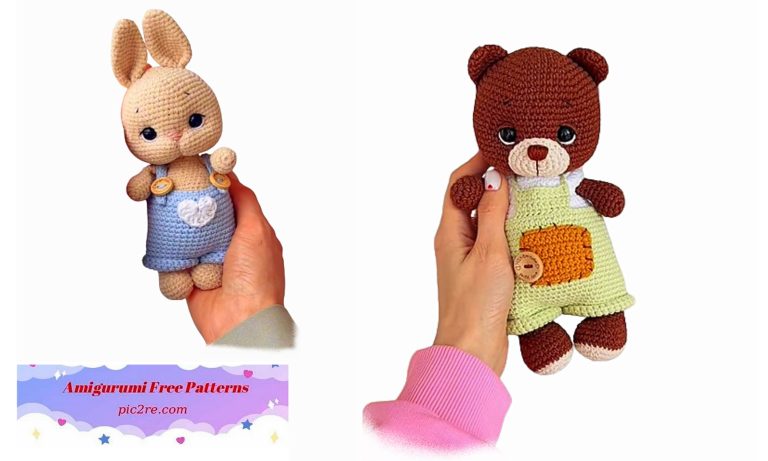
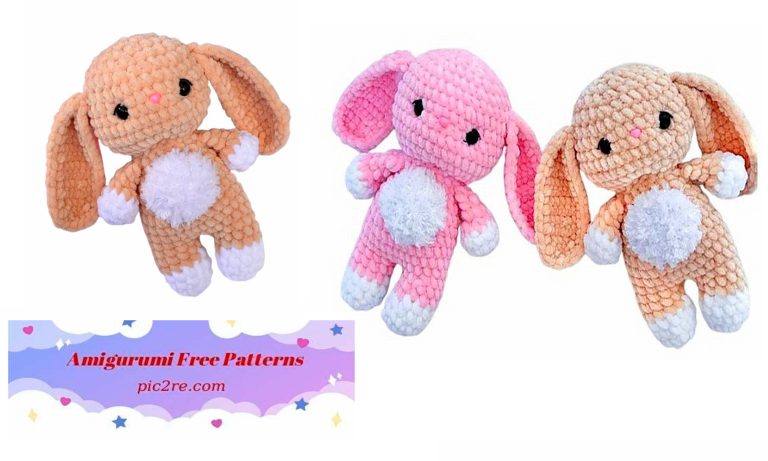
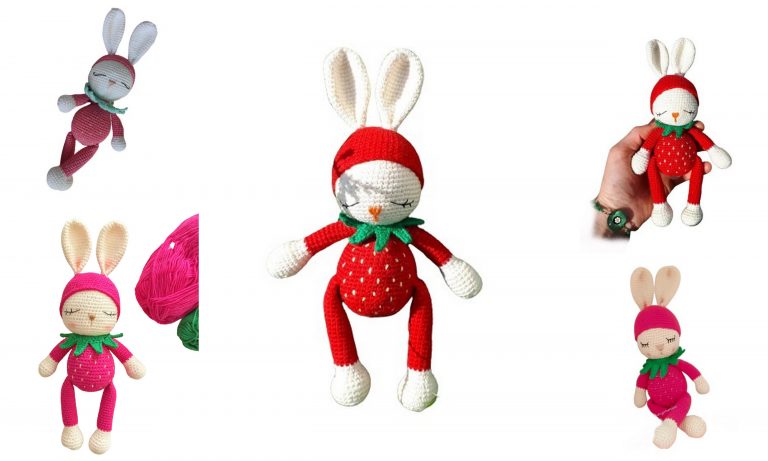
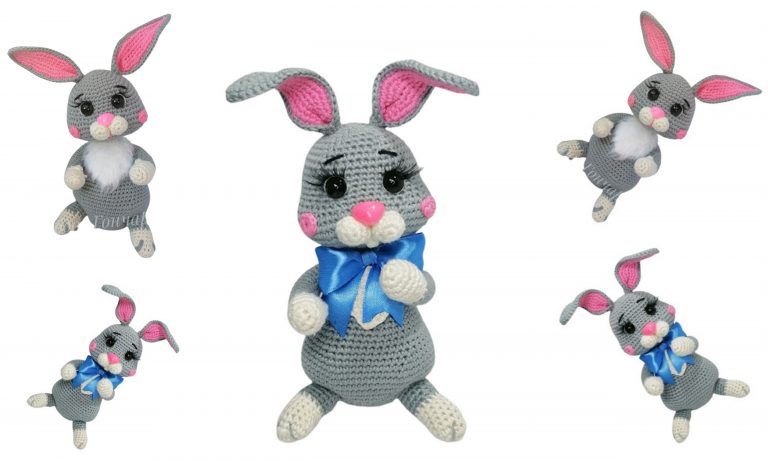
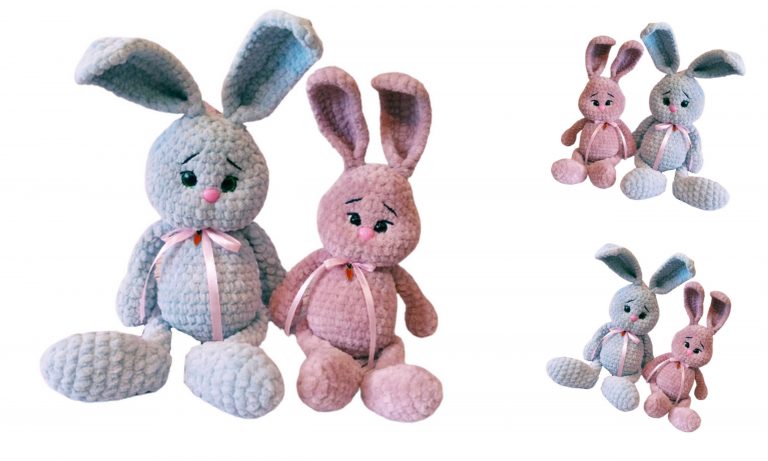
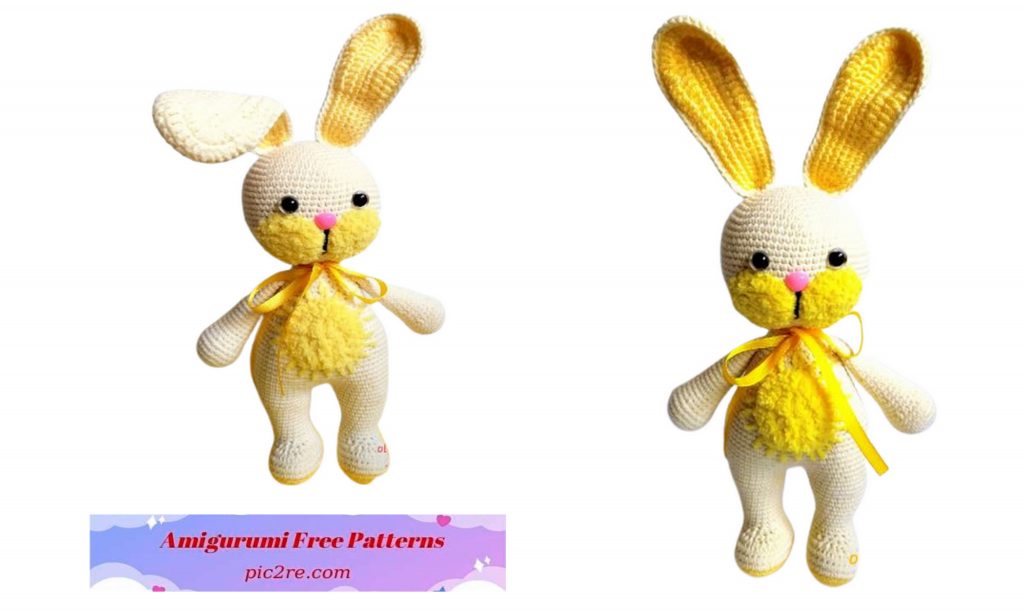
Amigurumi Sunny Bunny Free Pattern
Hello, your child will love the Amigurumi Sunny Bunny Free pattern, follow it for the most beautiful current patterns.
Materials:
1. Hook No. 1.75
2.Yarn Jeans or Alize Cotton milk color, light yellow (slightly)
3. Yarn Softy yellow (for tummy and tail)
4.Eye eyes on a secure attachment 10mm
5.Plastic nose
6.Glue Gel Moment
7 filler
8.Sewing needle
9 satin ribbon for decoration
1.Head:
1.6sc into magic ring
2.6İNC (12)
3. (sc, İNC) * 6 (18)
4. (2sc, İNC) * 6 (24)
5. (3sc, İNC) * 6 (30)
6. (4sc, İNC) * 6 (36)
7. (5sc, İNC) * 6 (42)
8. (6sc, İNC) * 6 (48)
9. (7sc, İNC) * 6 (54)
10. (8sc, İNC) * 6 (60)
11. (9sc, İNC) * 6 (66)
12. -23. 66sc (12 rows) Insert eyes between rows 16 and 17.
24. (9sc, DEC) * 6 (60)
25. (8sc, DEC) * 6 (54)
26. (7sc, DEC) * 6 (48)
27. (6sc, DEC) * 6 (42)
28. (5sc, DEC) * 6 (36)
29. (4sc, DEC) * 6 (30)
30. (3sc, DEC) * 6 (24) We fill the head quite tightly.
31. (2sc, DEC) * 6 (18)
32. (sc, DEC) * 6 (12) We fill the head to the end.
33.6DEC Pull off hole, leave thread to sew on.
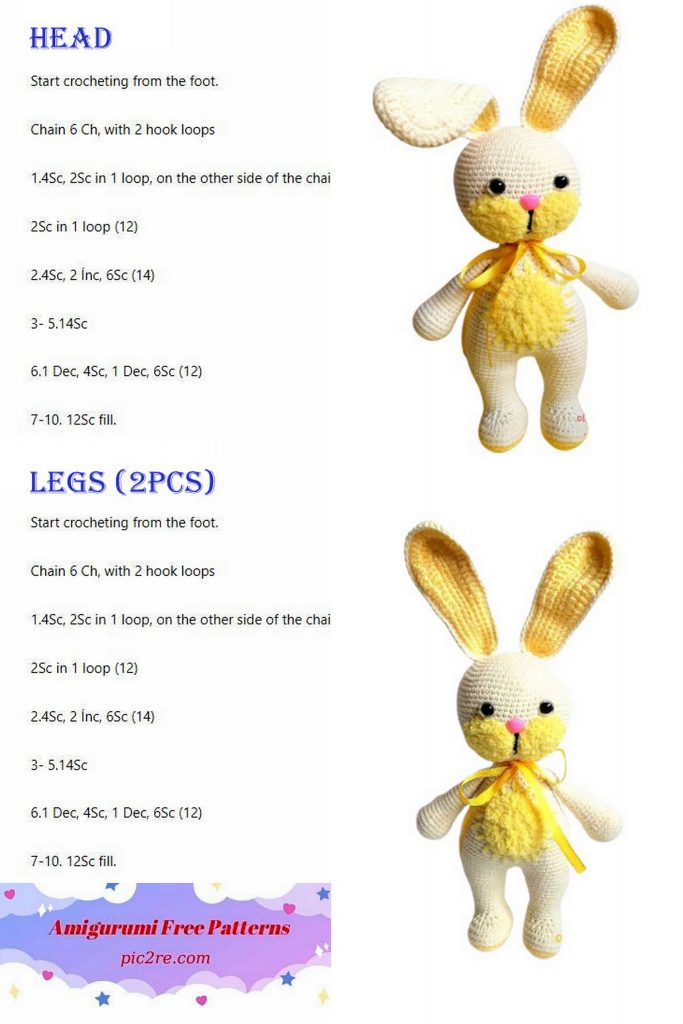
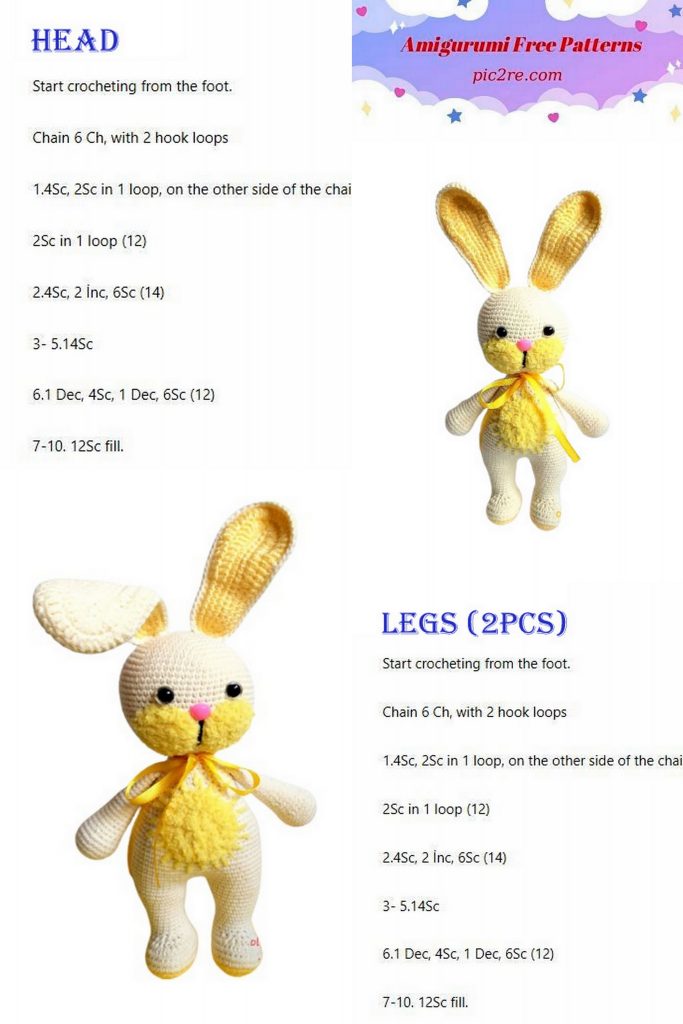
2.Ears (4 pcs):
1. Cast on 20ch, from the second loop from the hook: 18sc, 4sc in the last loop, 17sc, İNC (41)
2.İNC, 8sc, 6hdc, 2dc, 6İNC from dc, 2dc, 6hdc, 8sc, İNC, sc (49)
3.İNC, 9sc, 6hdc, 3dc, (İNC, dc) * 6, dc, 6hdc, 9sc, sl-st (56)
We attach the yellow parts to the milk one and tie them around.
3.Mouth:
1.6sc into magic ring
2.6İNC (12)
3. (sc, İNC) * 6 (18)
4.18sc
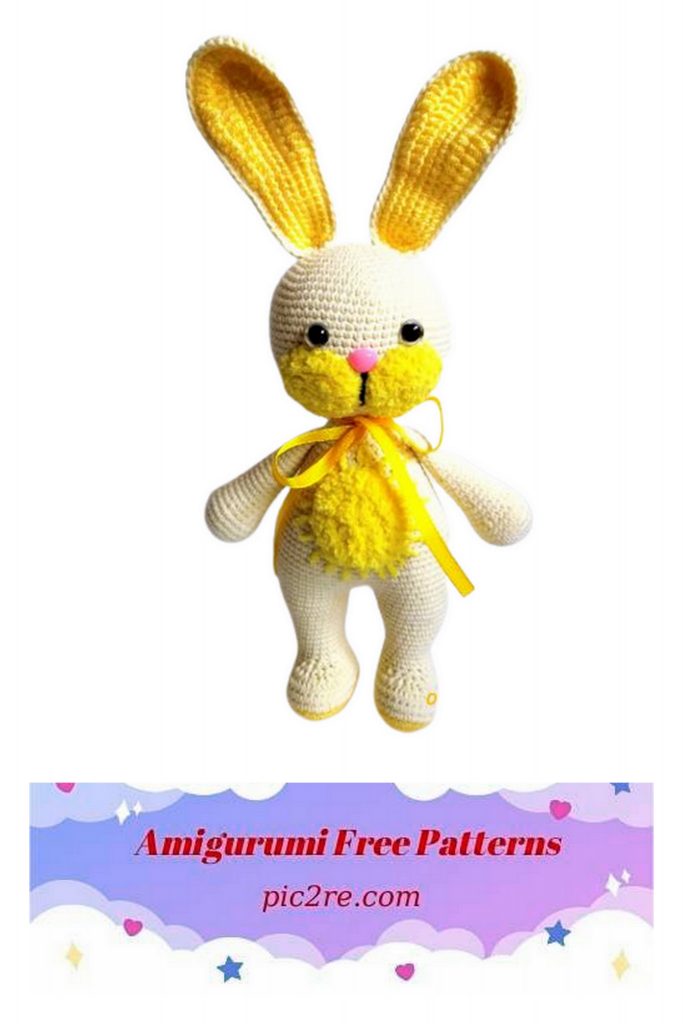
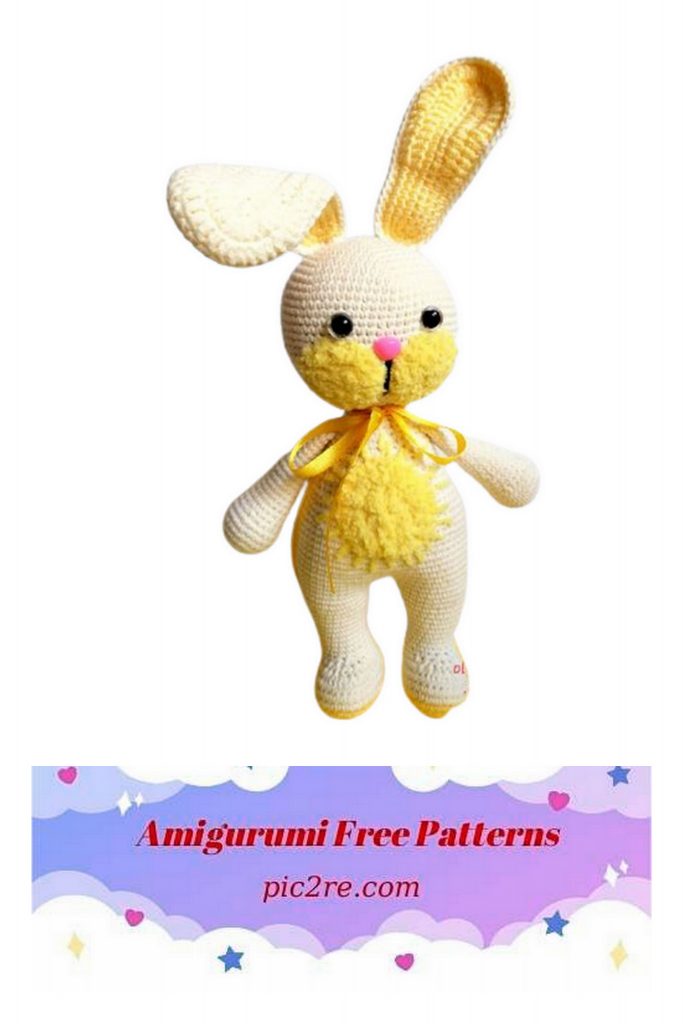
Sew on the details of the face to the head.
We glue the nose between the cheeks.
We embroider a mouth with a black thread on the face
(guided by the photo)
4.Legs (2 pcs):
We start knitting the legs in light yellow:
1. cast on 7ch, in the second loop from the hook: İNC, 4 sc, in the last loop 4sc, 4sc, İNC. (16)
2.İNC, 5sc, 4İNC, 5sc, İNC (22)
3.sc, İNC, 5sc, (sc, İNC) * 4,6sc, İNC (28)
4.sc, İNC, 8sc, (İNC, 2sc) * 4,6sc (33)
Change the color to milky:
5.-7.33sc (3 rows)
8.11sc, 6DEC, 10sc (27)
9.8sc, 6DEC, 7sc (21)
10.8sc, 2DEC, 7sc (19)
11.-13. 19sc (3 rows)
14.4sc, İNC, 10sc, İNC, 3sc (21)
15.21sc
16.5sc, İNC, 11sc, İNC, 3sc (23)
17.23sc
18.7sc, İNC, 10sc, İNC, 4sc (25)
19.25sc
20.sc, İNC, 13sc, İNC, 9sc (27)
21.-22.27sc We fill the legs.
We do not tie one loop at the second leg in order to evenly attach the legs to each other.
Having tied the second leg, we do not cut the thread, we continue to knit the body.
5. Torso:
We connect the legs together and continue to knit:
1.2ch, join the right leg, along the right leg: 27sc, 2sc along the chain, along the left leg: 27sc, 2sc along the chain (58)
2.58sc
3.14sc, İNC, (13sc, İNC) * 2.15sc (61)
4.-10. 61sc (7 rows)
11. (18sc, DEC) * 2.19sc, DEC (58)
12.58sc
13.15sc, DEC, 26sc, DEC, 13sc (56)
14.13sc, DEC, 29sc, DEC, 10sc (54)
15.54sc
16. (7sc, DEC) * 6 (48)
17.48sc
18. (6sc, DEC) * 6 (42)
19.42sc
20. (5sc, DEC) * 6 (36)
21.-22.36sc (2 rows)
23. (4sc, DEC) * 6 (30)
24.-26. 30sc (3 rows)
27. (3sc, DEC) * 6 (24)
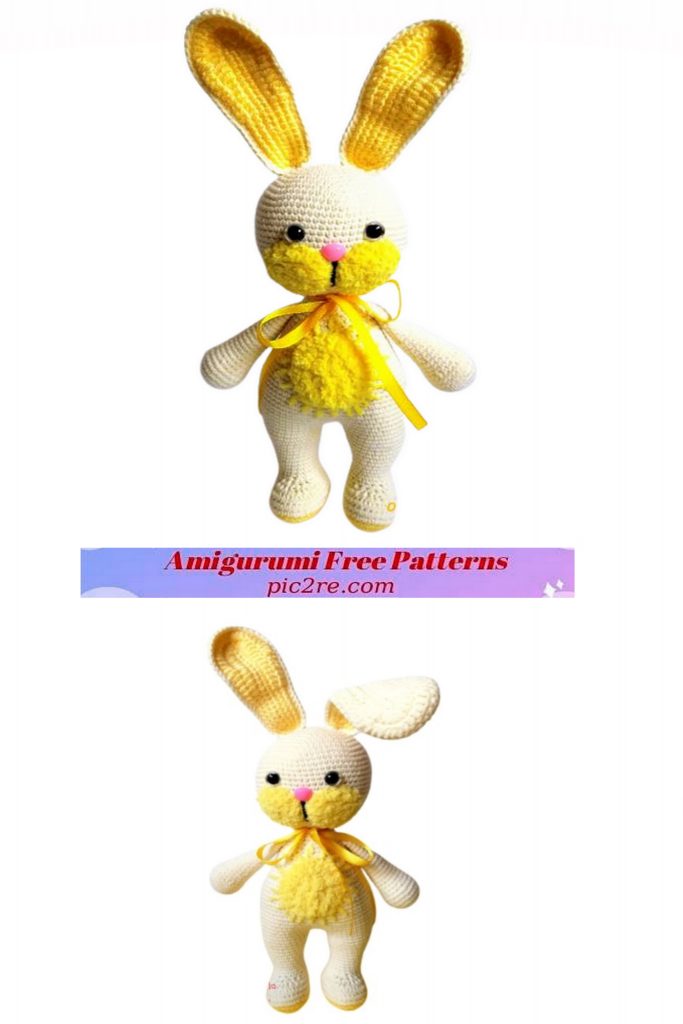
28. -29.24sc Fill the torso, sew the head to the torso.
Tie a round piece with Softy’s yarn and sew it to the tummy, embroider the rays with the same thread.
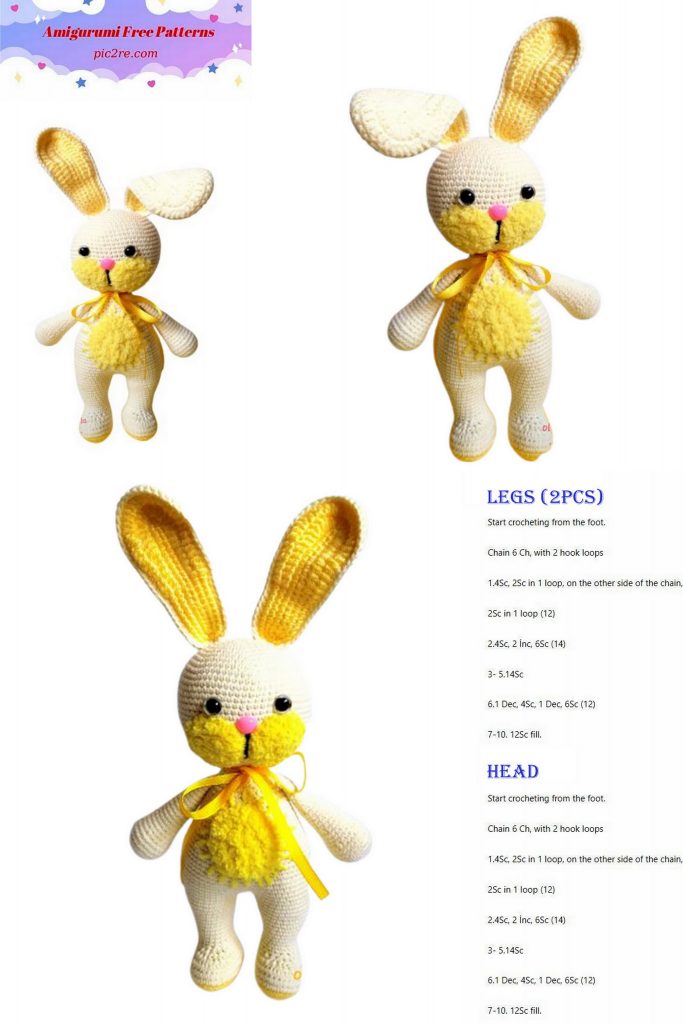
6.Handles (2pcs):
1.6sc into magic ring
2.6İNC (12)
3. (sc, İNC) * 6 (18)
4. (2sc, İNC) * 6 (24)
5.-7.24sc (3 rows)
8. (2sc, DEC) * 6 (18)
9.-11.18sc (3 rows)
12. (DEC, 7sc) * 2 (16)
13.-17.16sc (5 rows)
18. (DEC, 6sc) * 2 (14)
19.-25. 14sc (7 rows)
Fold up the knitting and tie on both sides of the 7sc.
Fasten the thread and leave the end for sewing.
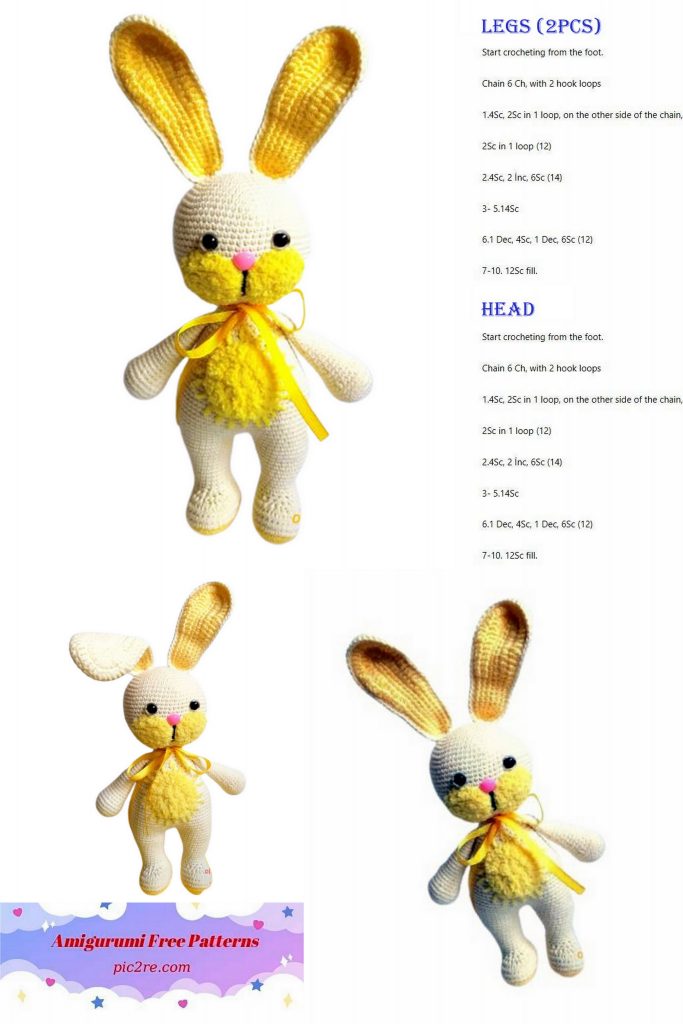
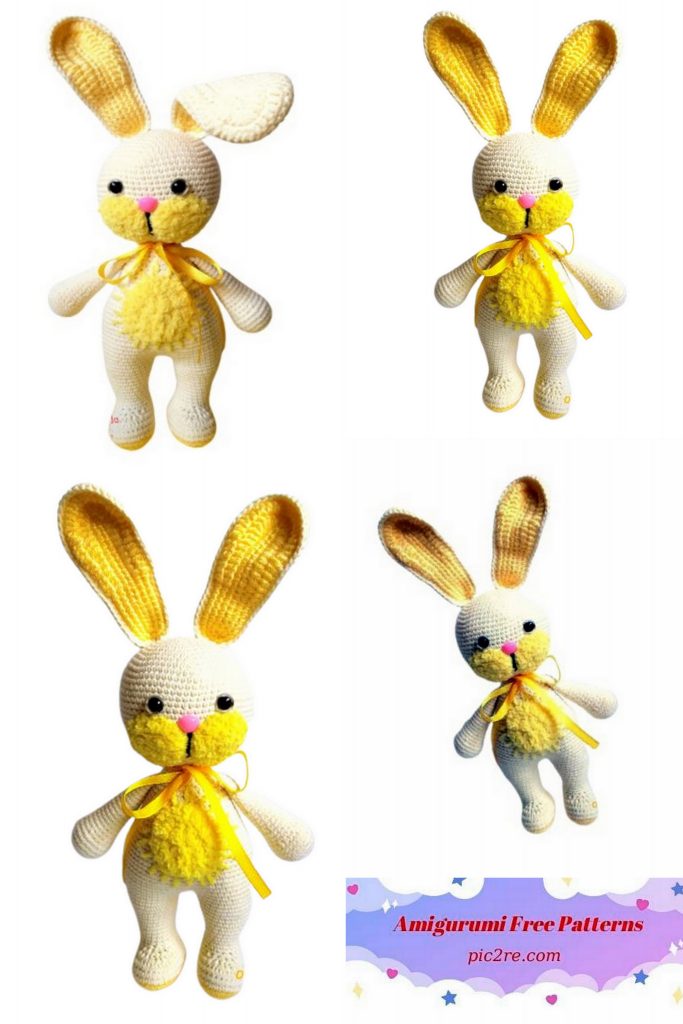
Sew the handles to the body.
7.Description:
We make a pom-pom from the Softy thread If you do not have a special tool for making pom poms, you can use the good old method. To do this, cut out two circles of the required diameter from cardboard, make a hole inside the circles.
Insert yarn into the needle and wind it around the workpiece, passing the needle inside the circle. After there is enough yarn, spread the cardboard boxes and tie a strong knot between them, after cutting the threads.
Sew all the details, sew the tail to the butt.
Sunny Bunny is ready !!!
