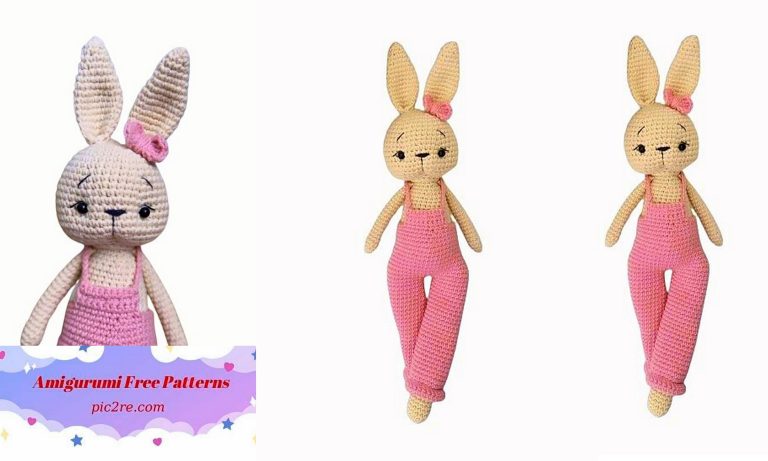
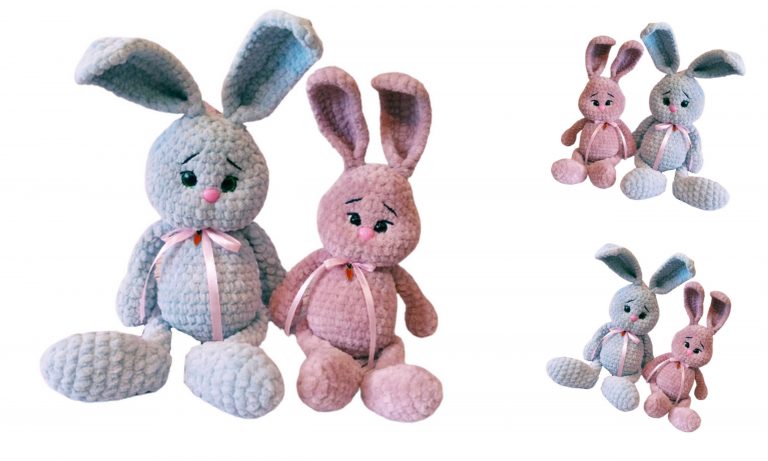
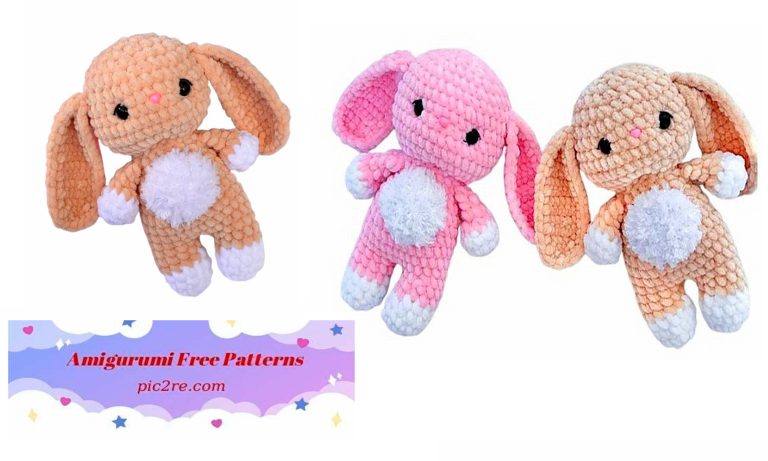
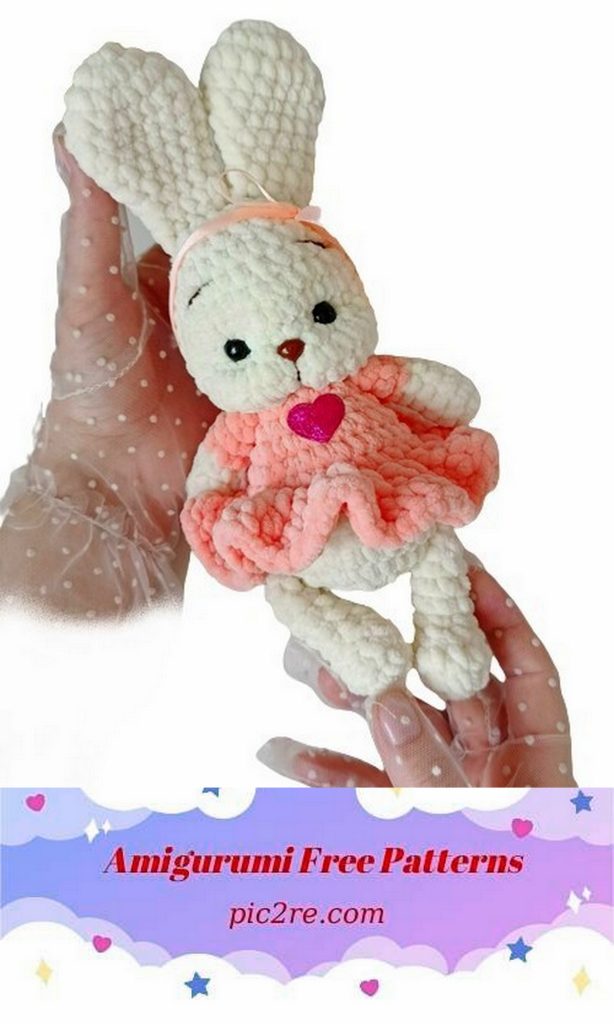
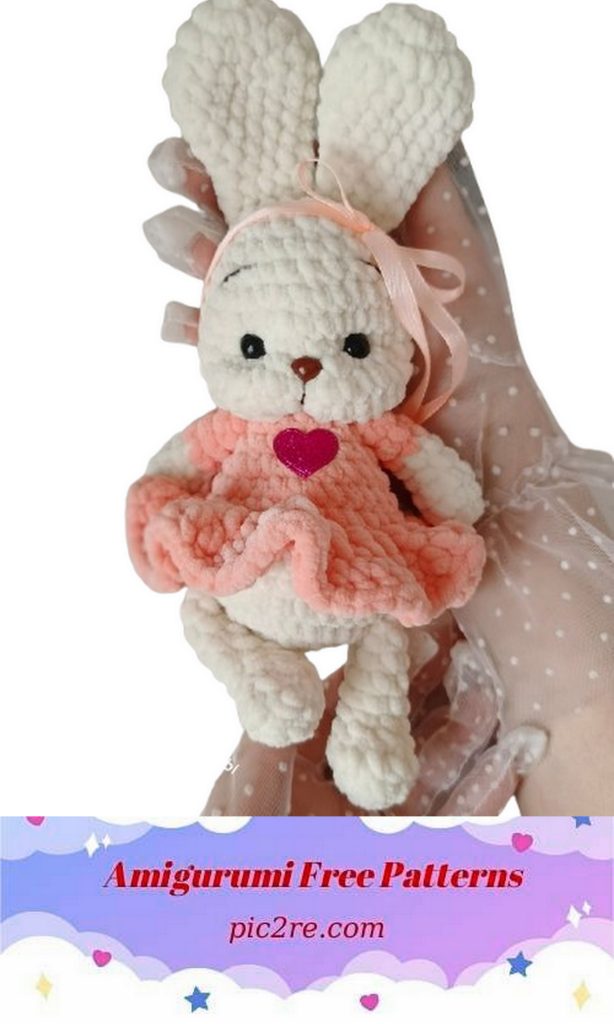
Amigurumi Little Bunny Free Pattern
Free Pattern Little Bunny How about making a soft and adorable amigurumi bunny? With this free pattern, you can easily crochet the sweet bunny — a perfect handmade gift for kids or a cute decorative toy. The step-by-step instructions and simple techniques make it ideal for both beginners and experienced crocheters. Grab your hook and yarn, and start creating this lovely bunny today!
Amigurumi Little Bunny Materials:
Suitable yarn in two colors (used: YarnArt Dolce)
Matching crochet hook (used: 4.0 mm)
Safety eyes or half-beads (used: 8 mm)
Yarn or plastic safety nose for embroidery
Stuffing
Glue, needle, scissors
Abbreviations
(US Terms):
ch – chain
sc – single crochet
inc – increase (2 sc in the same stitch)
dec – decrease (sc 2 together)
dc – double crochet
sl st – slip stitch
2ch, 6sc – make 2 chains, 6 sc in second chain from the hook
Finished height without ears: approx. 17 cm
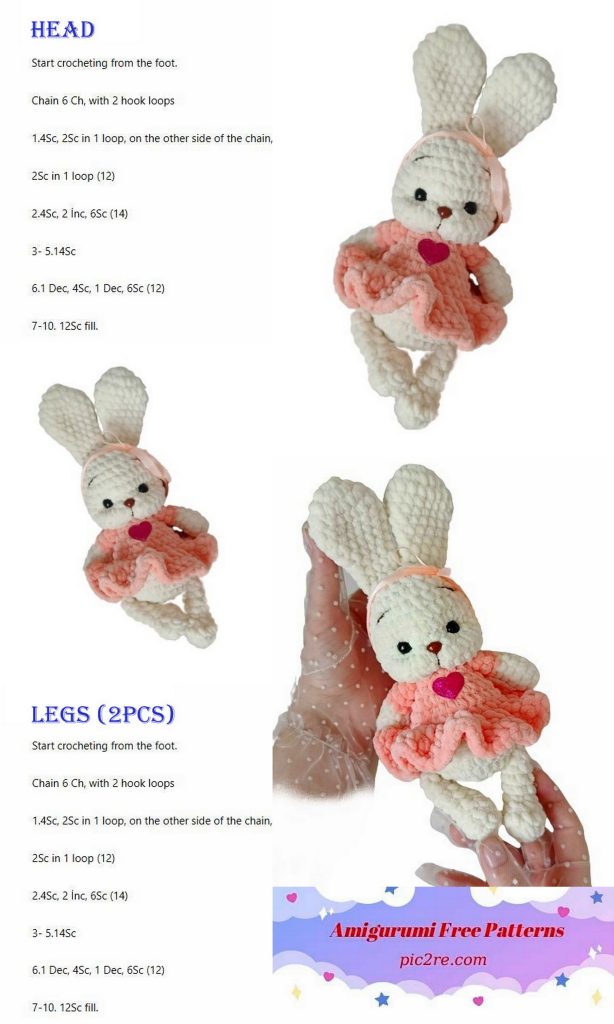
Lower Legs
(Make 2)
Stuff only the bottom part.
1: 2ch, 6sc in second ch from hook
2: 6inc = 12sc
3: 12sc
4: 4dec, 4sc = 8sc
5–9: 8sc
Fold and crochet through both edges 3–4 sc. Fasten off, cut the yarn. Make the second leg the same way.
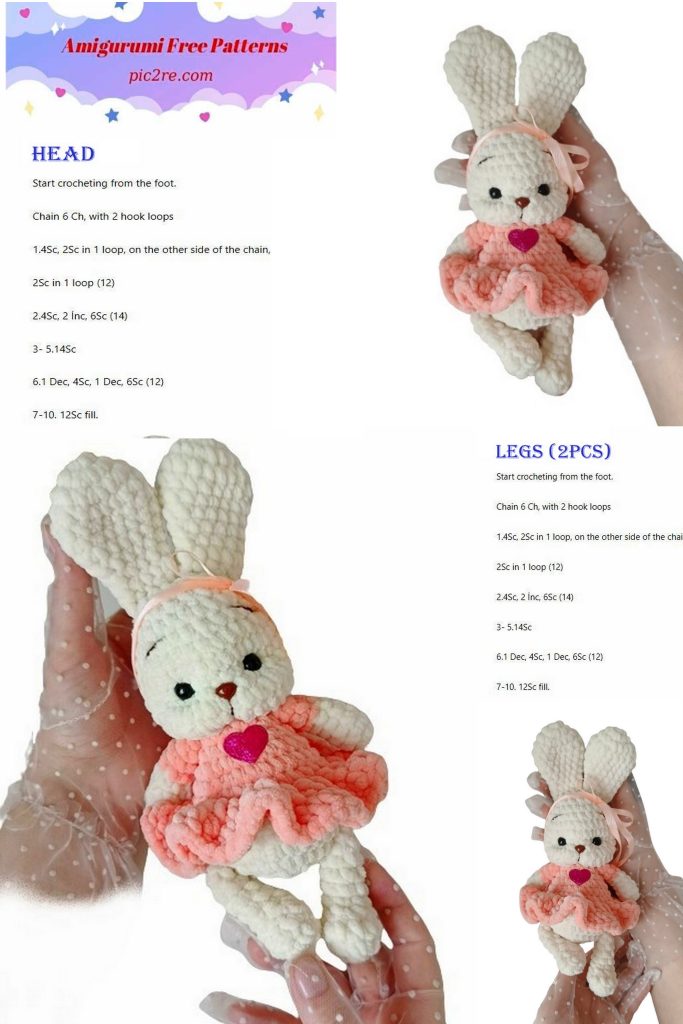
Body + Head
Body and head are made as one piece. Stuff as you go.
1: 2ch, 6sc
2: 6inc = 12sc
3: (sc, inc)×6 = 18sc
4: (2sc, inc)×6 = 24sc
5: (3sc, inc)×6 = 30sc
Next round: attach legs.
2: Continue
6: 3sc with leg, 12sc, 3sc with second leg, 12sc = 30sc
Next round: make the tail (can be crocheted separately and sewn on later). You may place a marker at the end of the round if needed.
7: sc in each st around; where the tail goes: 5dc in one st with a shared top (bobble tail). Finish the round = 30sc
(If sewing tail separately, simply make 30sc in this round.)
8: 30sc (switch to sweater color if desired)
9–11: 30sc
12: (3sc, dec)×6 = 24sc
13: (2sc, dec)×6 = 18sc
14: 18sc
15: (sc, dec)×6 = 12sc
Continue with head.
3: Continue
Switch to main color.
16: 12inc = 24sc
17: (3sc, inc)×6 = 30sc
18: (4sc, inc)×6 = 36sc
19–22: 36sc
23: (4sc, dec)×6 = 30sc
24: (3sc, dec)×6 = 24sc
25: 24sc
26: (2sc, dec)×6 = 18sc
27: (sc, dec)×6 = 12sc
28: 6dec
Fasten off and cut yarn.
Upper Arms
(Make 2)
Stuff only the bottom part lightly.
1: 2ch, 5sc
2: 5inc = 10sc
3: 10sc
4: 2dec, 6sc = 8sc
5: 8sc – change color
6–8: 8sc
Fold and crochet through both edges 3sc
Amigurumi Little Bunny- Ears
(Make 2)
Do not stuff the ears.
1: 2ch, 6sc
2: 6inc = 12sc
3: (sc, inc)×6 = 18sc
4–5: 18sc
6: dec, 7sc, dec, 7sc = 16sc
7: dec, 6sc, dec, 6sc = 14sc
8: dec, 5sc, dec, 5sc = 12sc
9: dec, 4sc, dec, 4sc = 10sc
10: 10sc
Fasten off, leaving a long tail for sewing.

Amigurumi Little Bunny
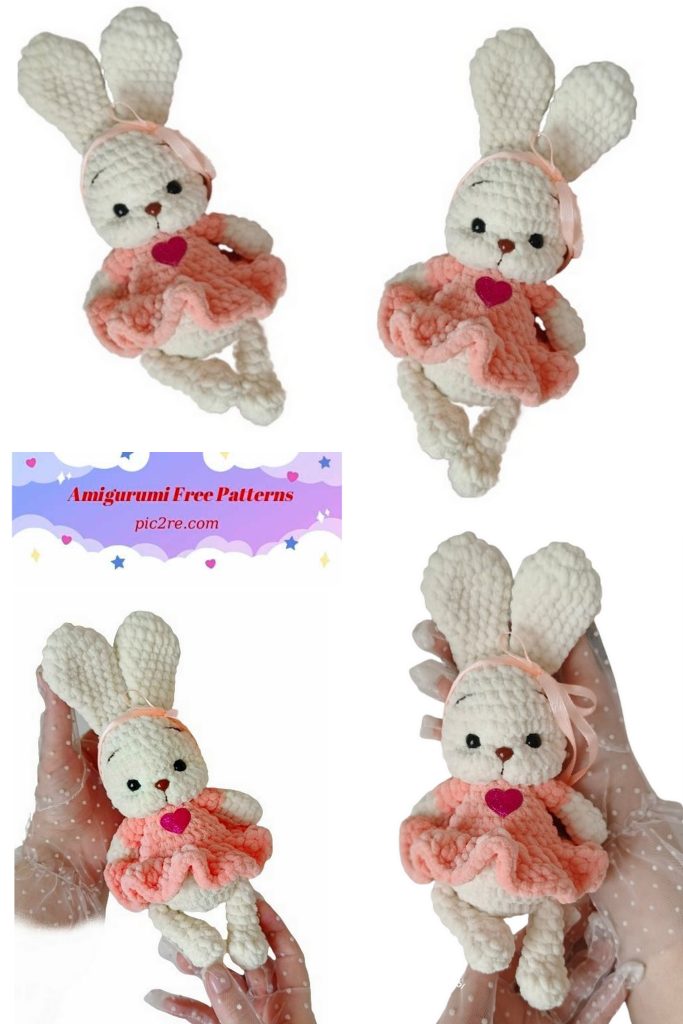
Assembly and Finishing
Sew on the upper arms and ears.
Optionally, do facial sculpting (for eyes, mouth).
Glue on eyes and nose (or embroider if not using safety parts).
Embroider eyebrows, nose, and details if desired.
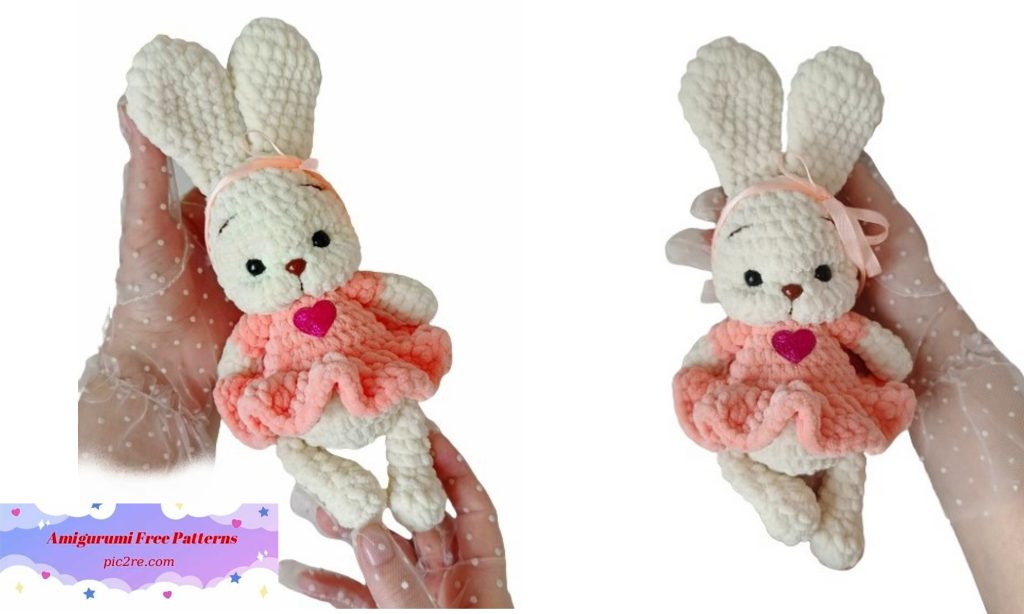
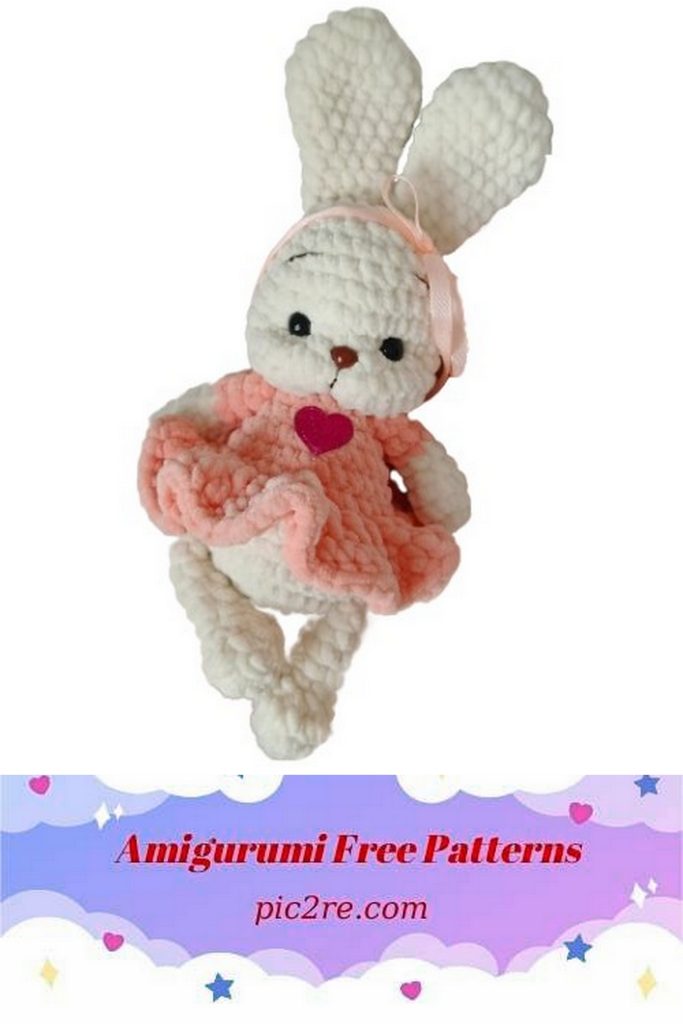
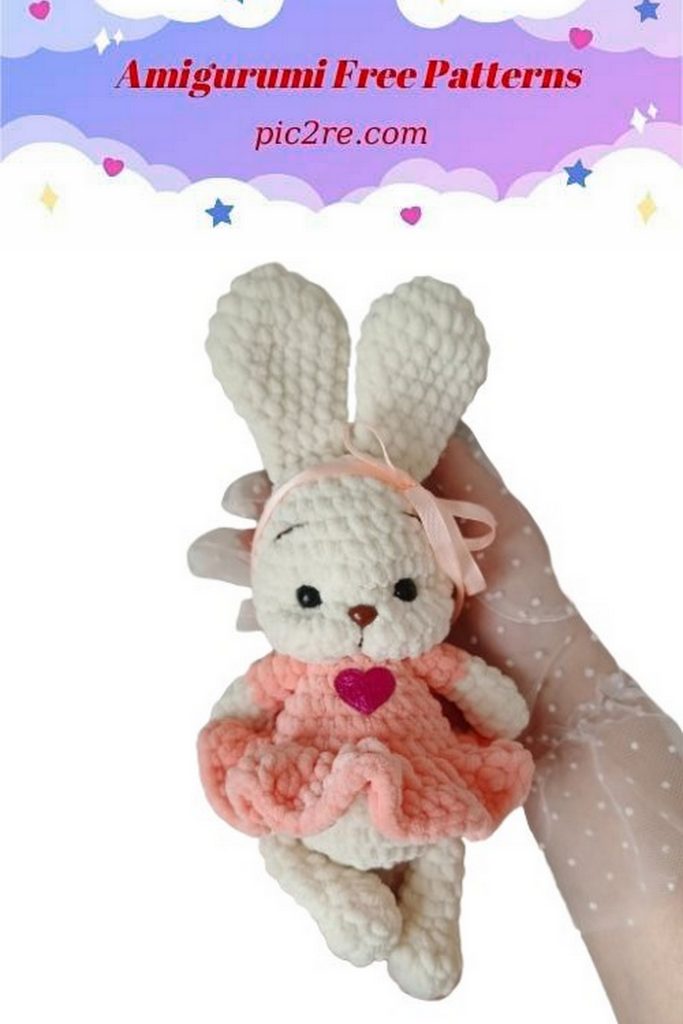
Your bunny is ready!
When publishing your finished toy, please credit the pattern author.
Your adorable bunny is now complete! We hope you enjoyed bringing this soft and cuddly friend to life. Whether it’s for a gift or your own collection, this little bunny is sure to bring a smile. Don’t forget to share your finished creation and credit the designer. Happy crocheting and see you in the next pattern!